The Bluehouse
The Dream
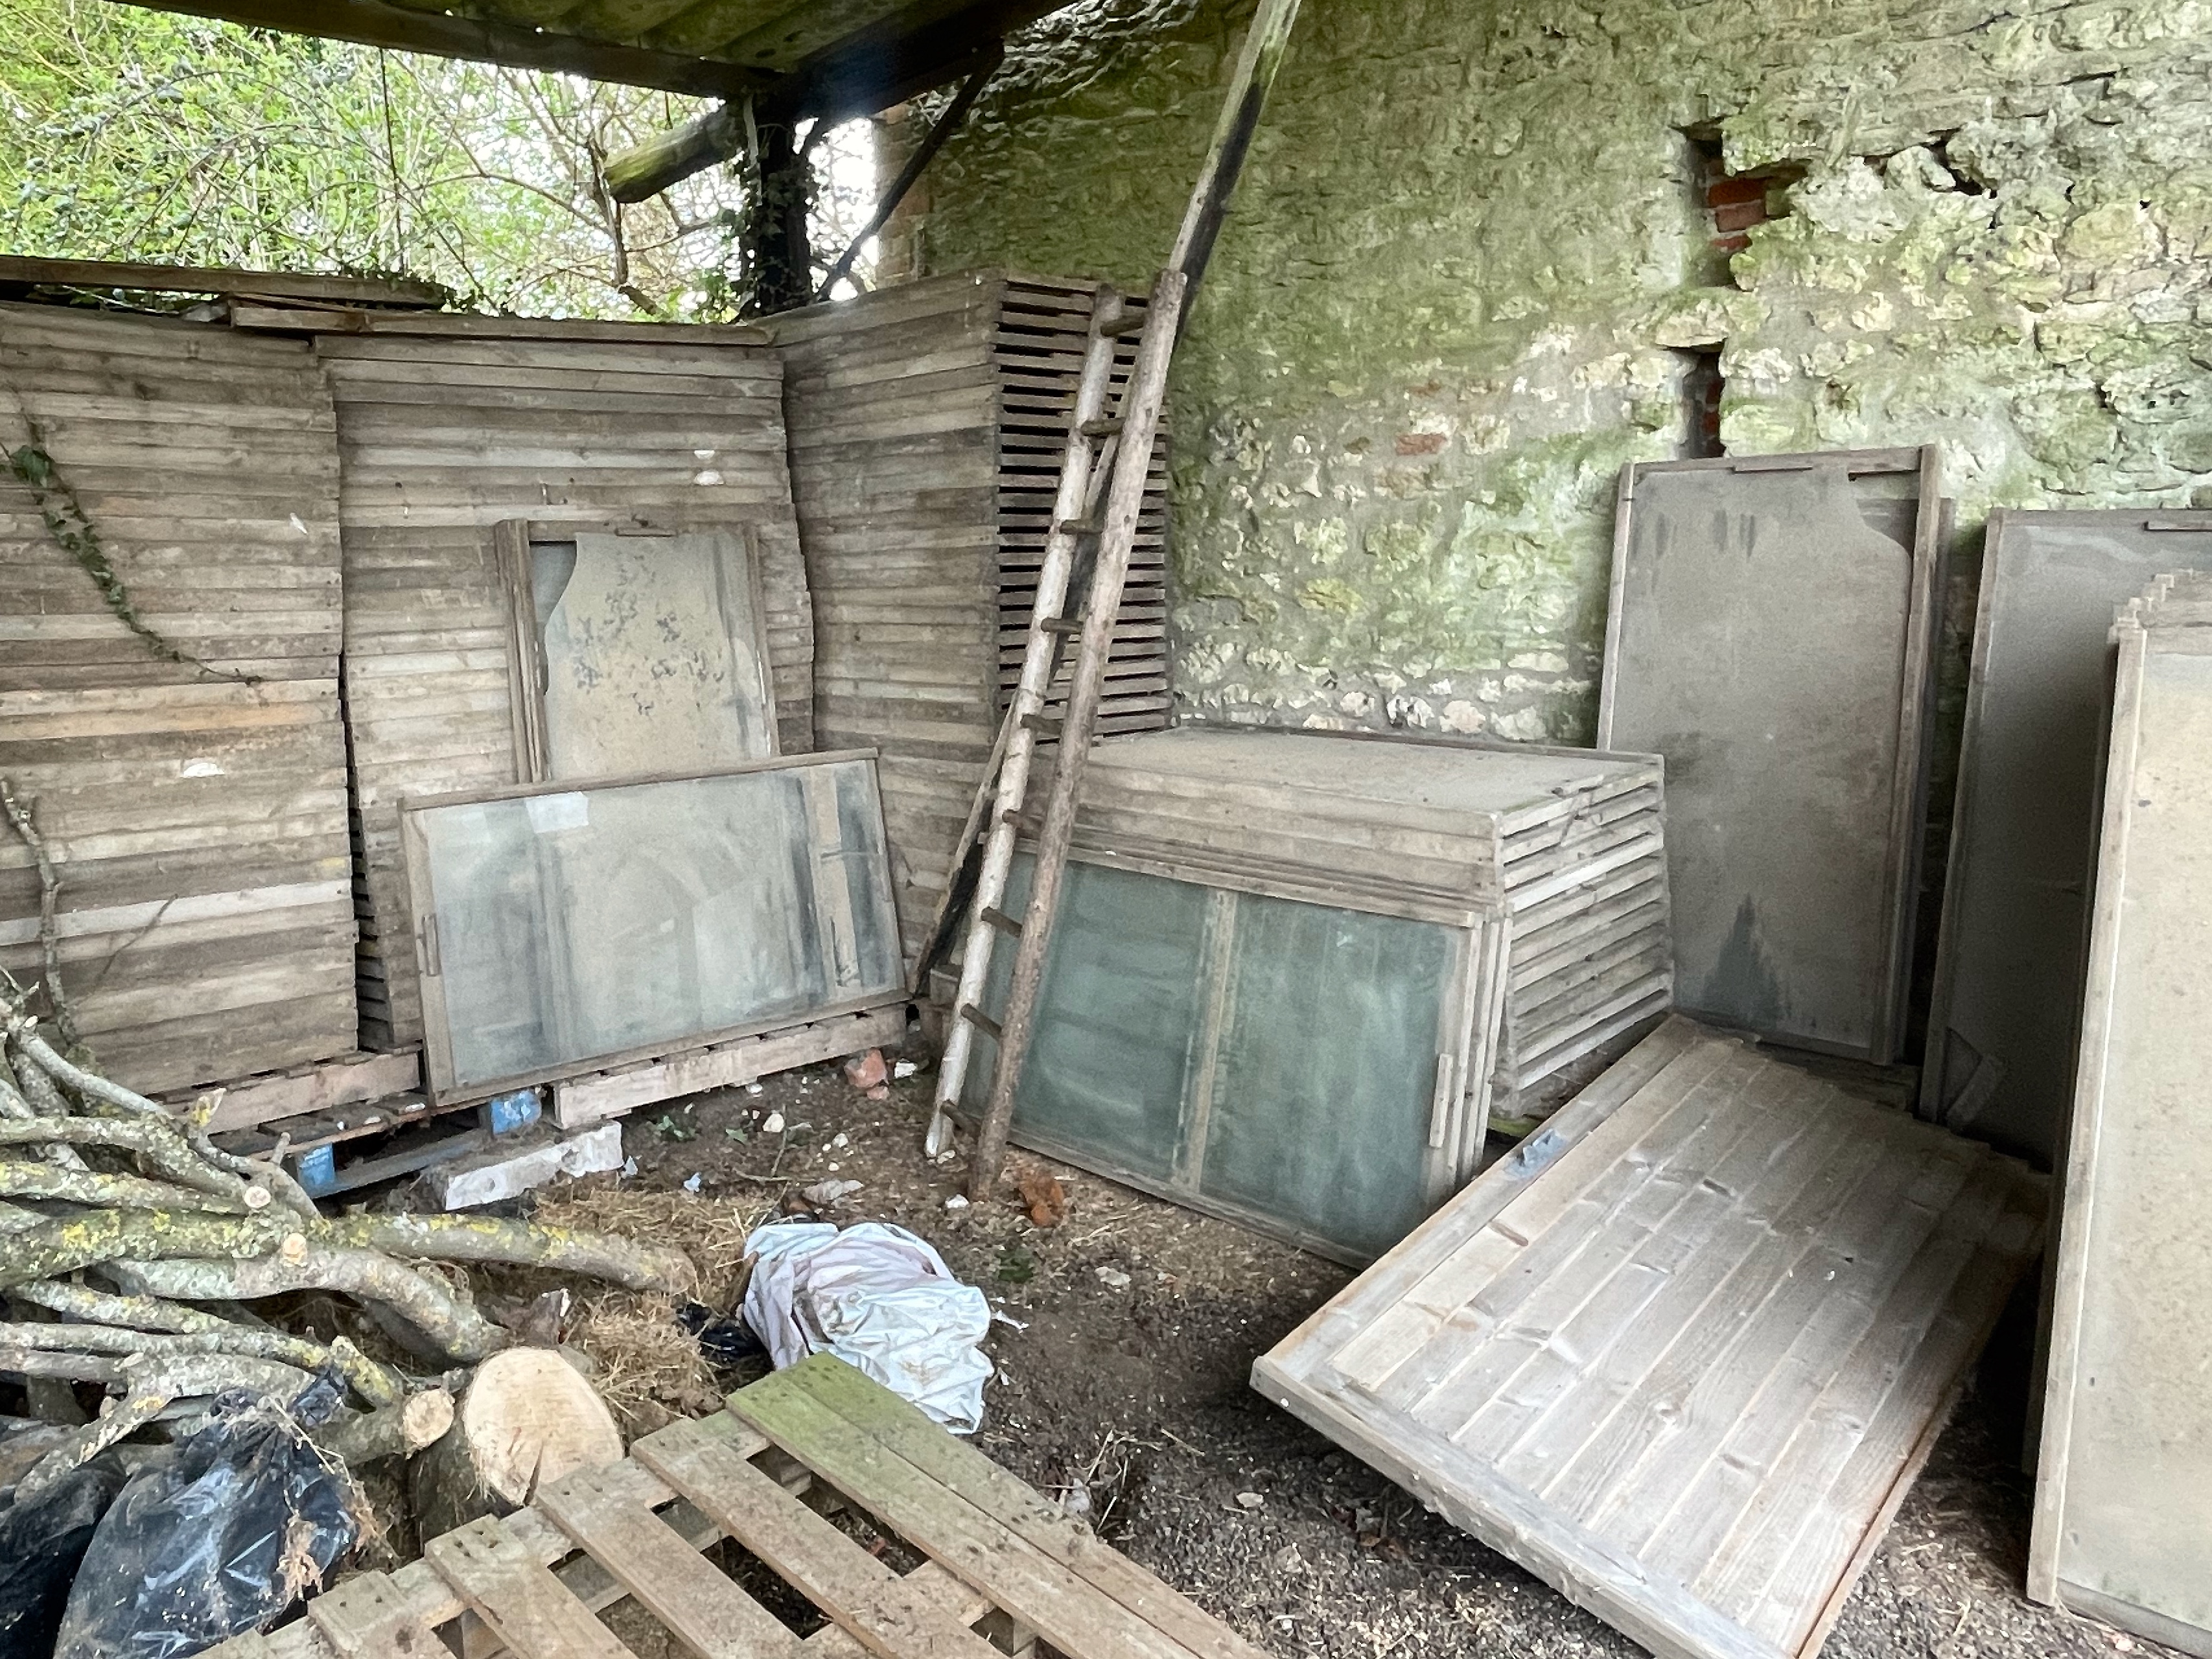
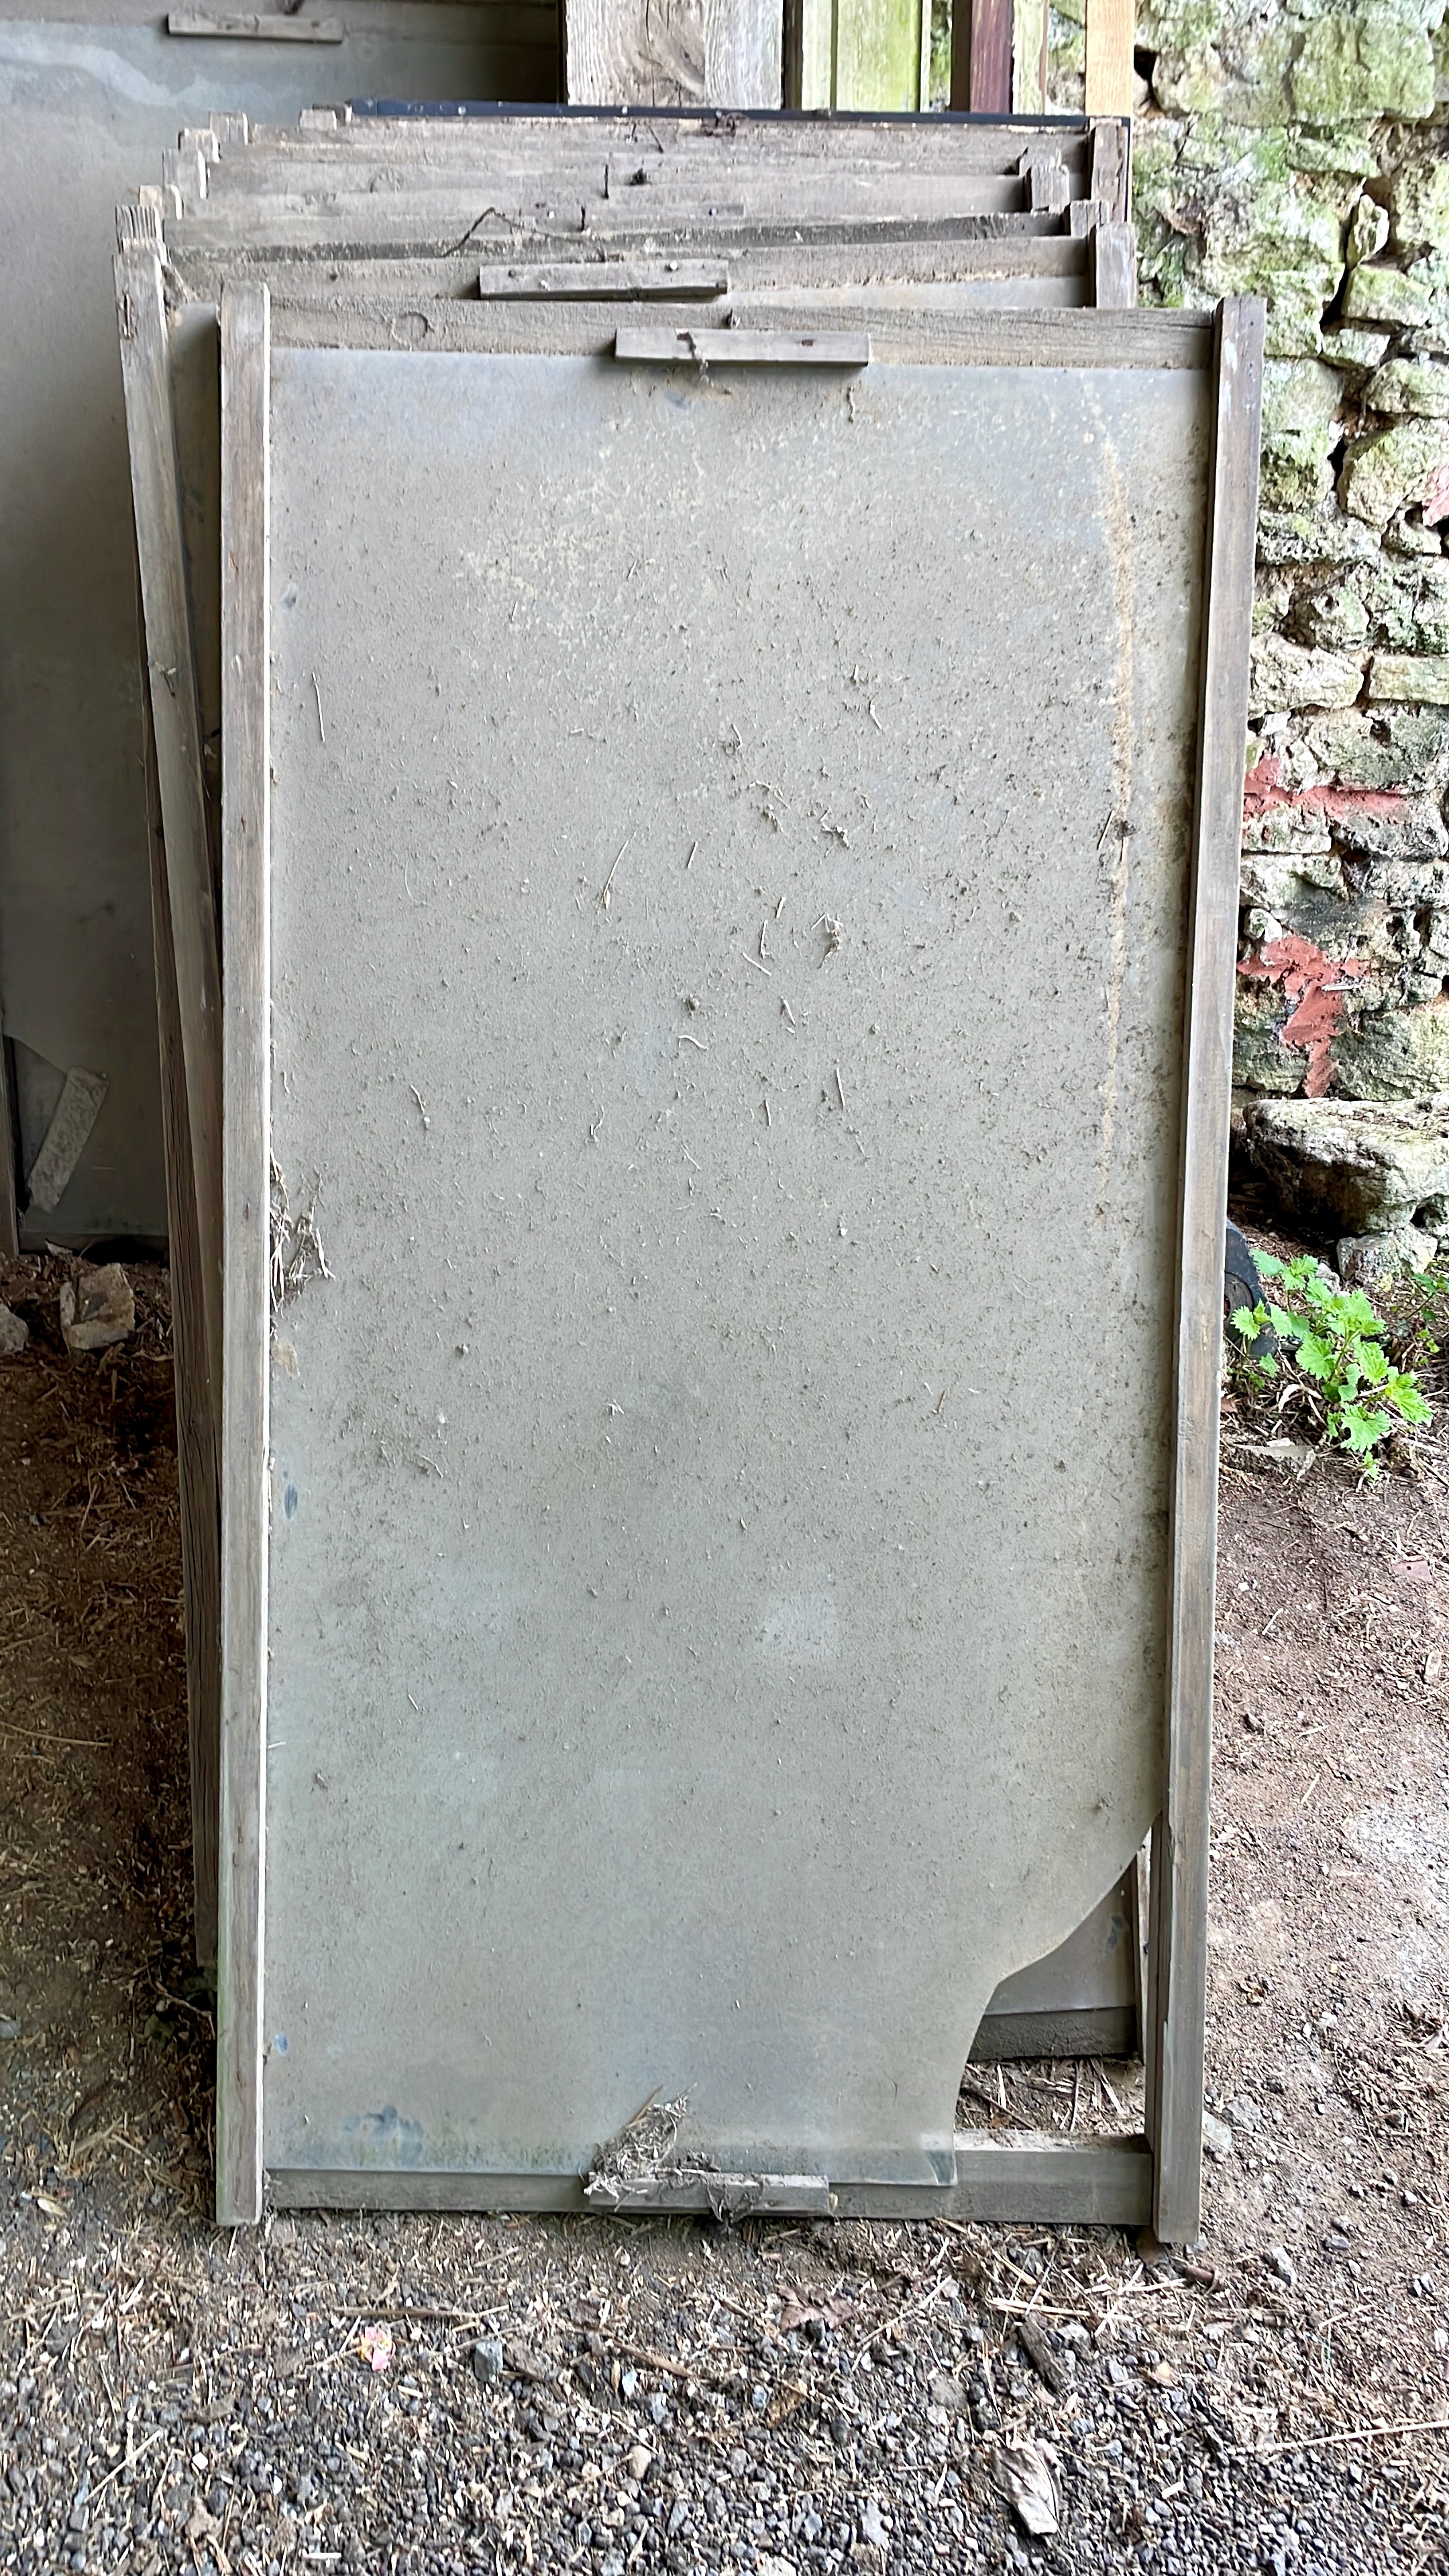
In September 2022 Sam and I bought our first house together. We were now proud owners of a 1950’s council house and we could do anything we wanted. I had always dreamed of having my own greenhouse and on the morning of the 15th of April 2023 Sam had found 100s of century-old light frames for sale at a local farm for just 1 pound each, so, of course, we went down to take a look. As we arrived we found that 99% of the glass was broken but Sam was sure we could make it work. I’m mentioning year dates here as the project took longer than expected…
The Design
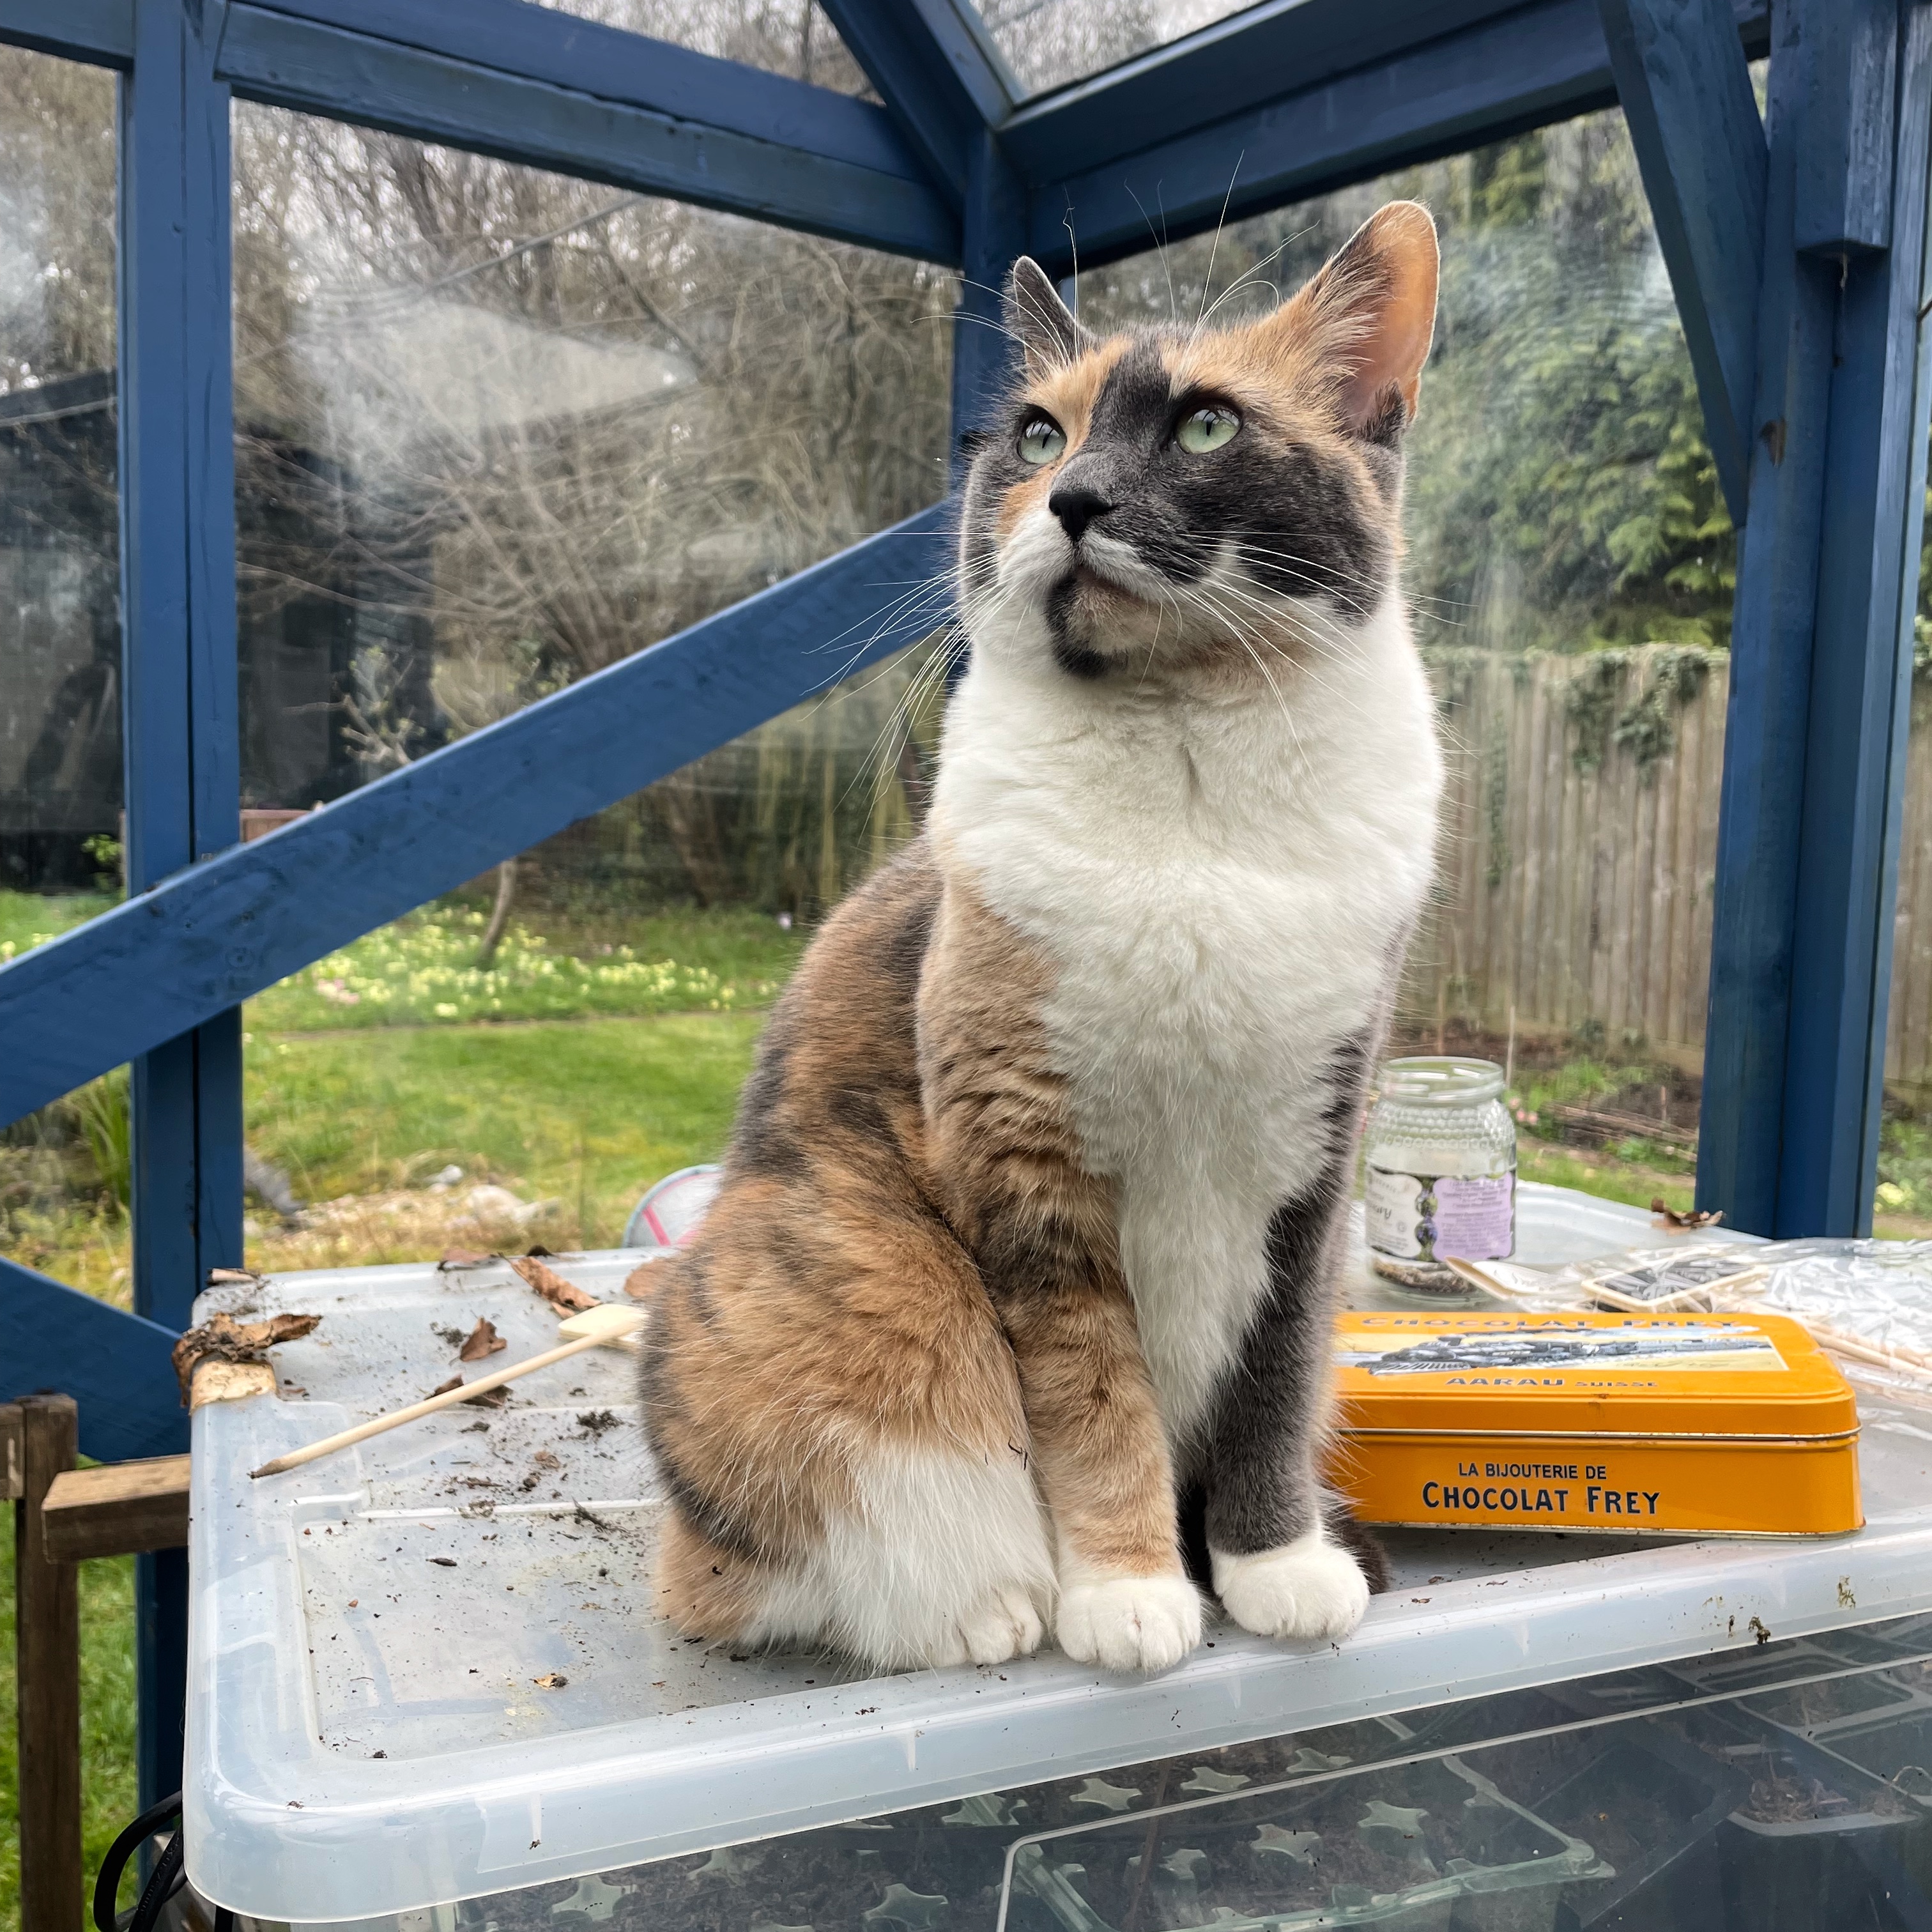
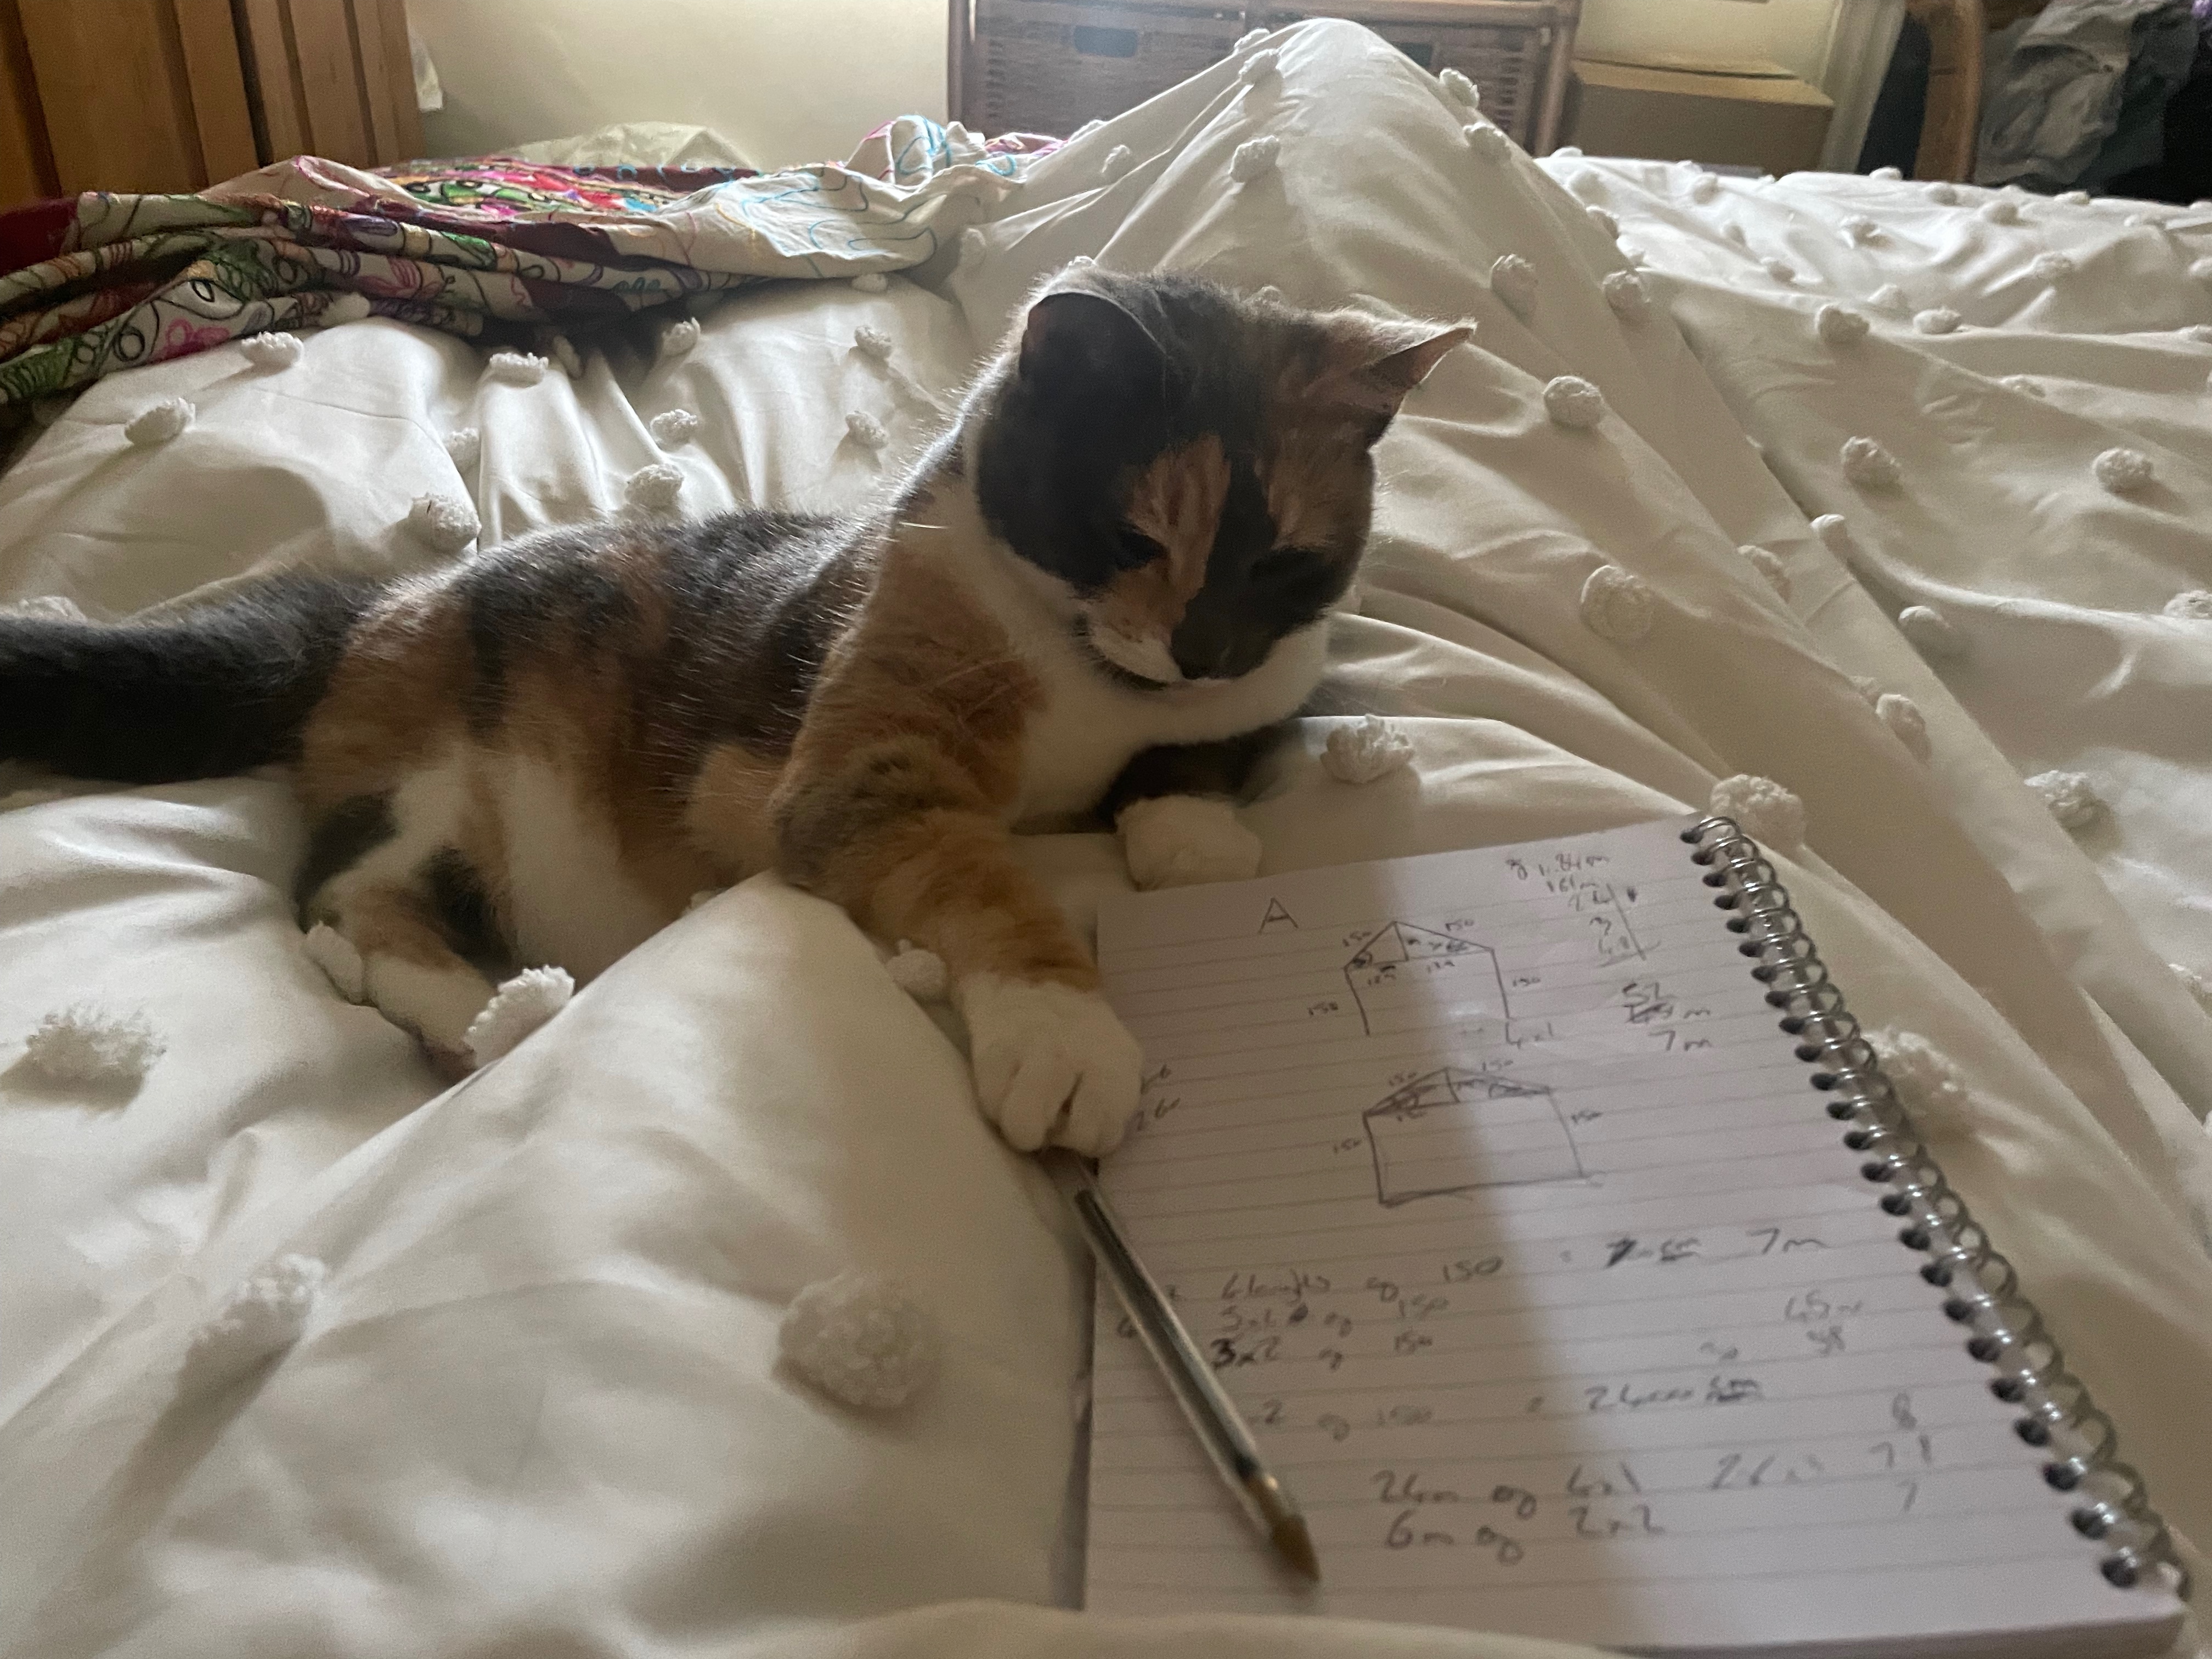
At that time we had very few tools required to do the job so I invited my family down for the weekend to spend some quality time together and use all my dads tools. To Sam’s dismay I didn’t really have a plan, other than the one Luna, our chief engineer had drawn the morning before.
The Frames
The build started with Sam inspecting the frames. We needed around 24 to get it built but had bought 79 of them. The best of the bunch we wanted to save to build an outdoor bathroom. This meant the greenhouse was built with frames that had slightly worse glass wounds than the premium frames.
The Build
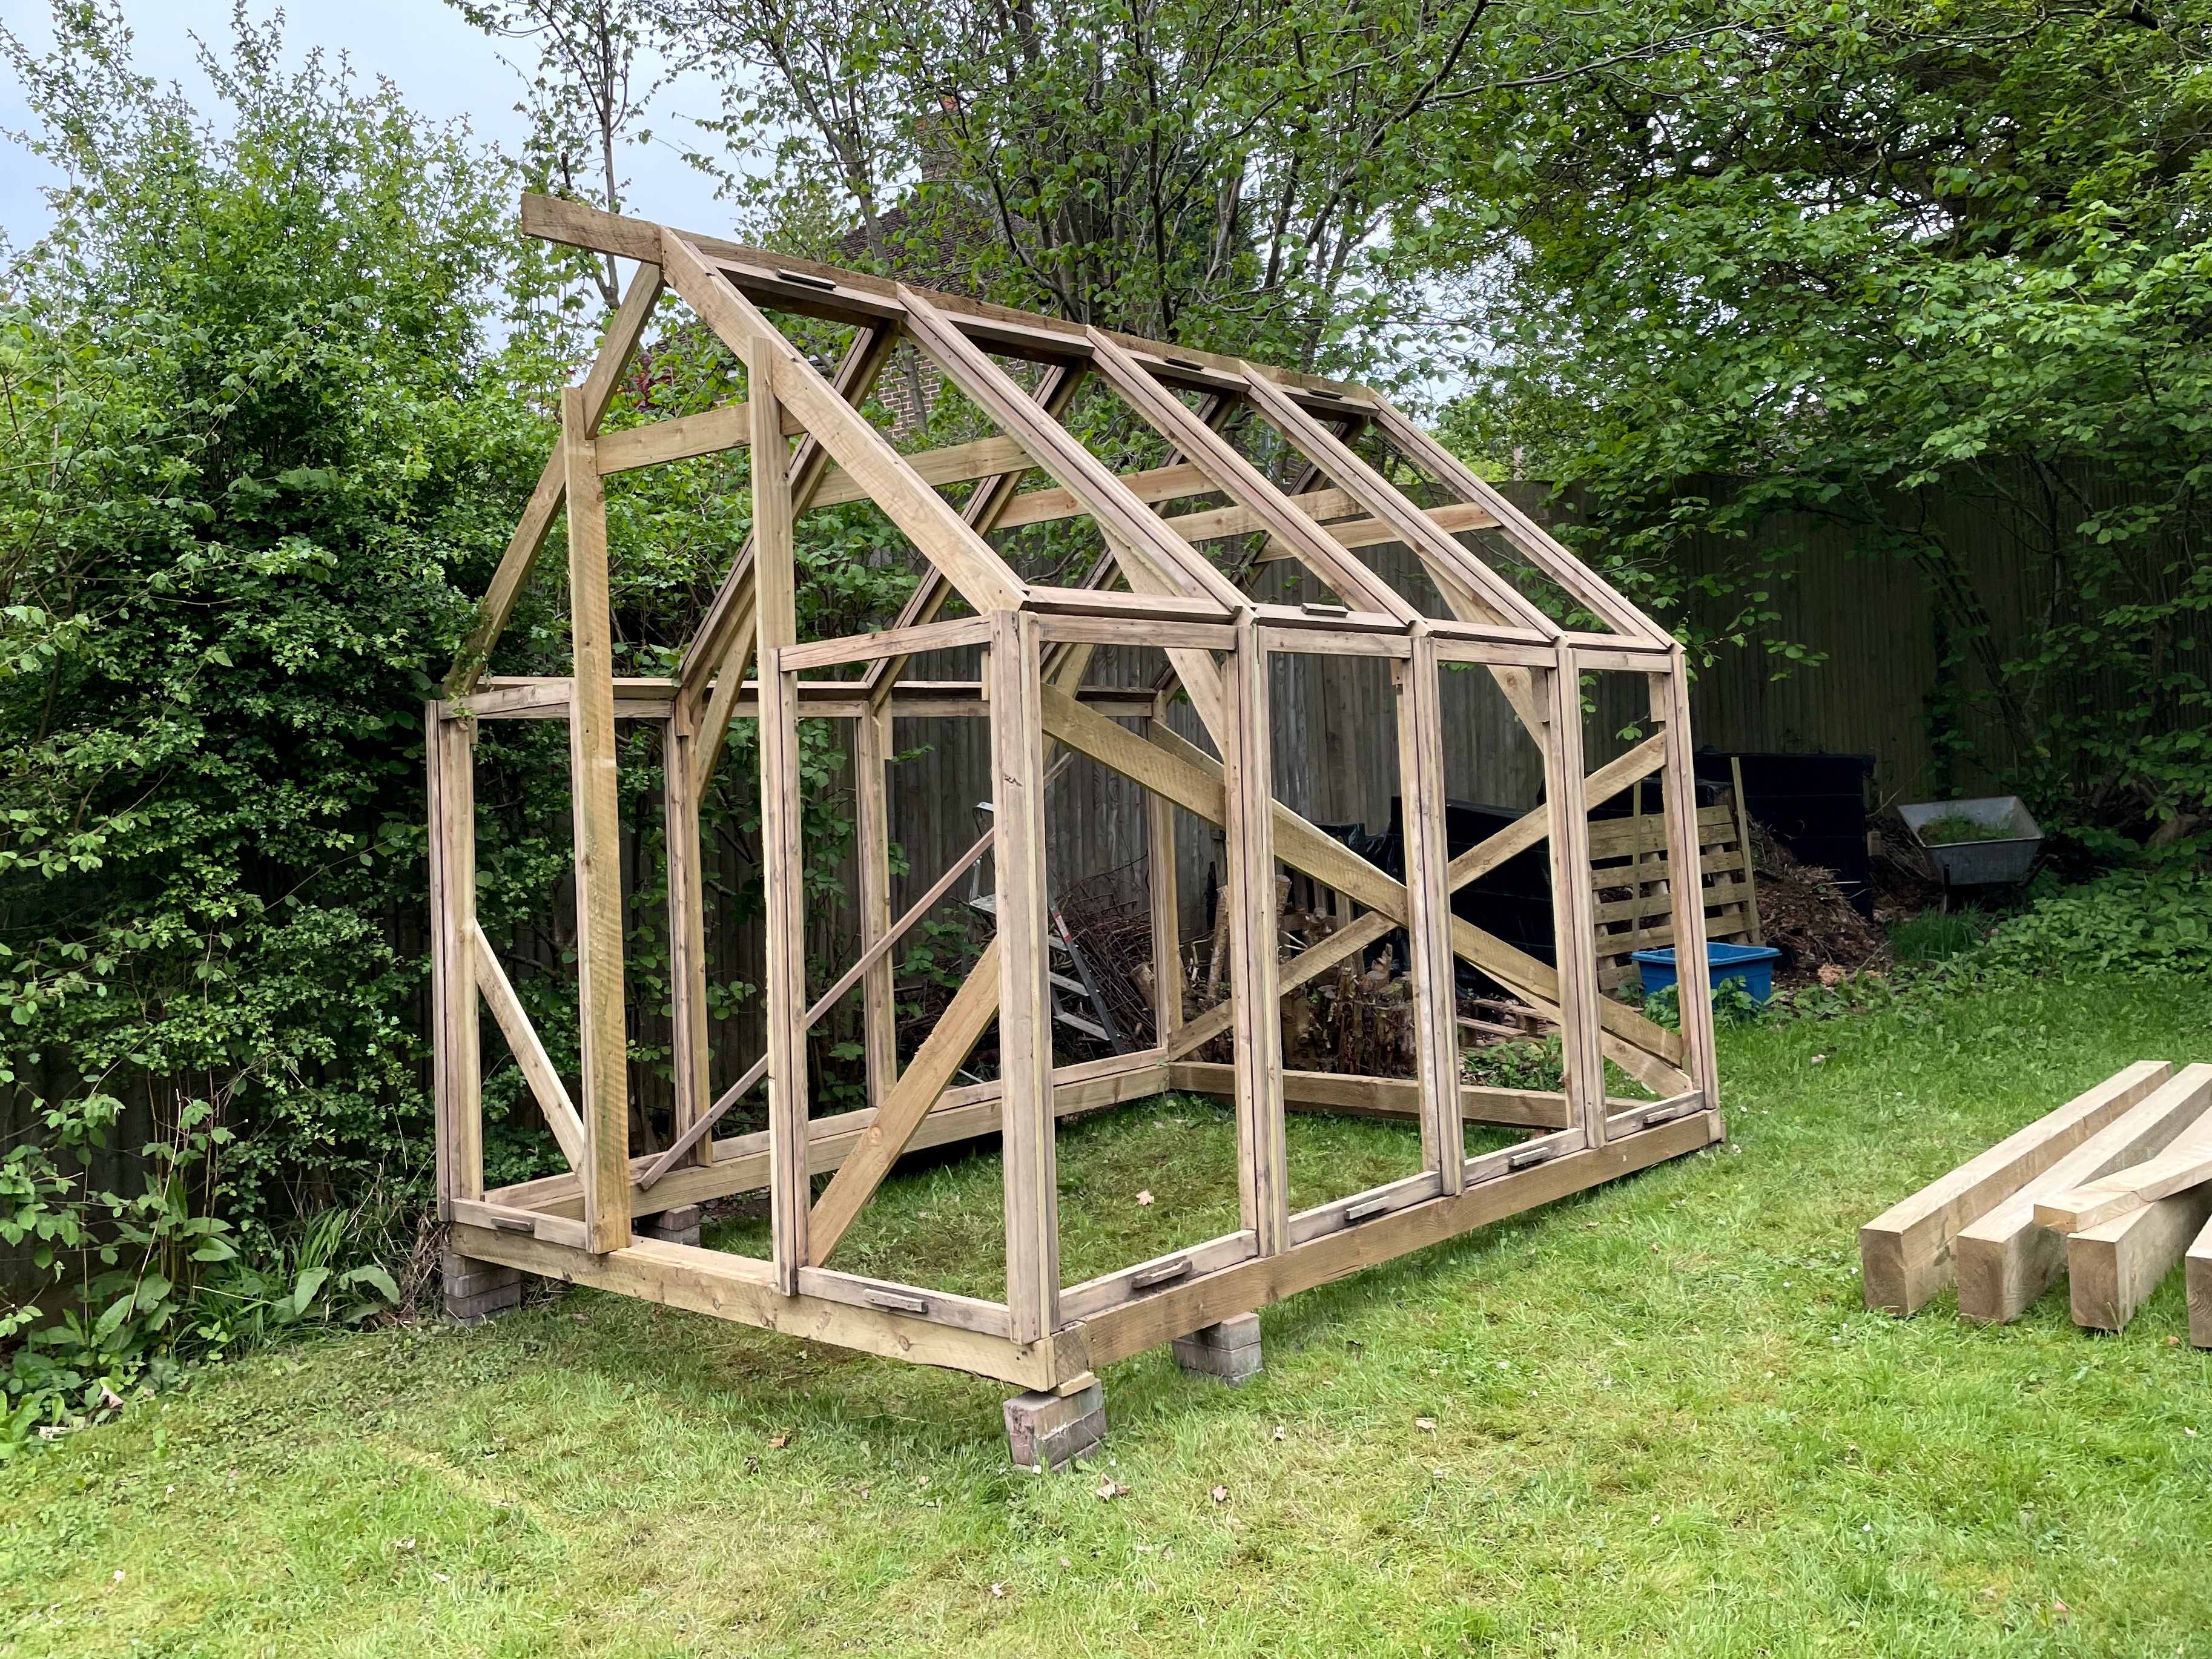
The general shape of the greenhouse was to be 4 frames long and 3 frames wide. This resulted in a 90 degrees angled roof which is how I imagined it to look anyway.
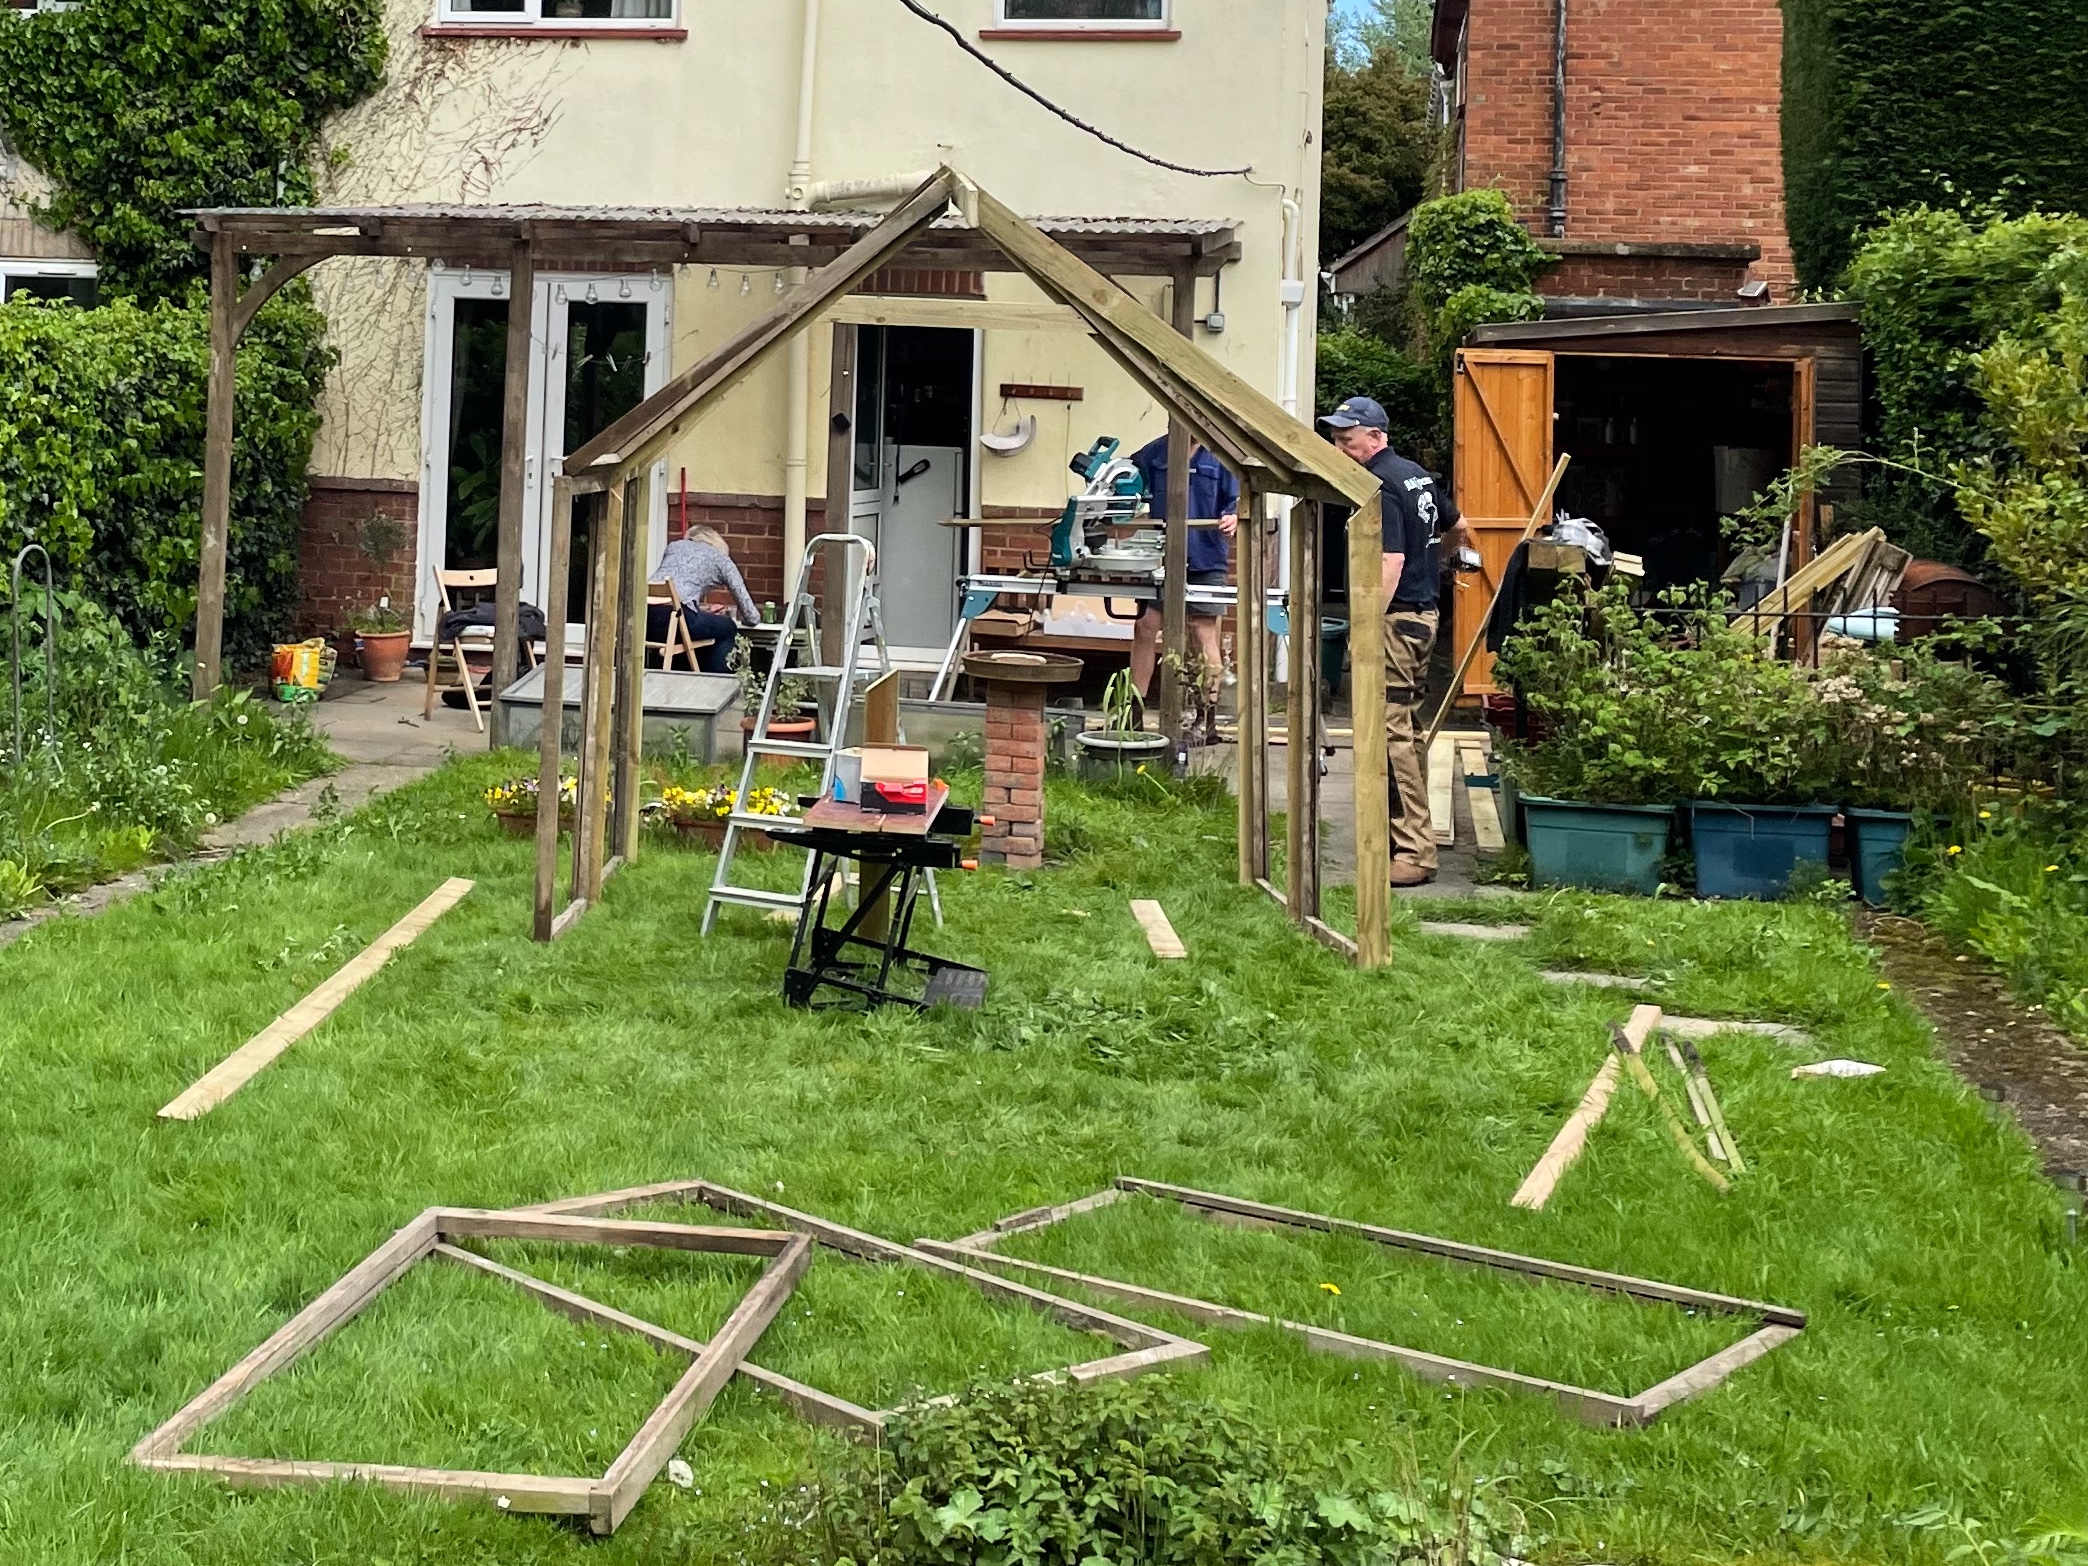
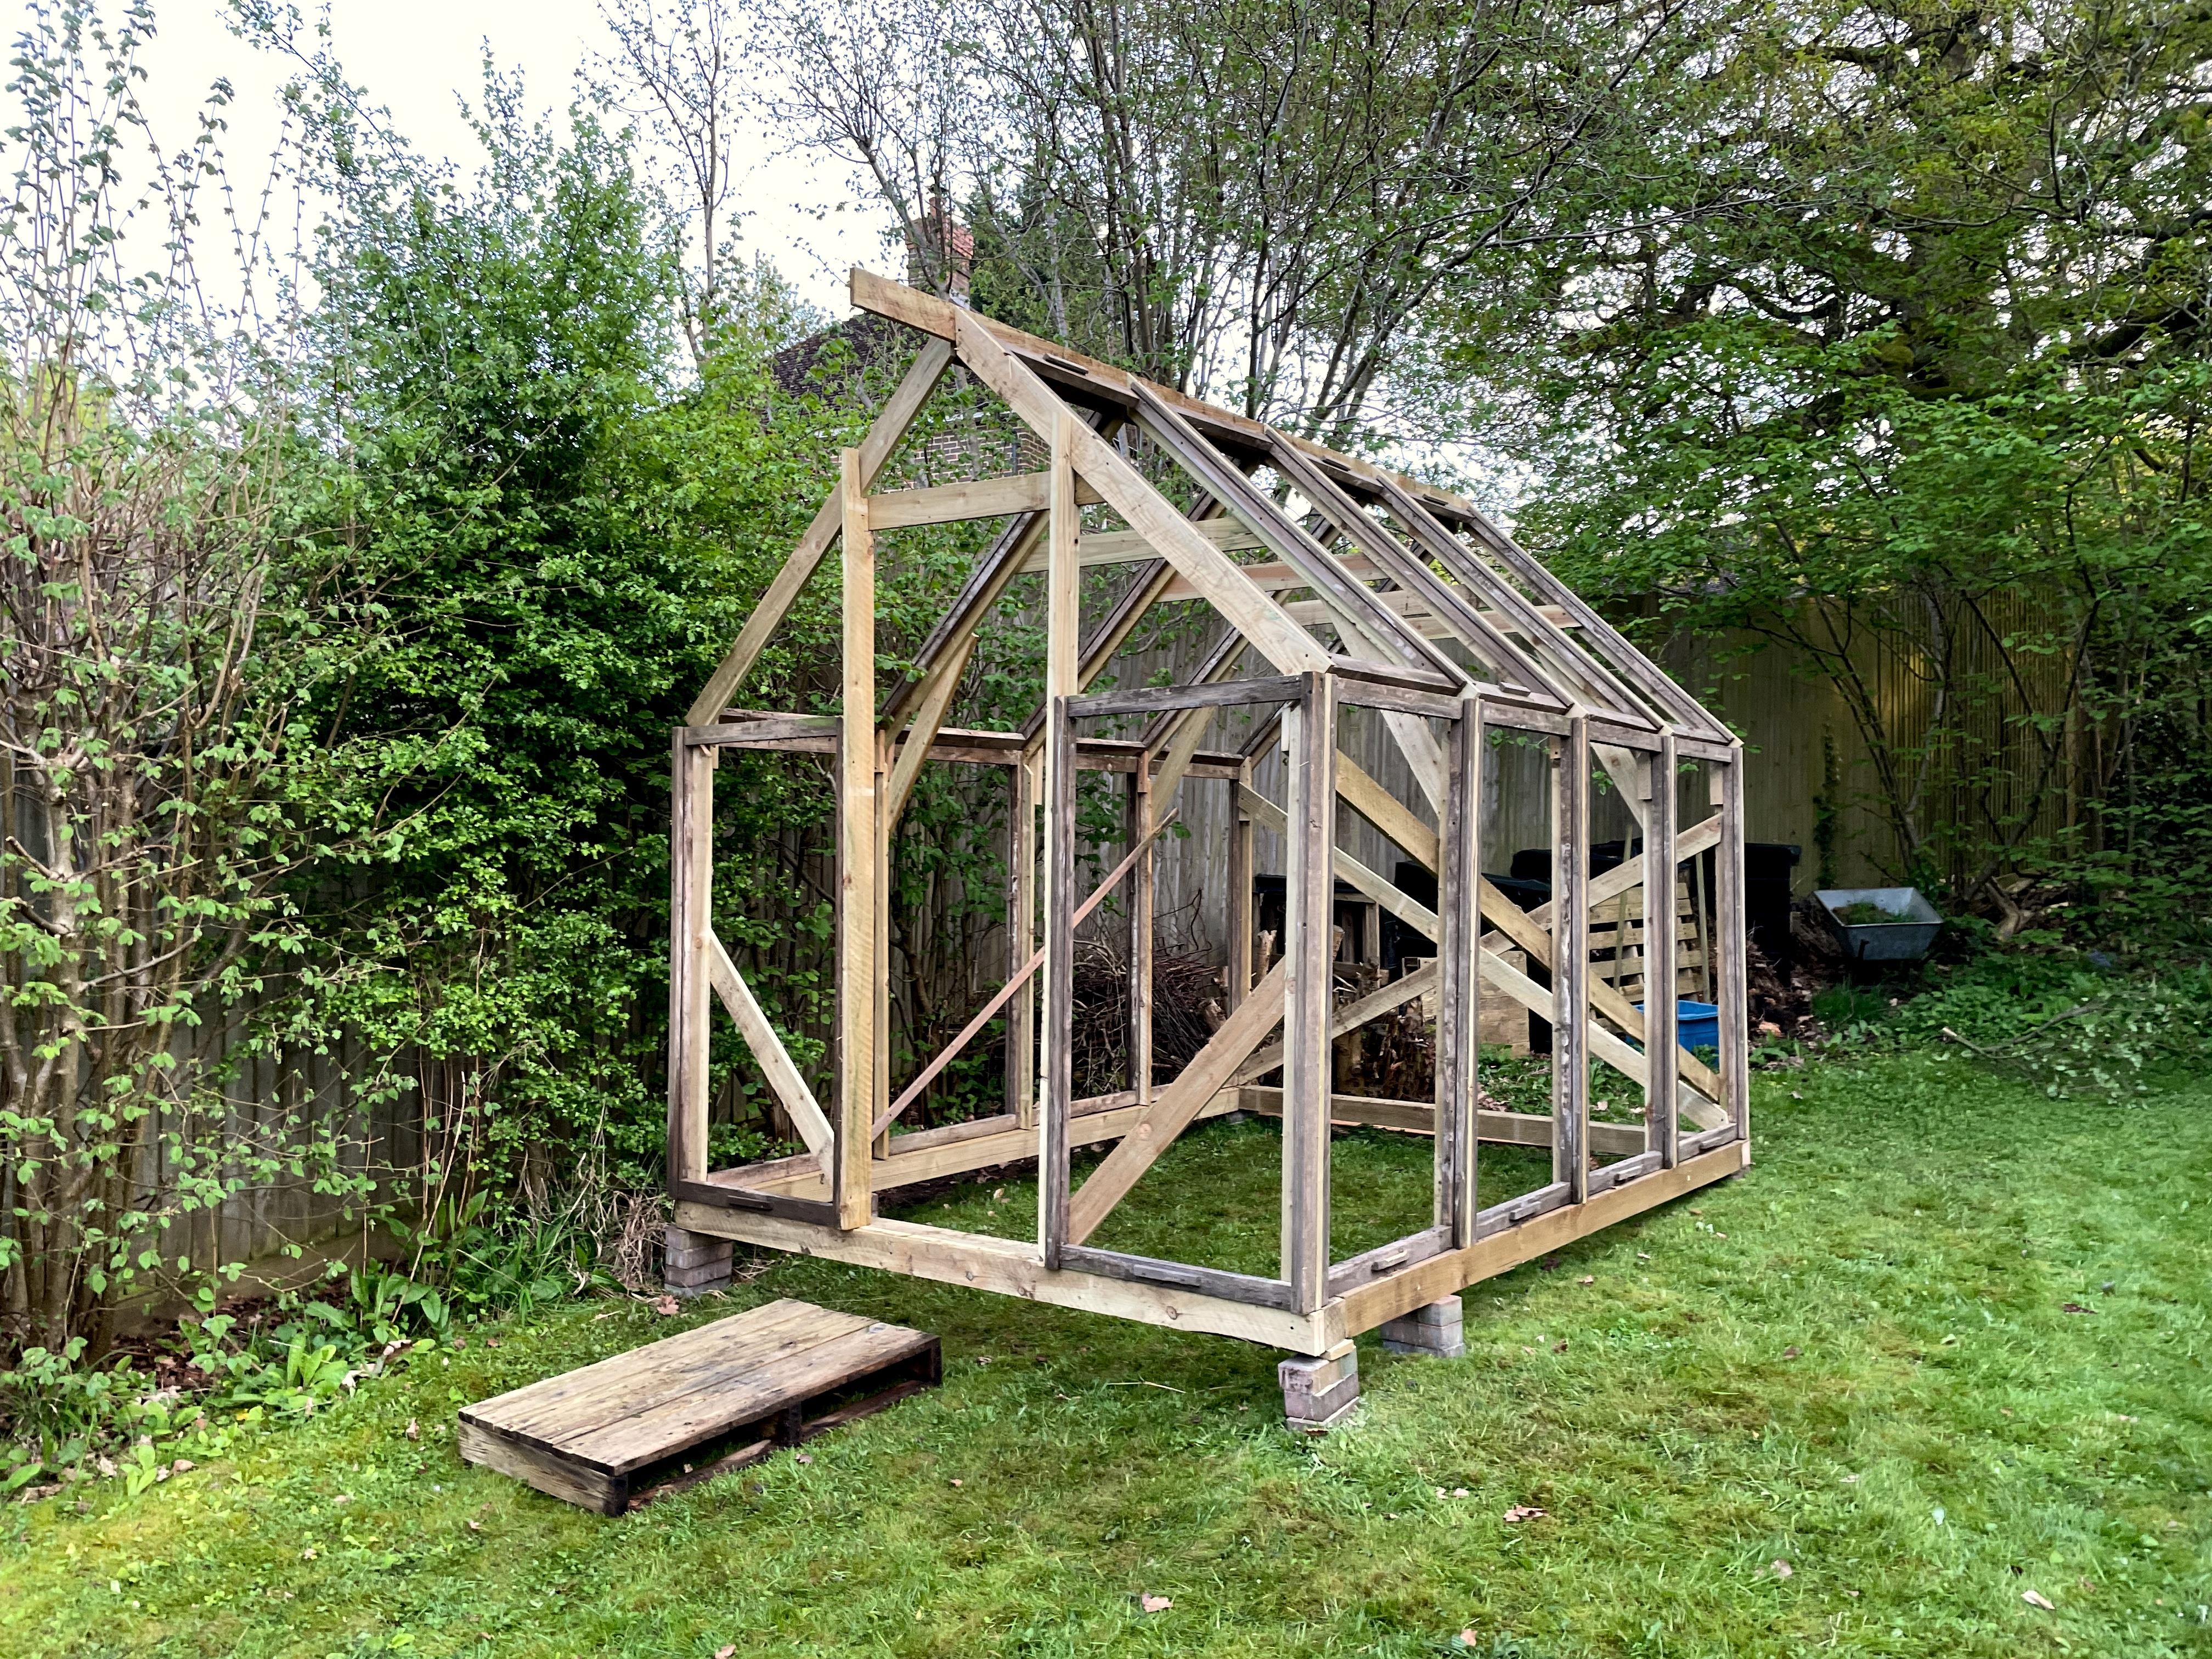
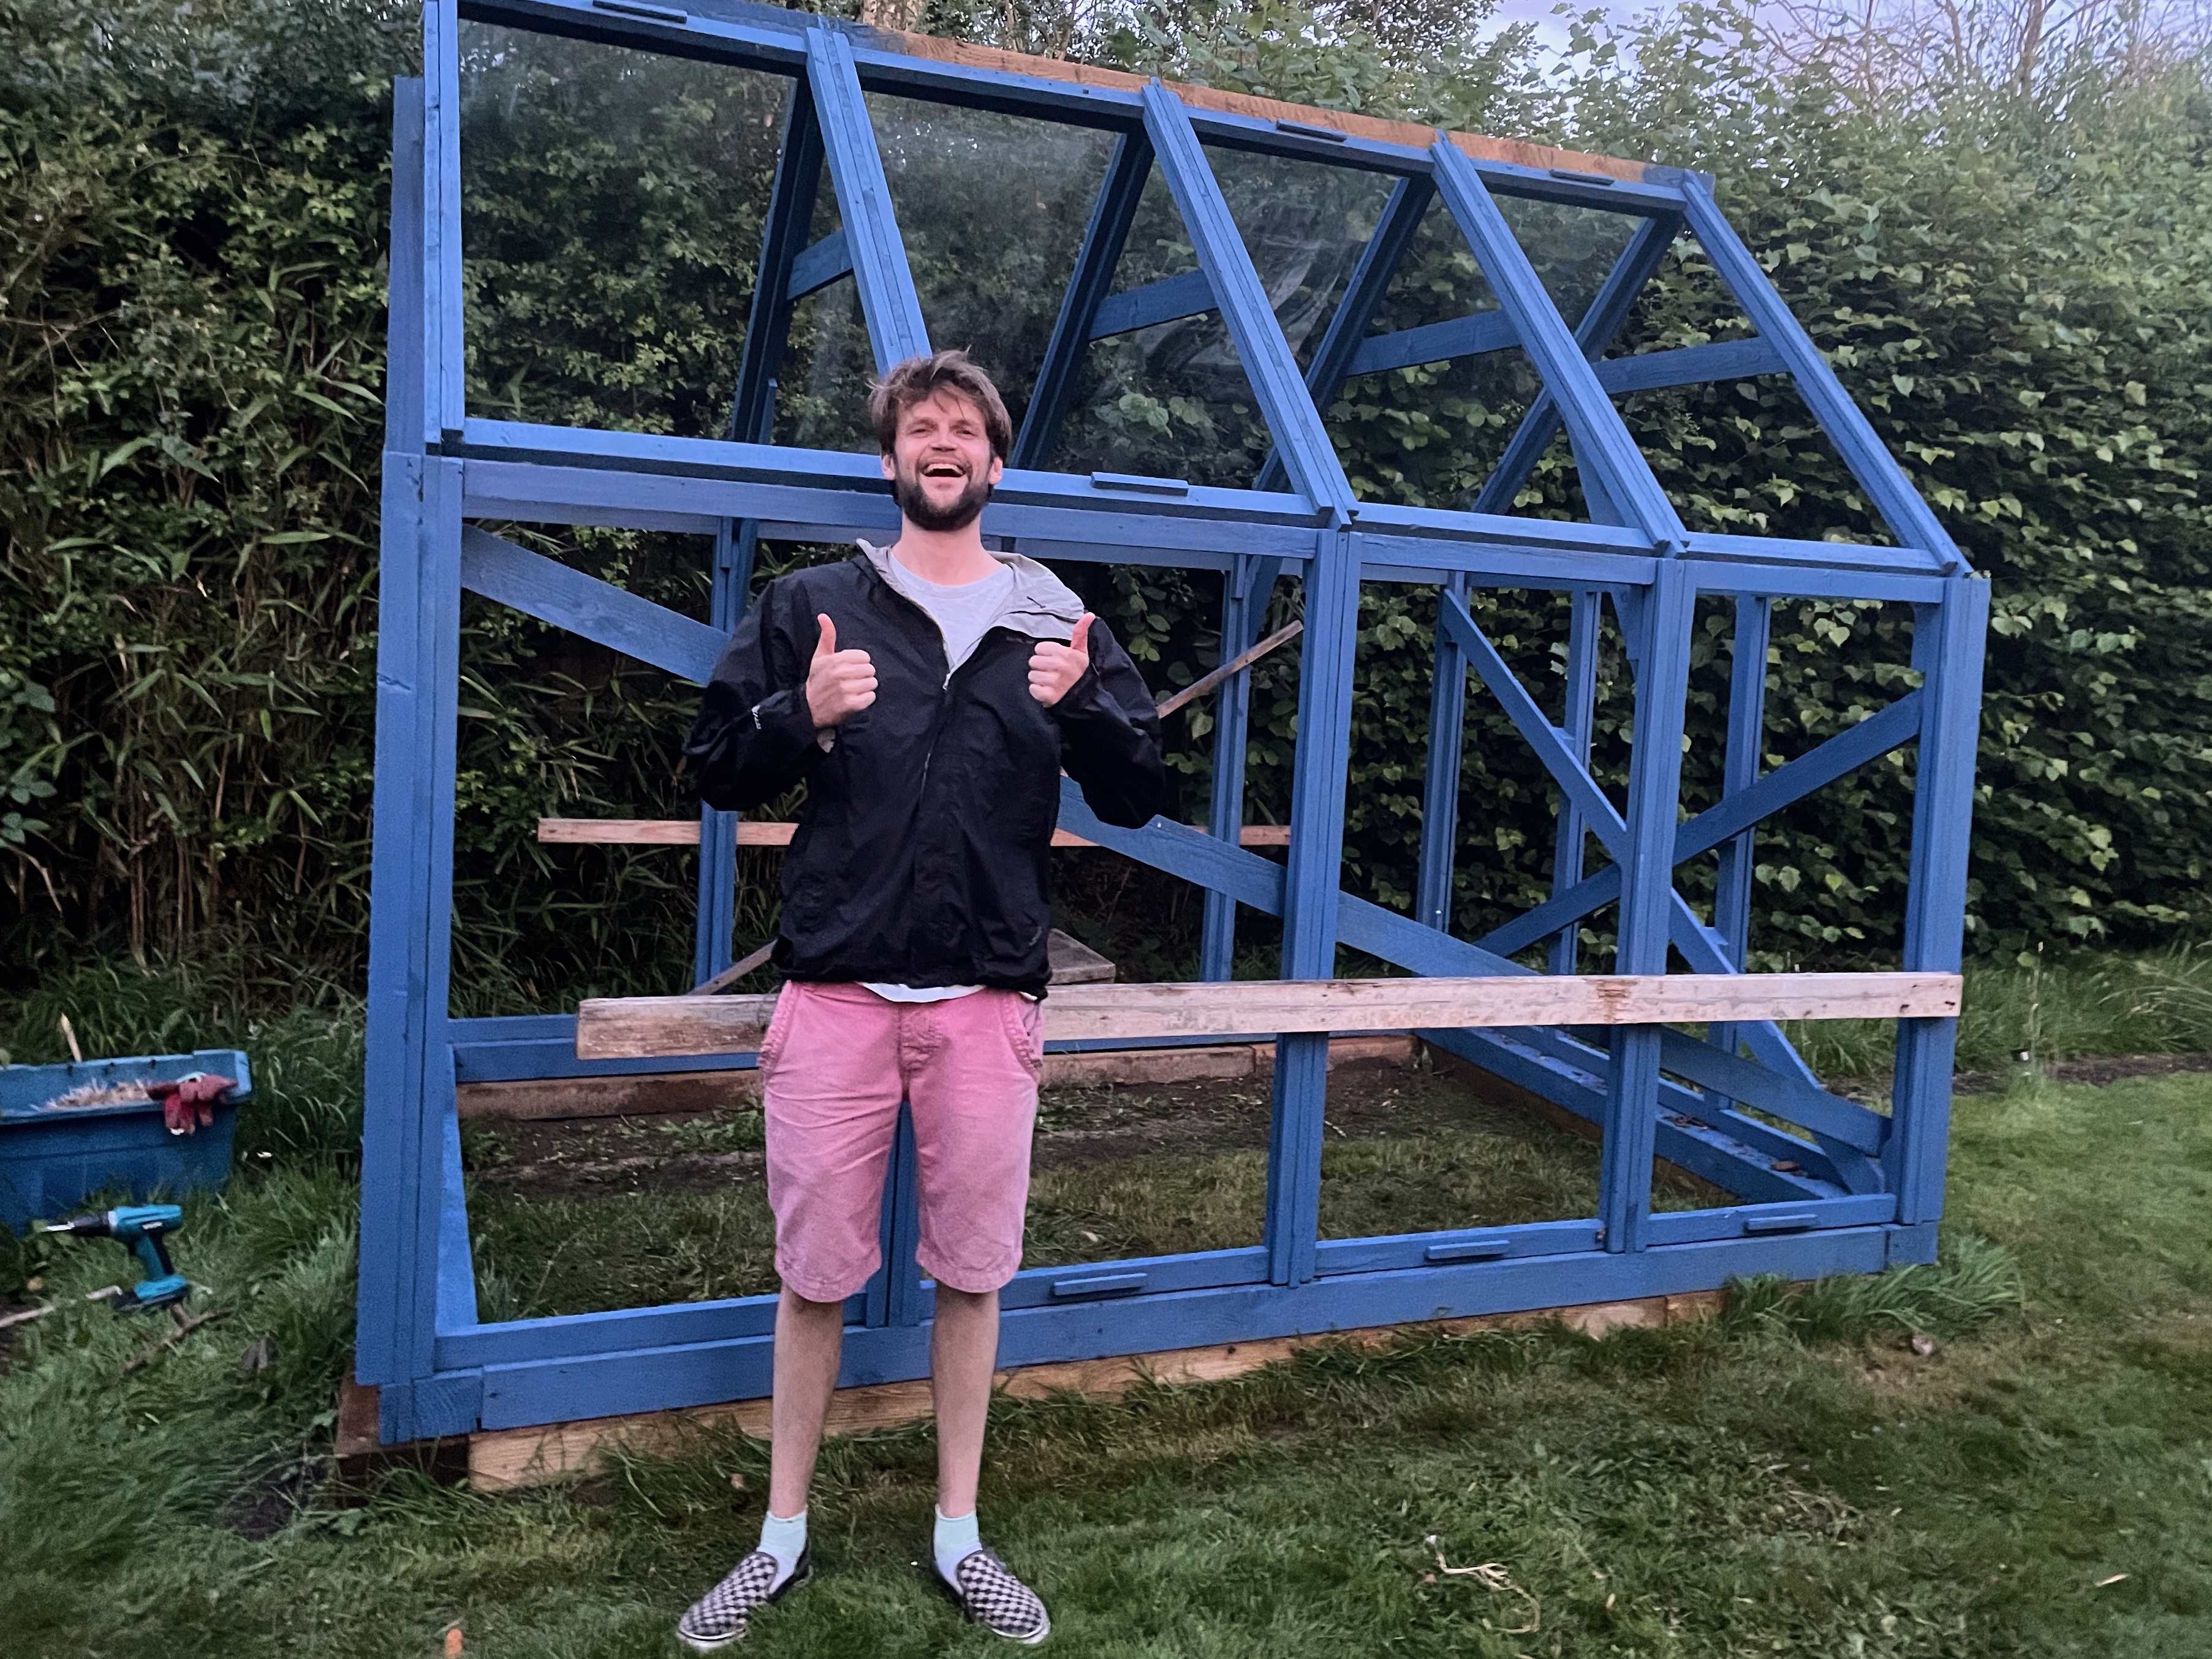
Fast forward 6 hours later and the greenhouse was built. Do I wish I had made a real design for this. Yes, It is riddled with problems. Do I regret it? A little bit. Did Sam repeatedly tell me I’m an idiot for not having a plan. Yes. Did i listen? No…. Gutted. Anyway! After it was built we moved it to it’s location in the garden. Here it is in all it’s glory. What a day!
The Sanding
Now it needed to be sanded before painting. This took several evenings after work to complete. Thank you so much Priscilla (previous house owner) for leaving a sander in the shed!
The Painting
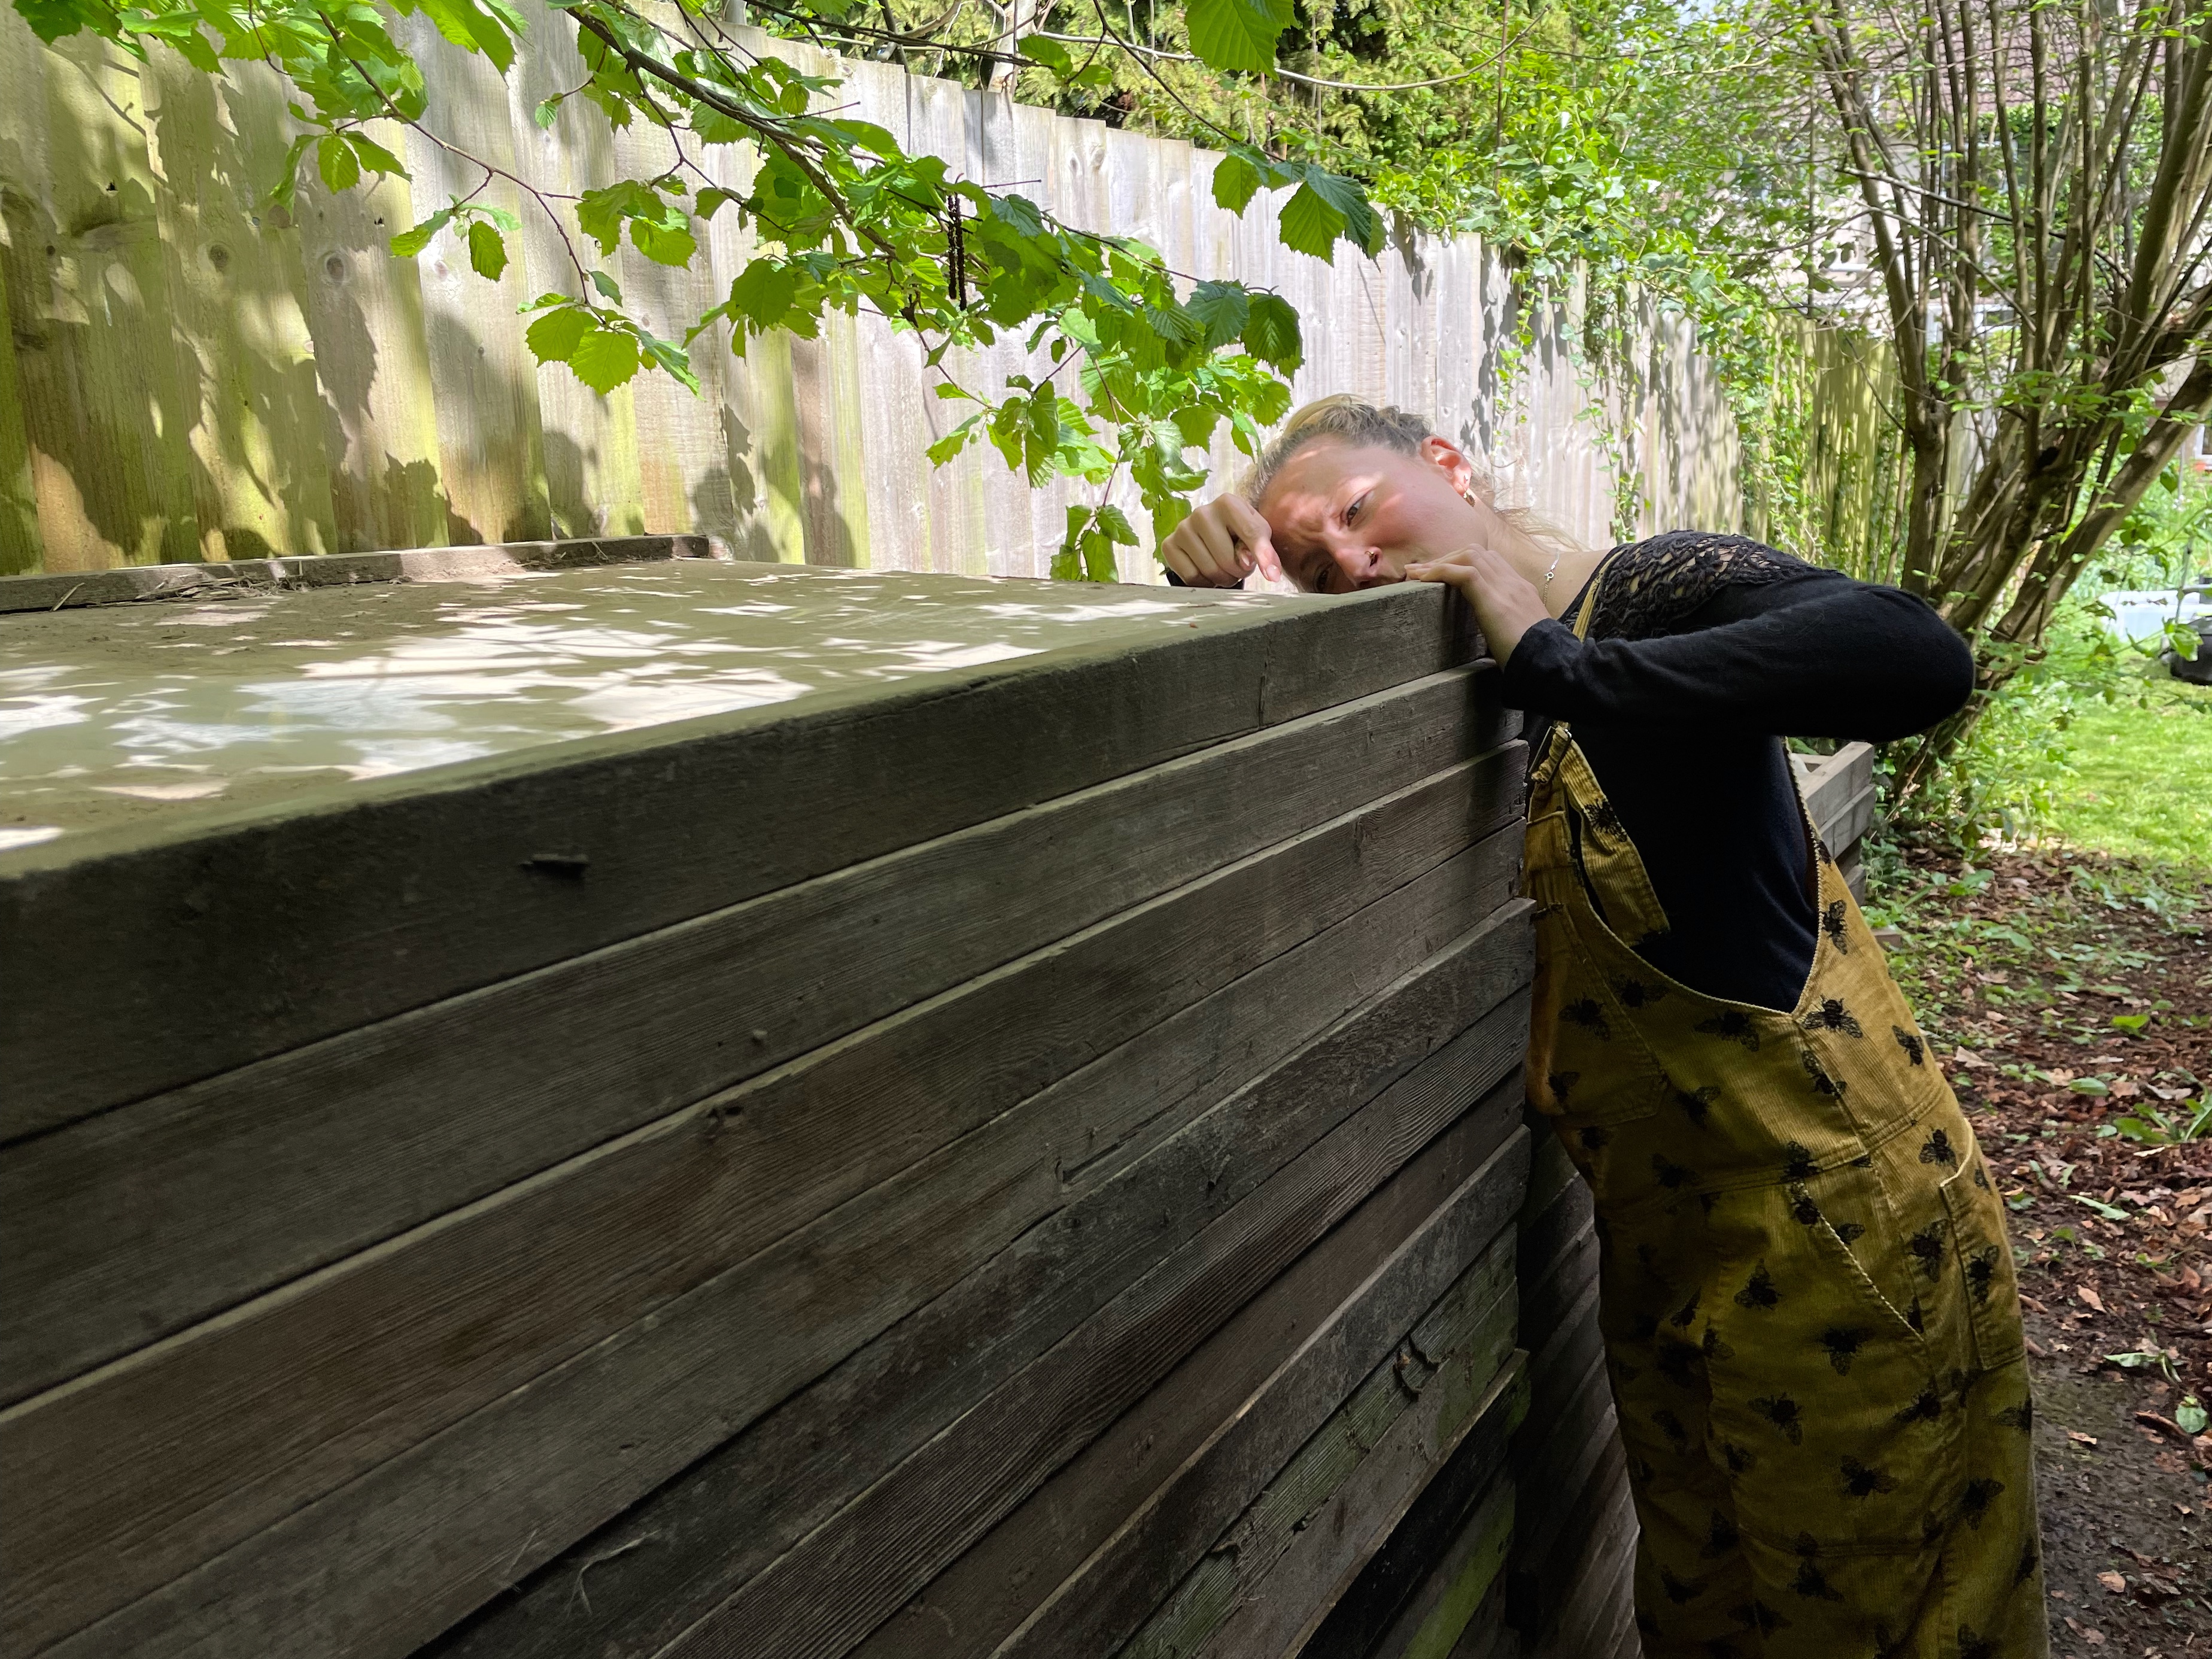
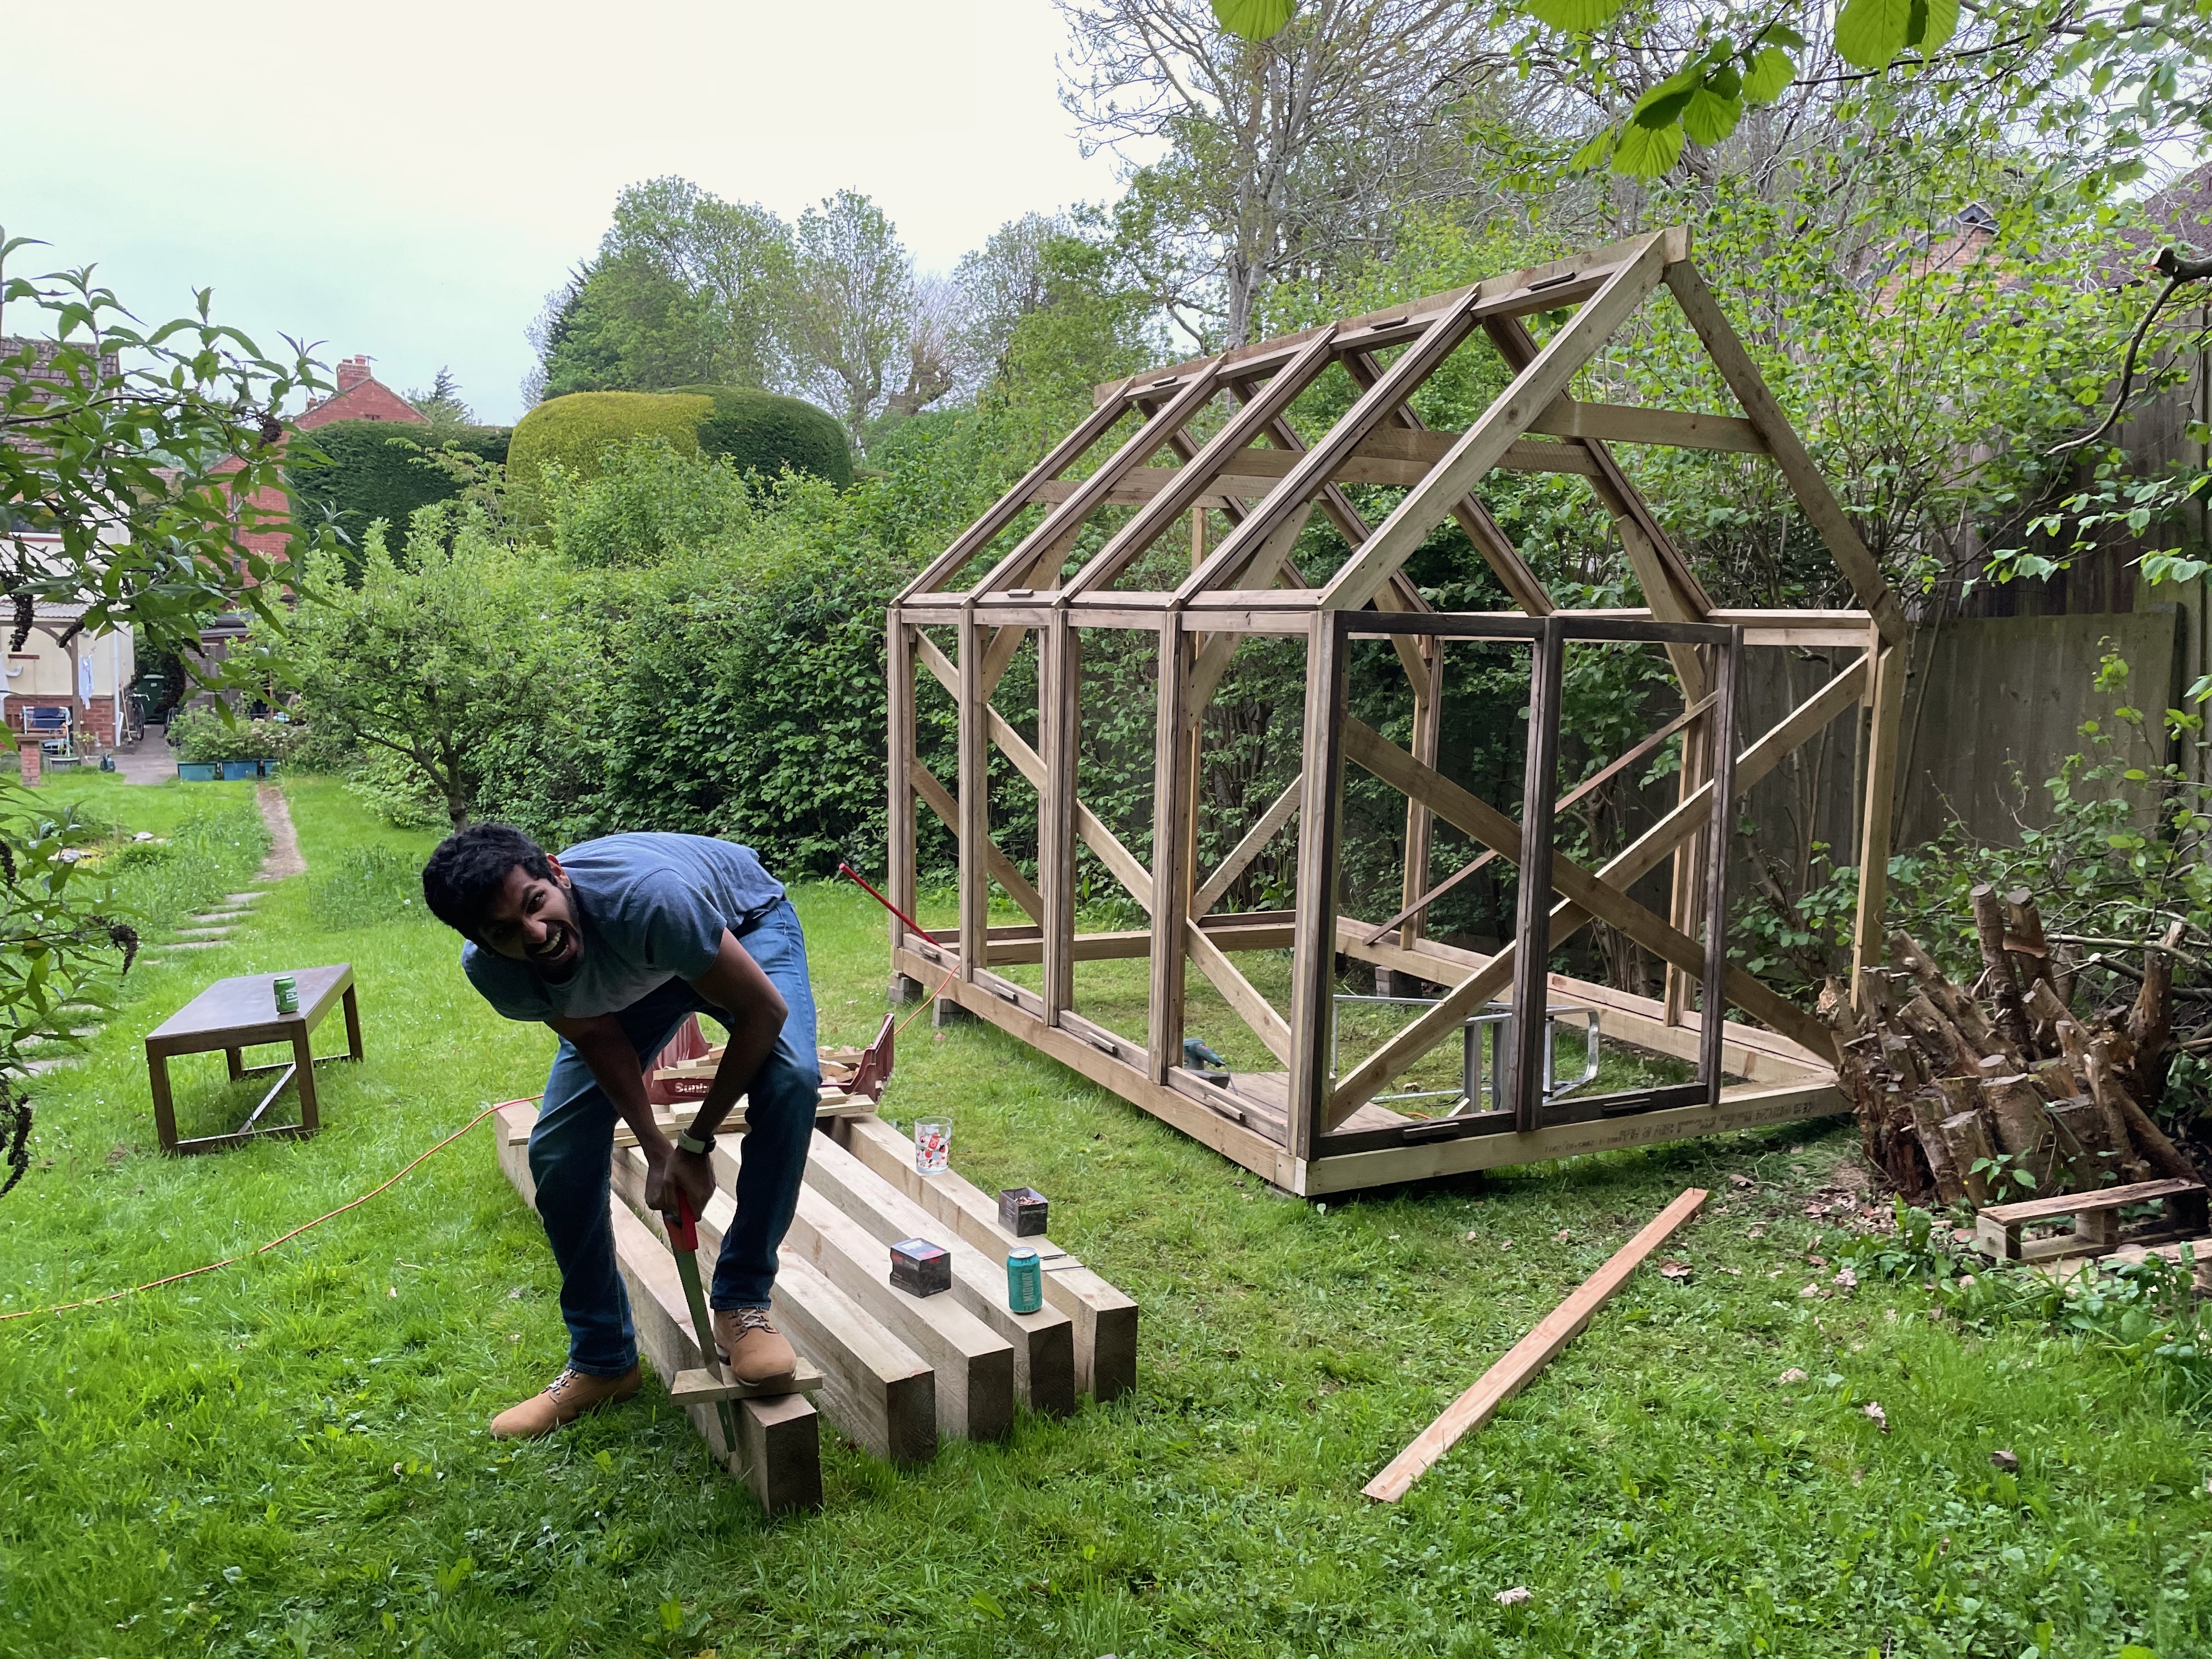
Throughout the build many friends came to help. Here is Shuvay losing his mind and in stark contrast, Sam finding peace.
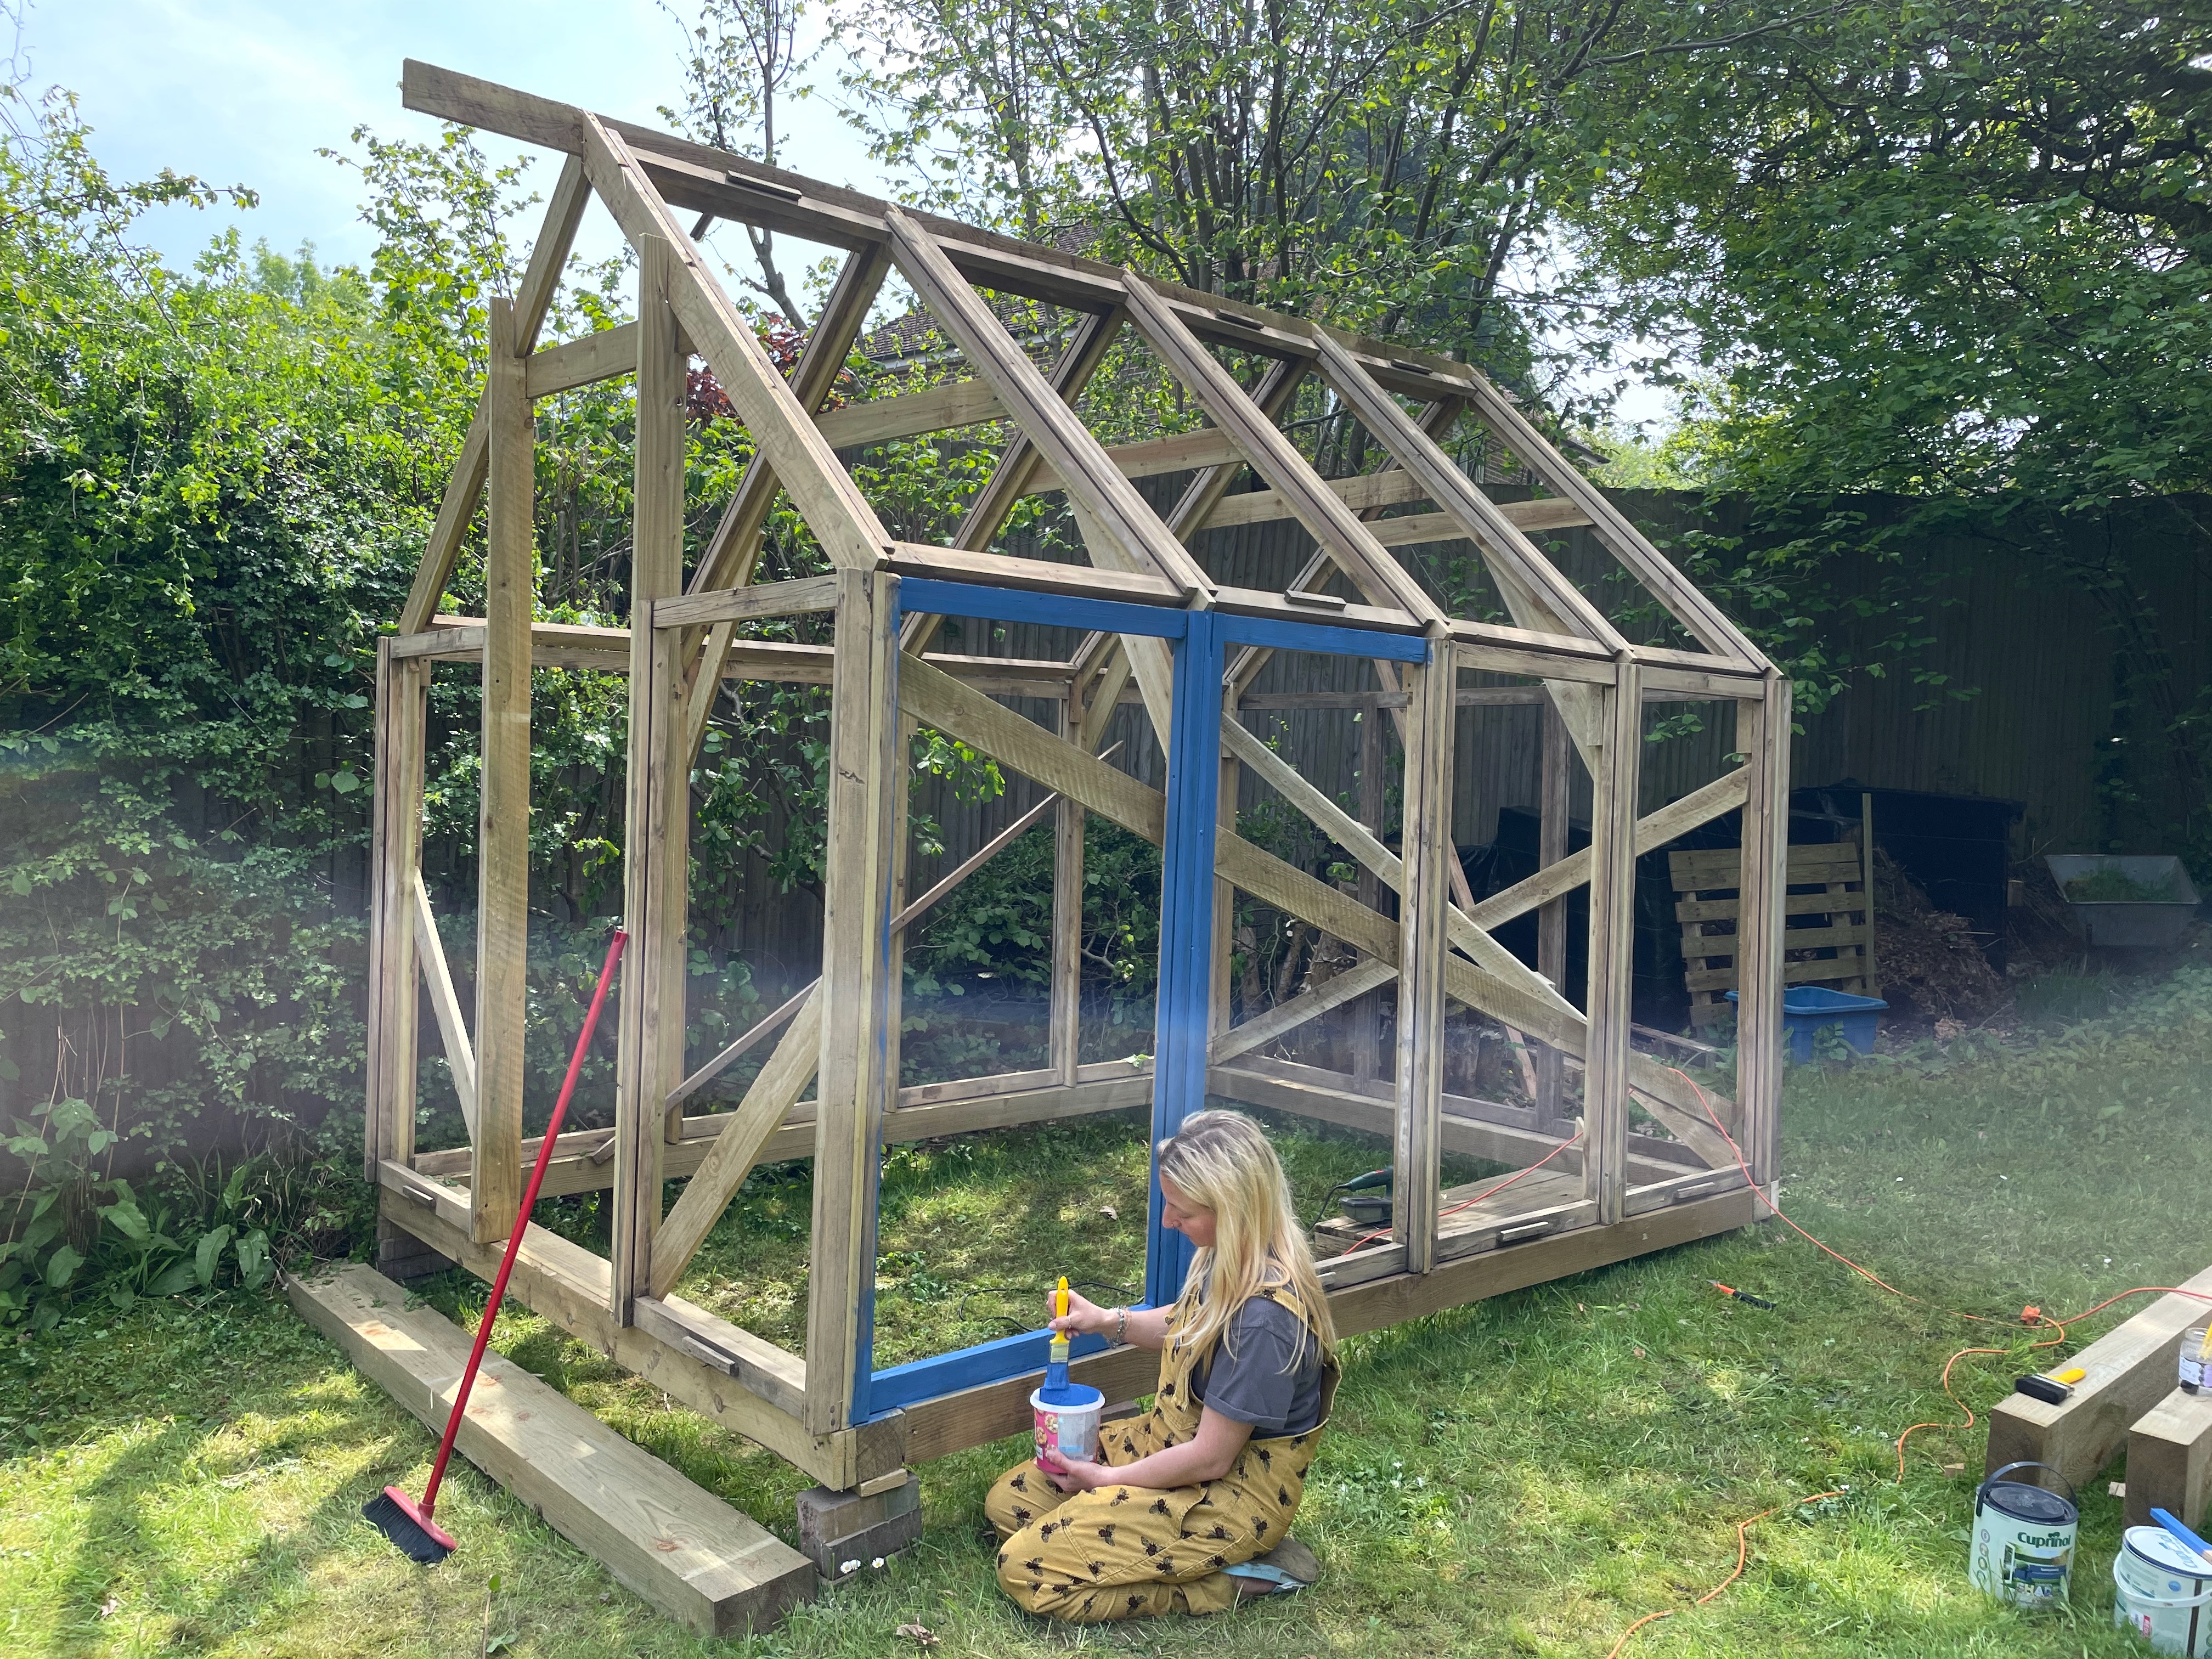
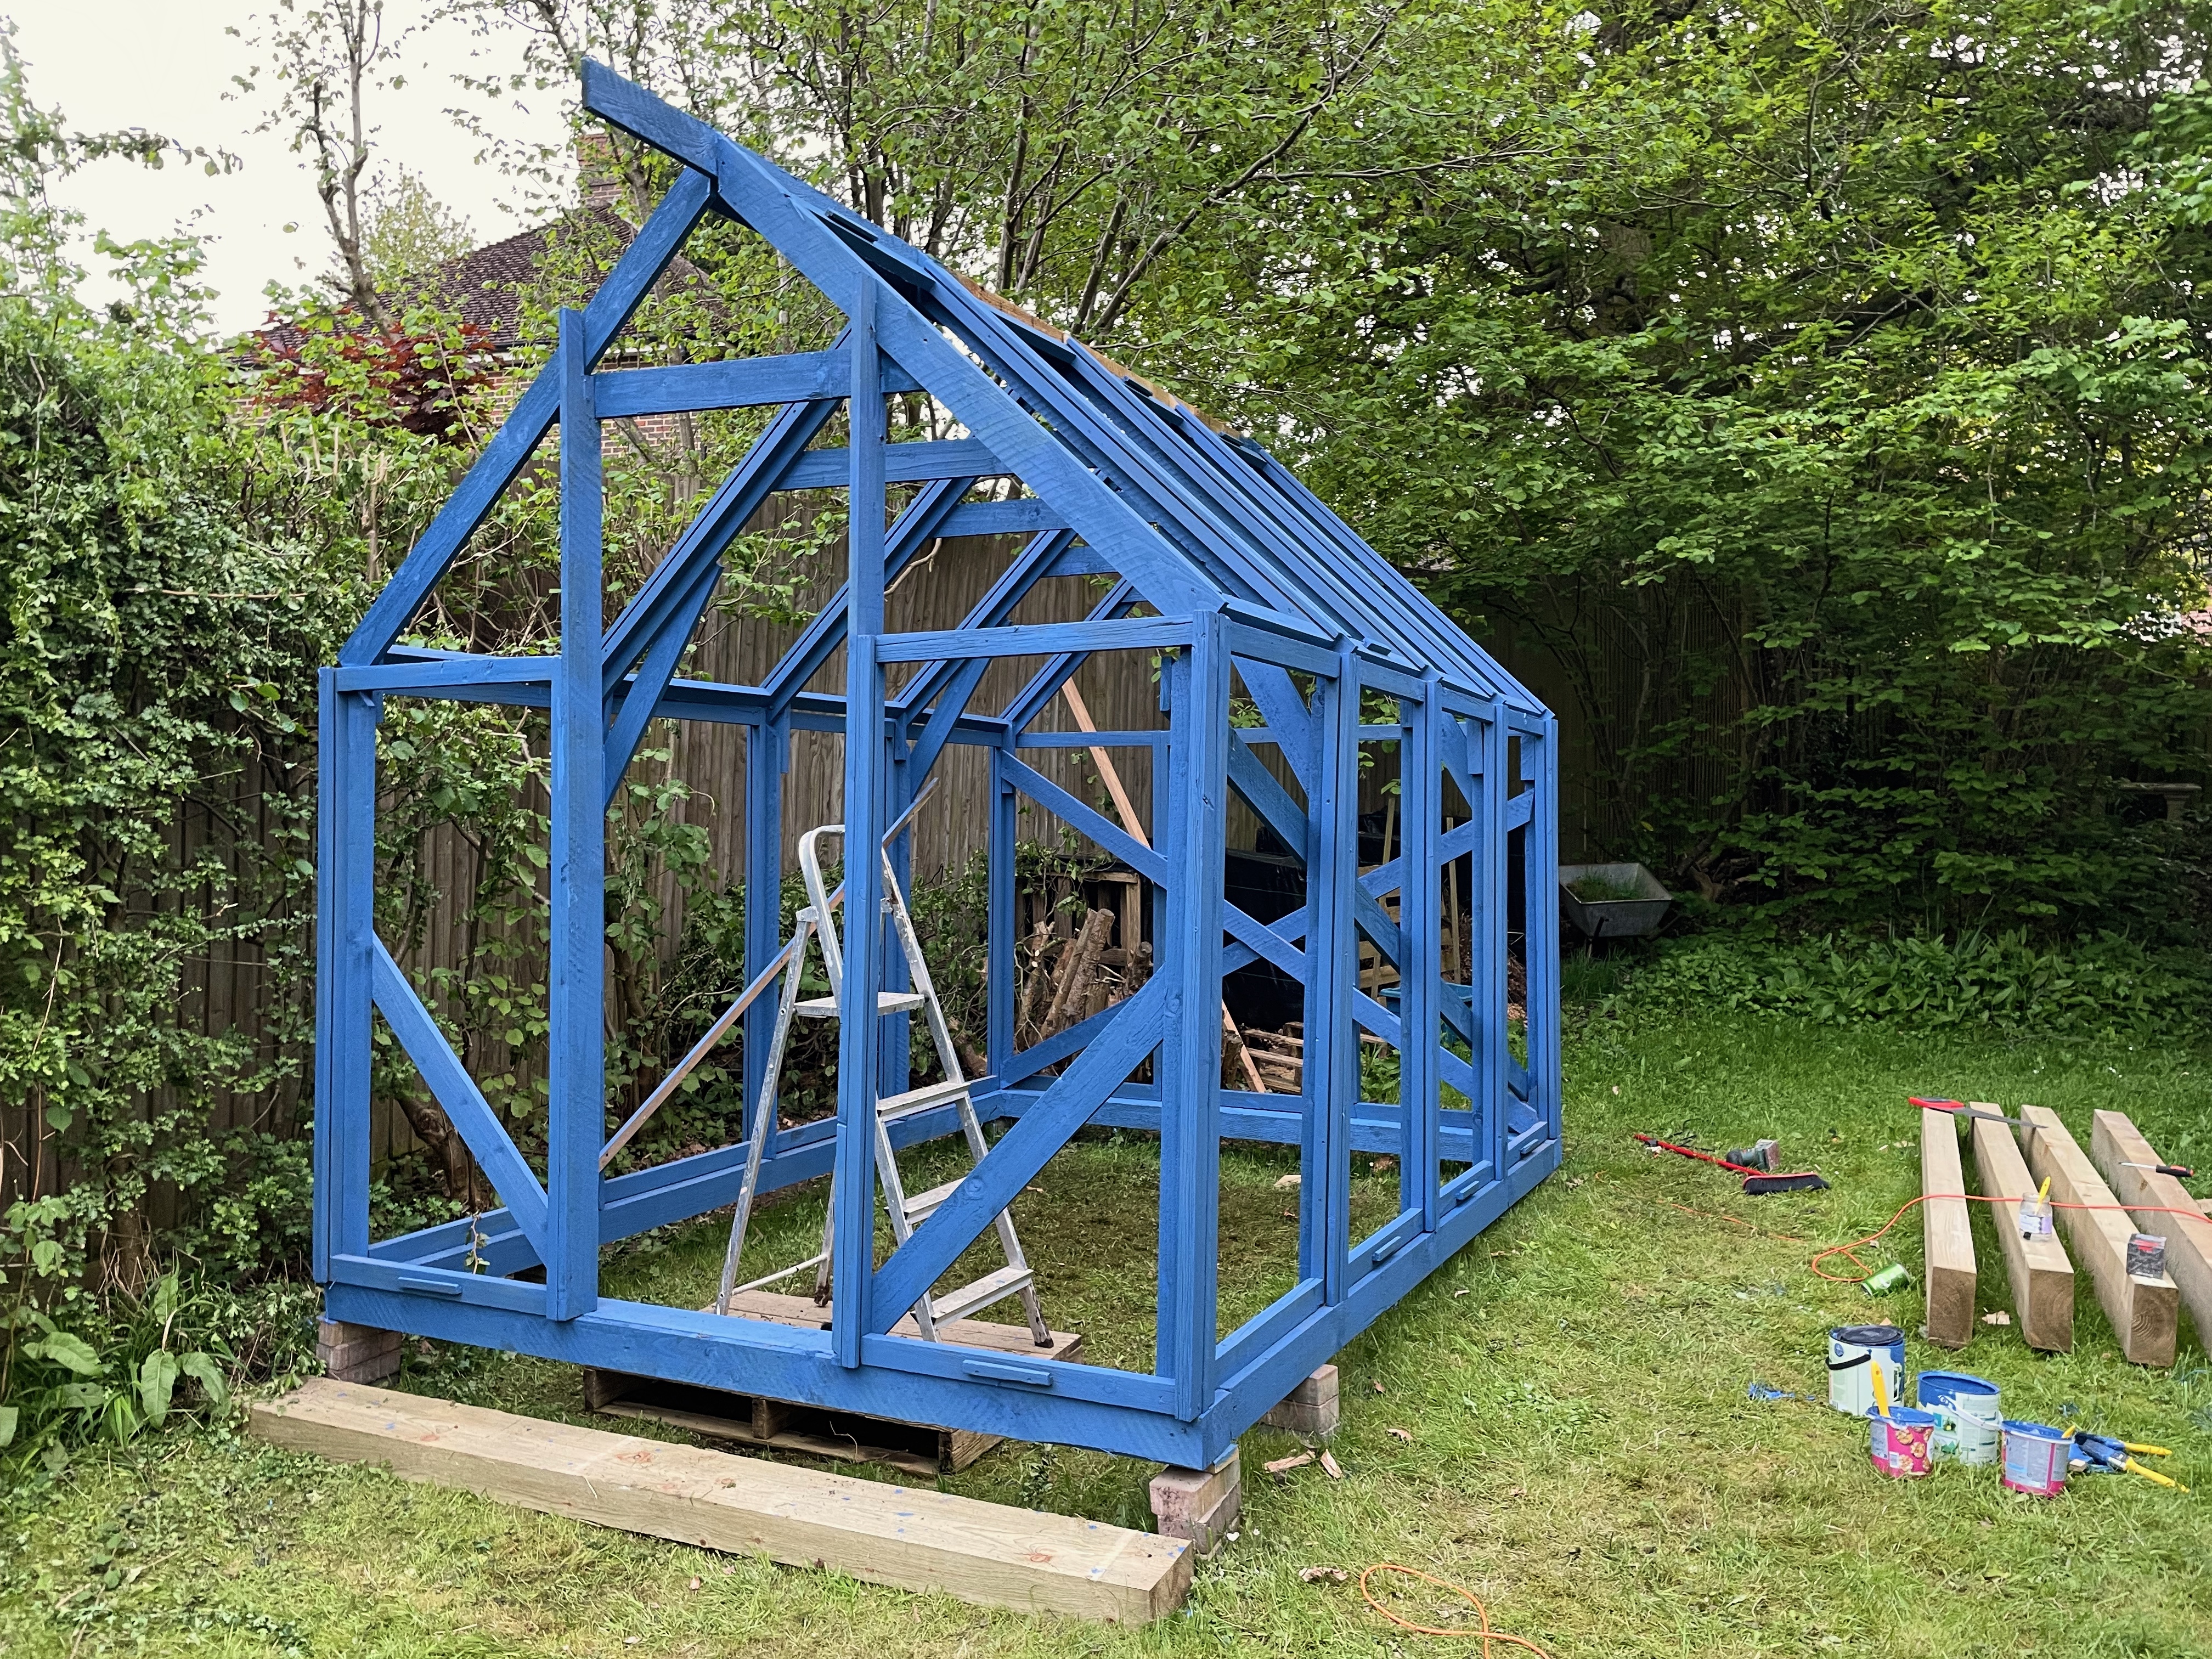
After a whole day of painting the greenhouse, it would forever be known as the Bluehouse.
The Lift
From May to mid-July, the Bluehouse sat at the back of the garden, and it quickly became evident that the sun did not reach the spot where I had placed it. This area received no sunlight at all… The sun would approach the front of the Bluehouse but never quite enter it. It was clear the Bluehouse needed to be moved to the front of the garden, where there was plenty of sun.
After several failed attempts to organise friends to help lift it, the Bluehouse was finally transported to its new home atop some wooden sleepers. Here is James celebrating our accomplishment.
The Repair
We now had a blue frame but no glass. All the glass was broken and needed fixing somehow. One method would be to cut the glass where its broken and use hanging glass clips but we wanted to do something a bit special so we went with stained glass window repair methods. This took ages. It must have taken between 1.5-2 hours per piece of glass. Because it took so long, I’m going to describe how it is done.
- Clean the very muddy glass
- Hope you find the piece of glass that broke off the original pane. If not cut a new piece of glass using the corner of a very broken pane of glass that will never be used. This takes a long time.
- Clean the area around the break with Isopropyl alcohol
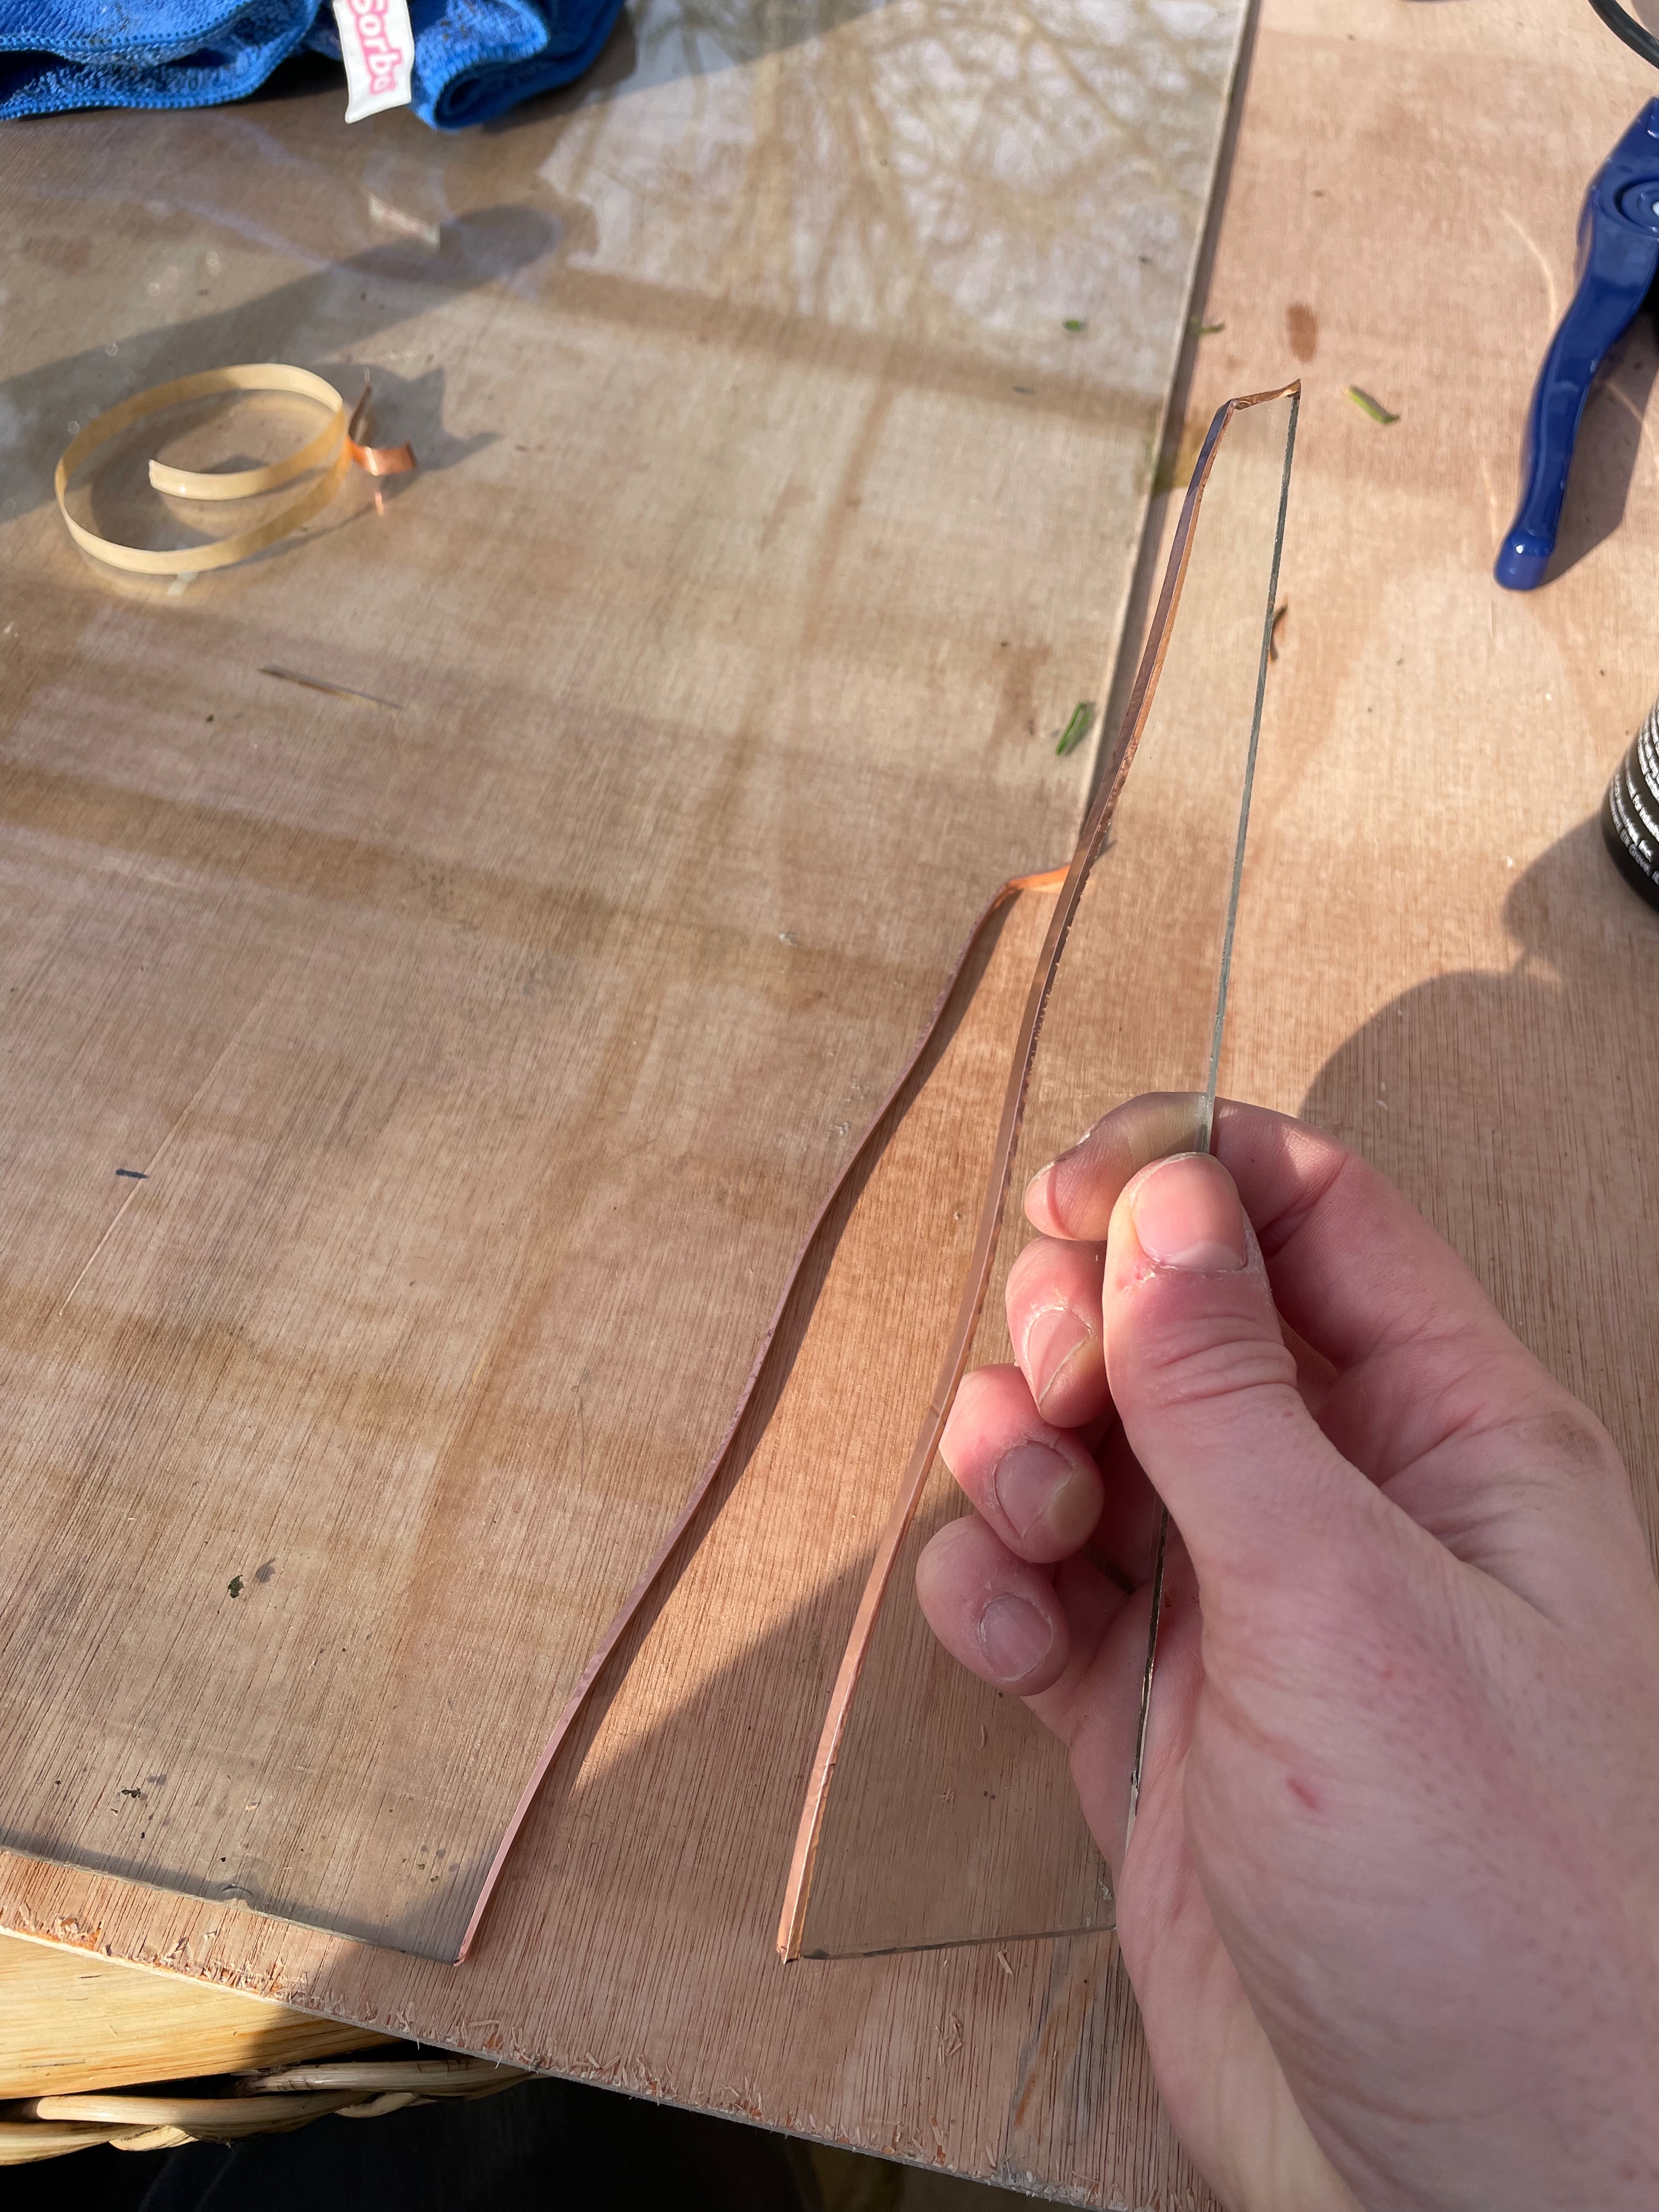
- Apply copper tape to each piece where you want to join.
- Apply lots of flux
- Solder the pieces together
- Flip and repeat flux and solder.
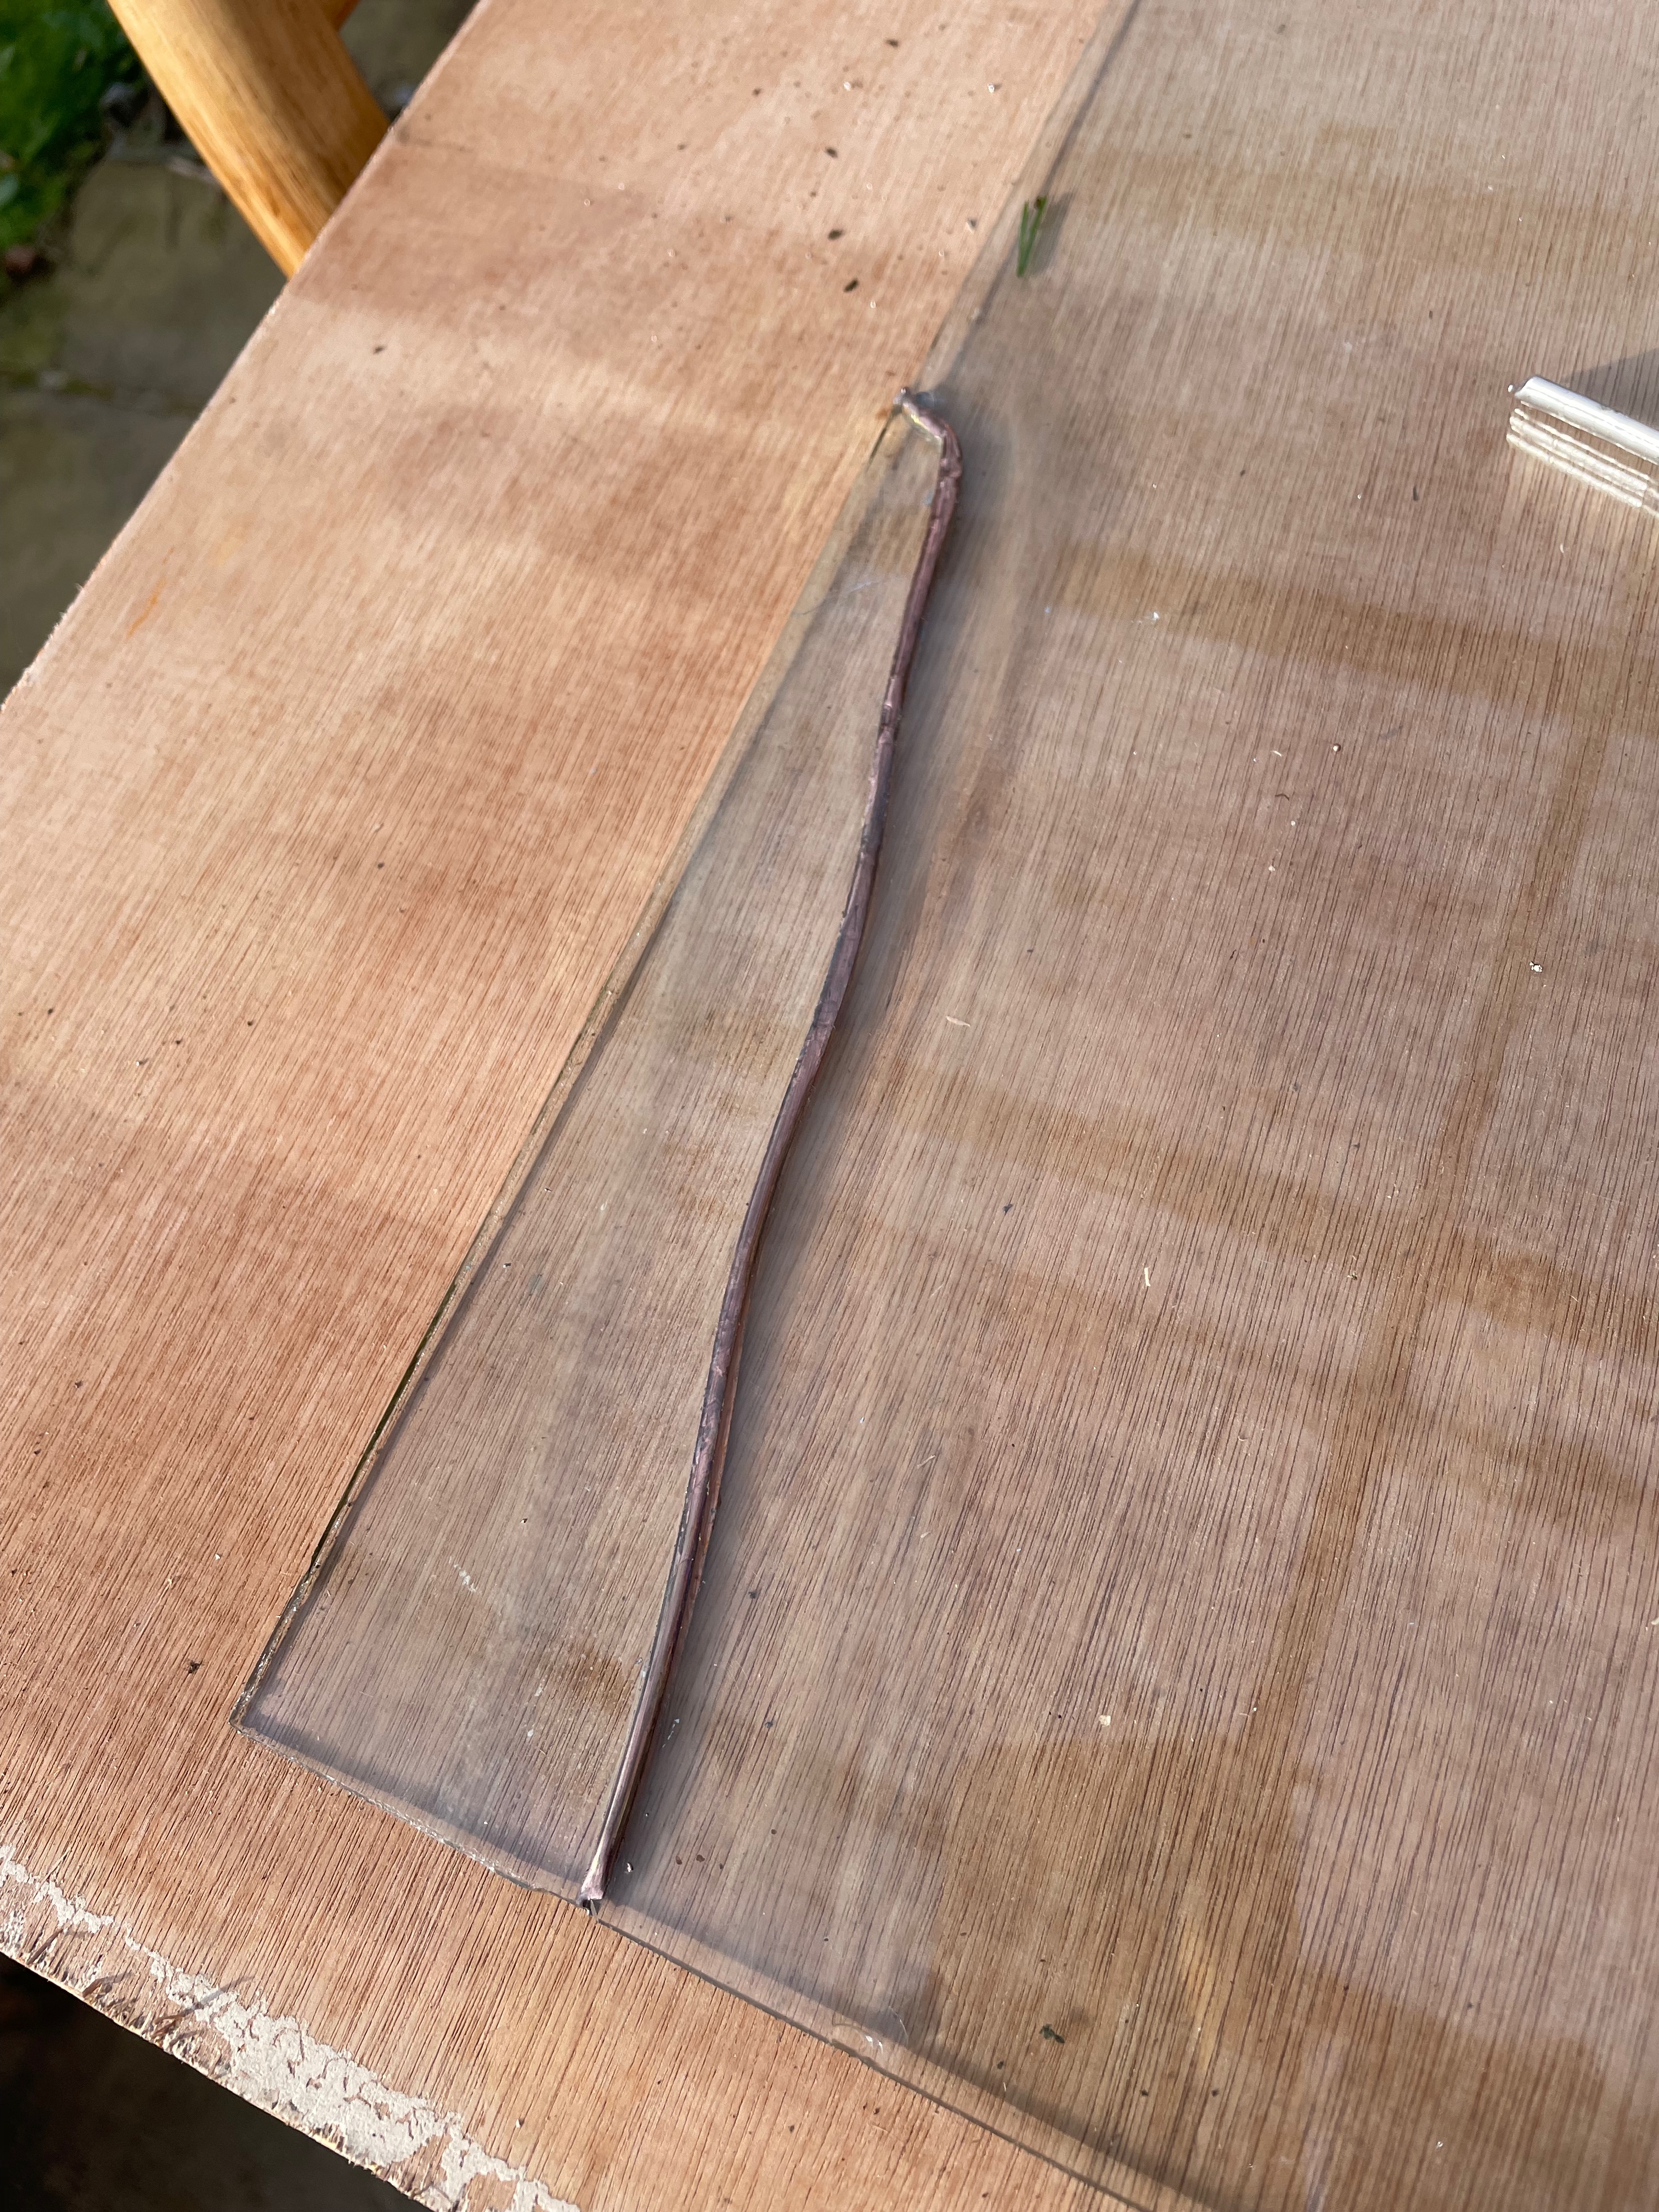
- Apply copper sulphate with a cloth to give the joint a copper patina look
- Clean area with Isopropyl alcohol.
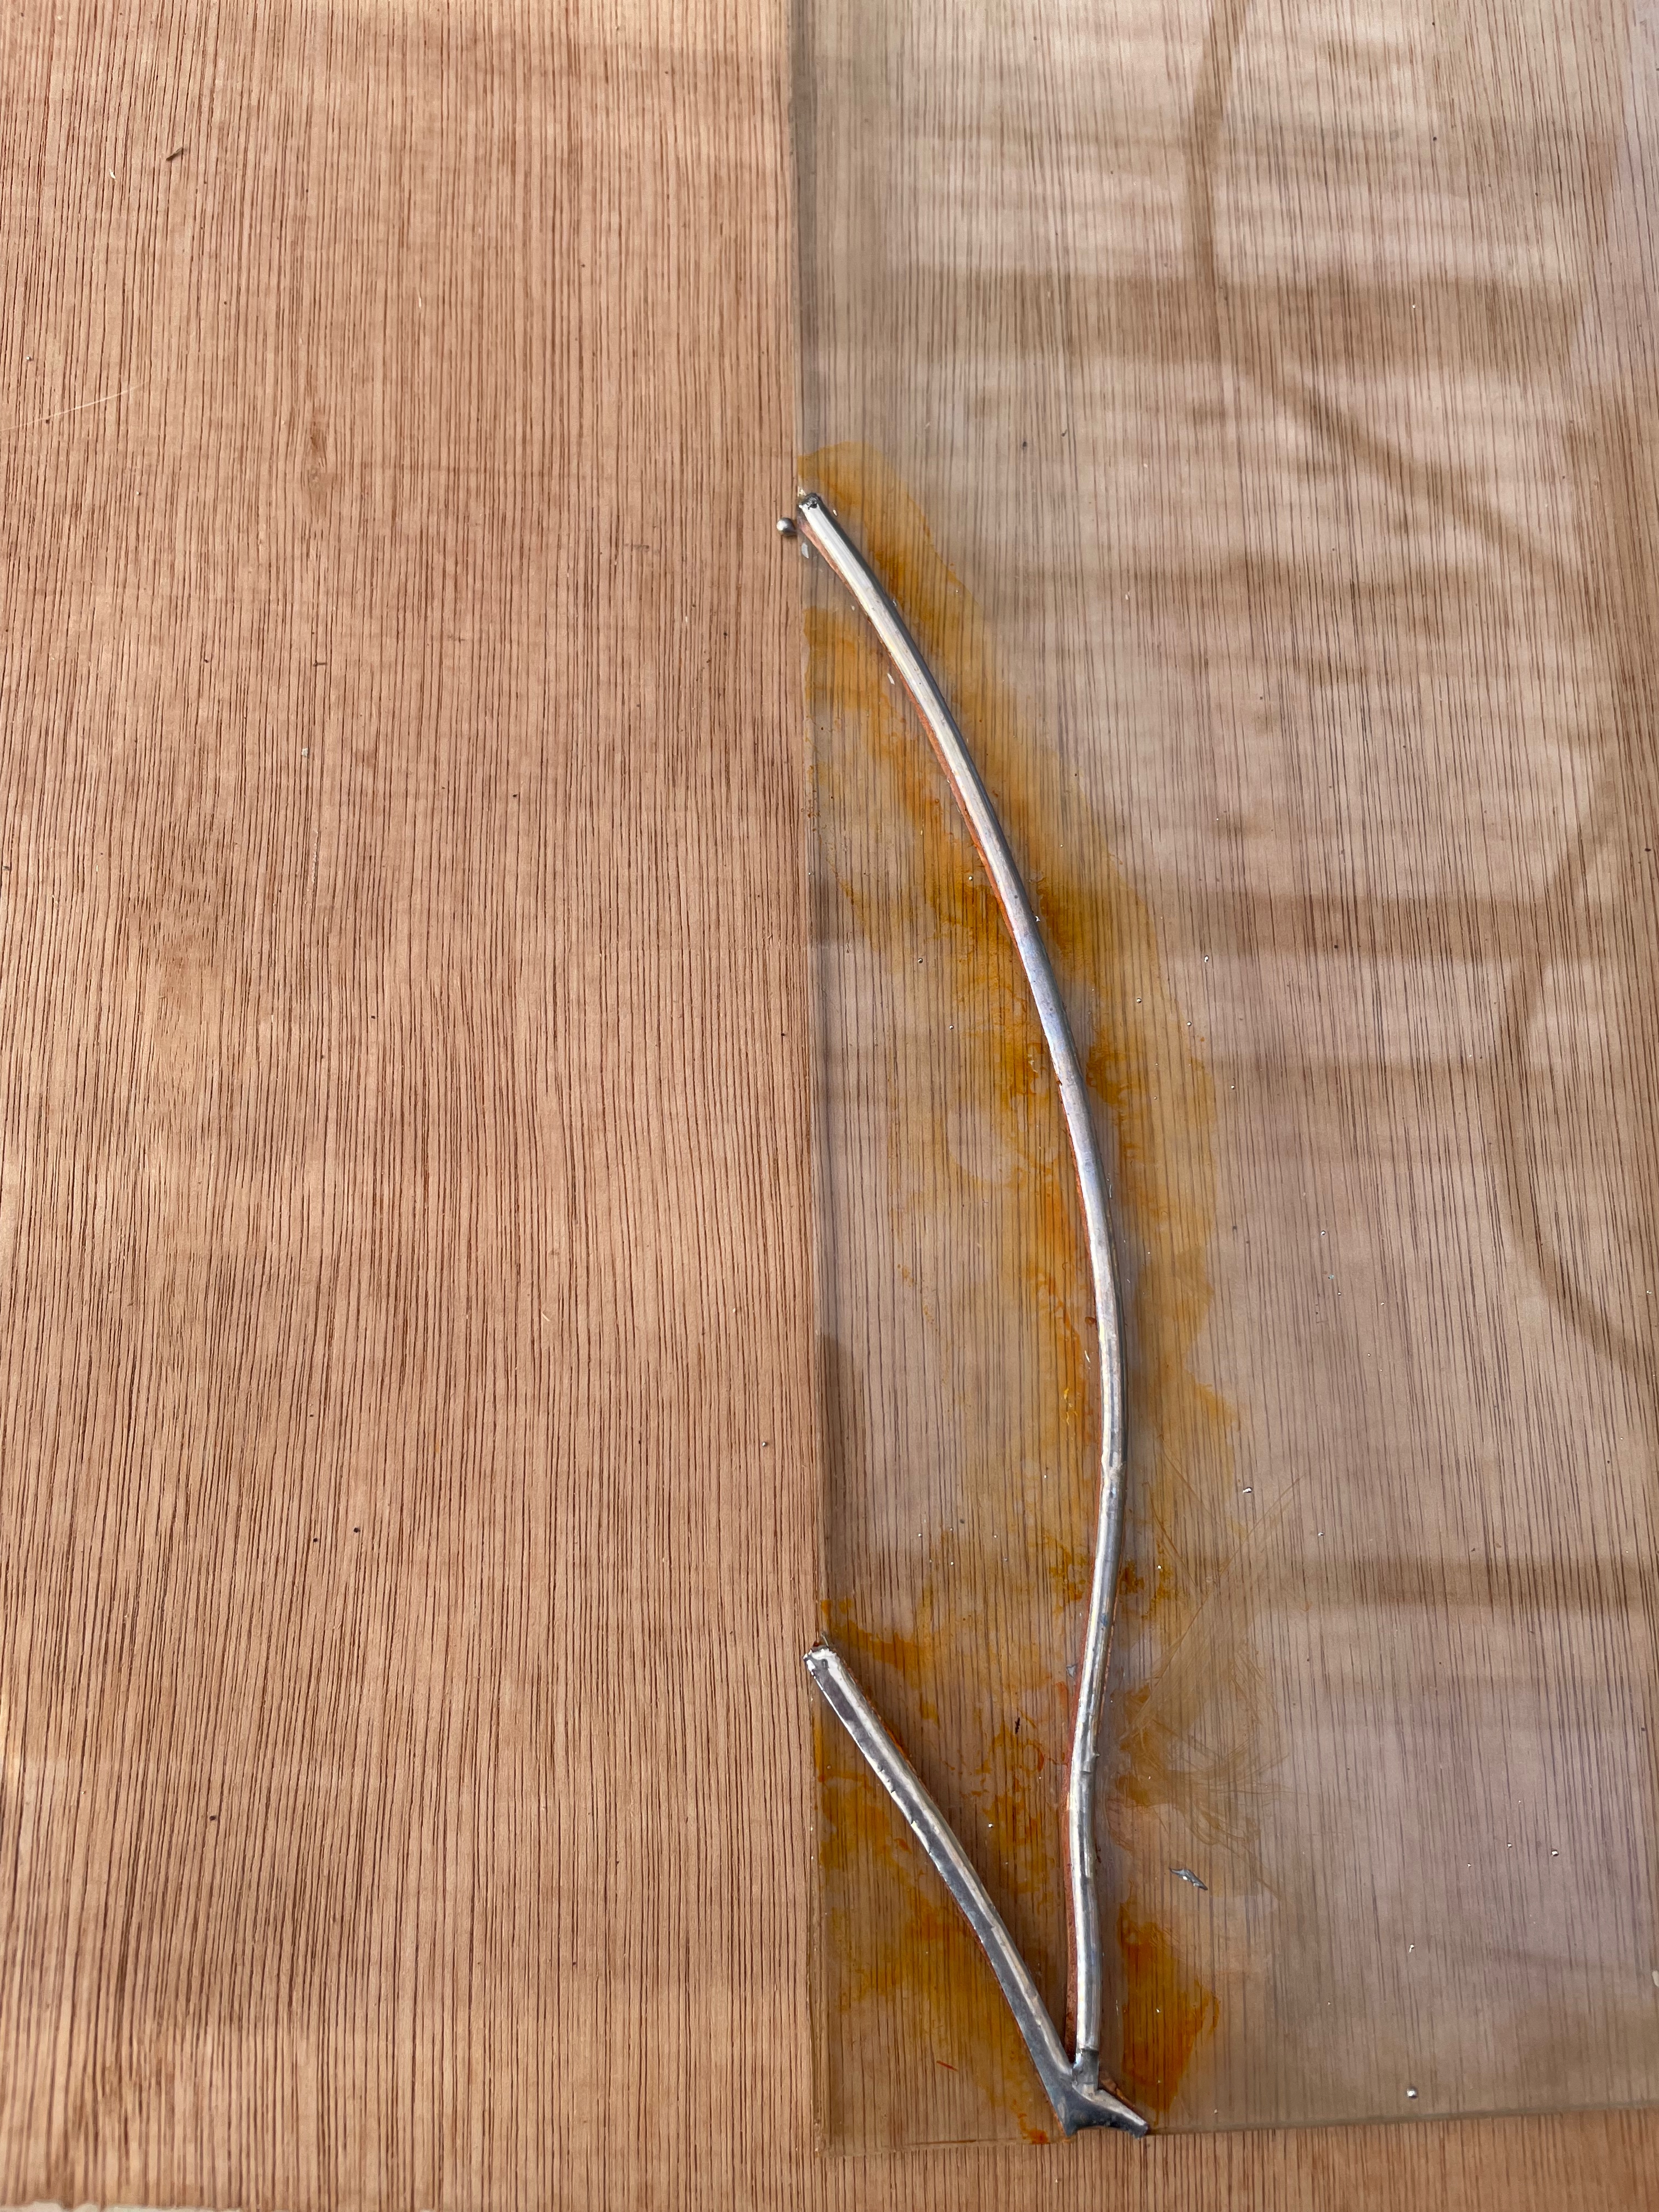
Here you can see the copper tape being applied and the soldered parts with patina.
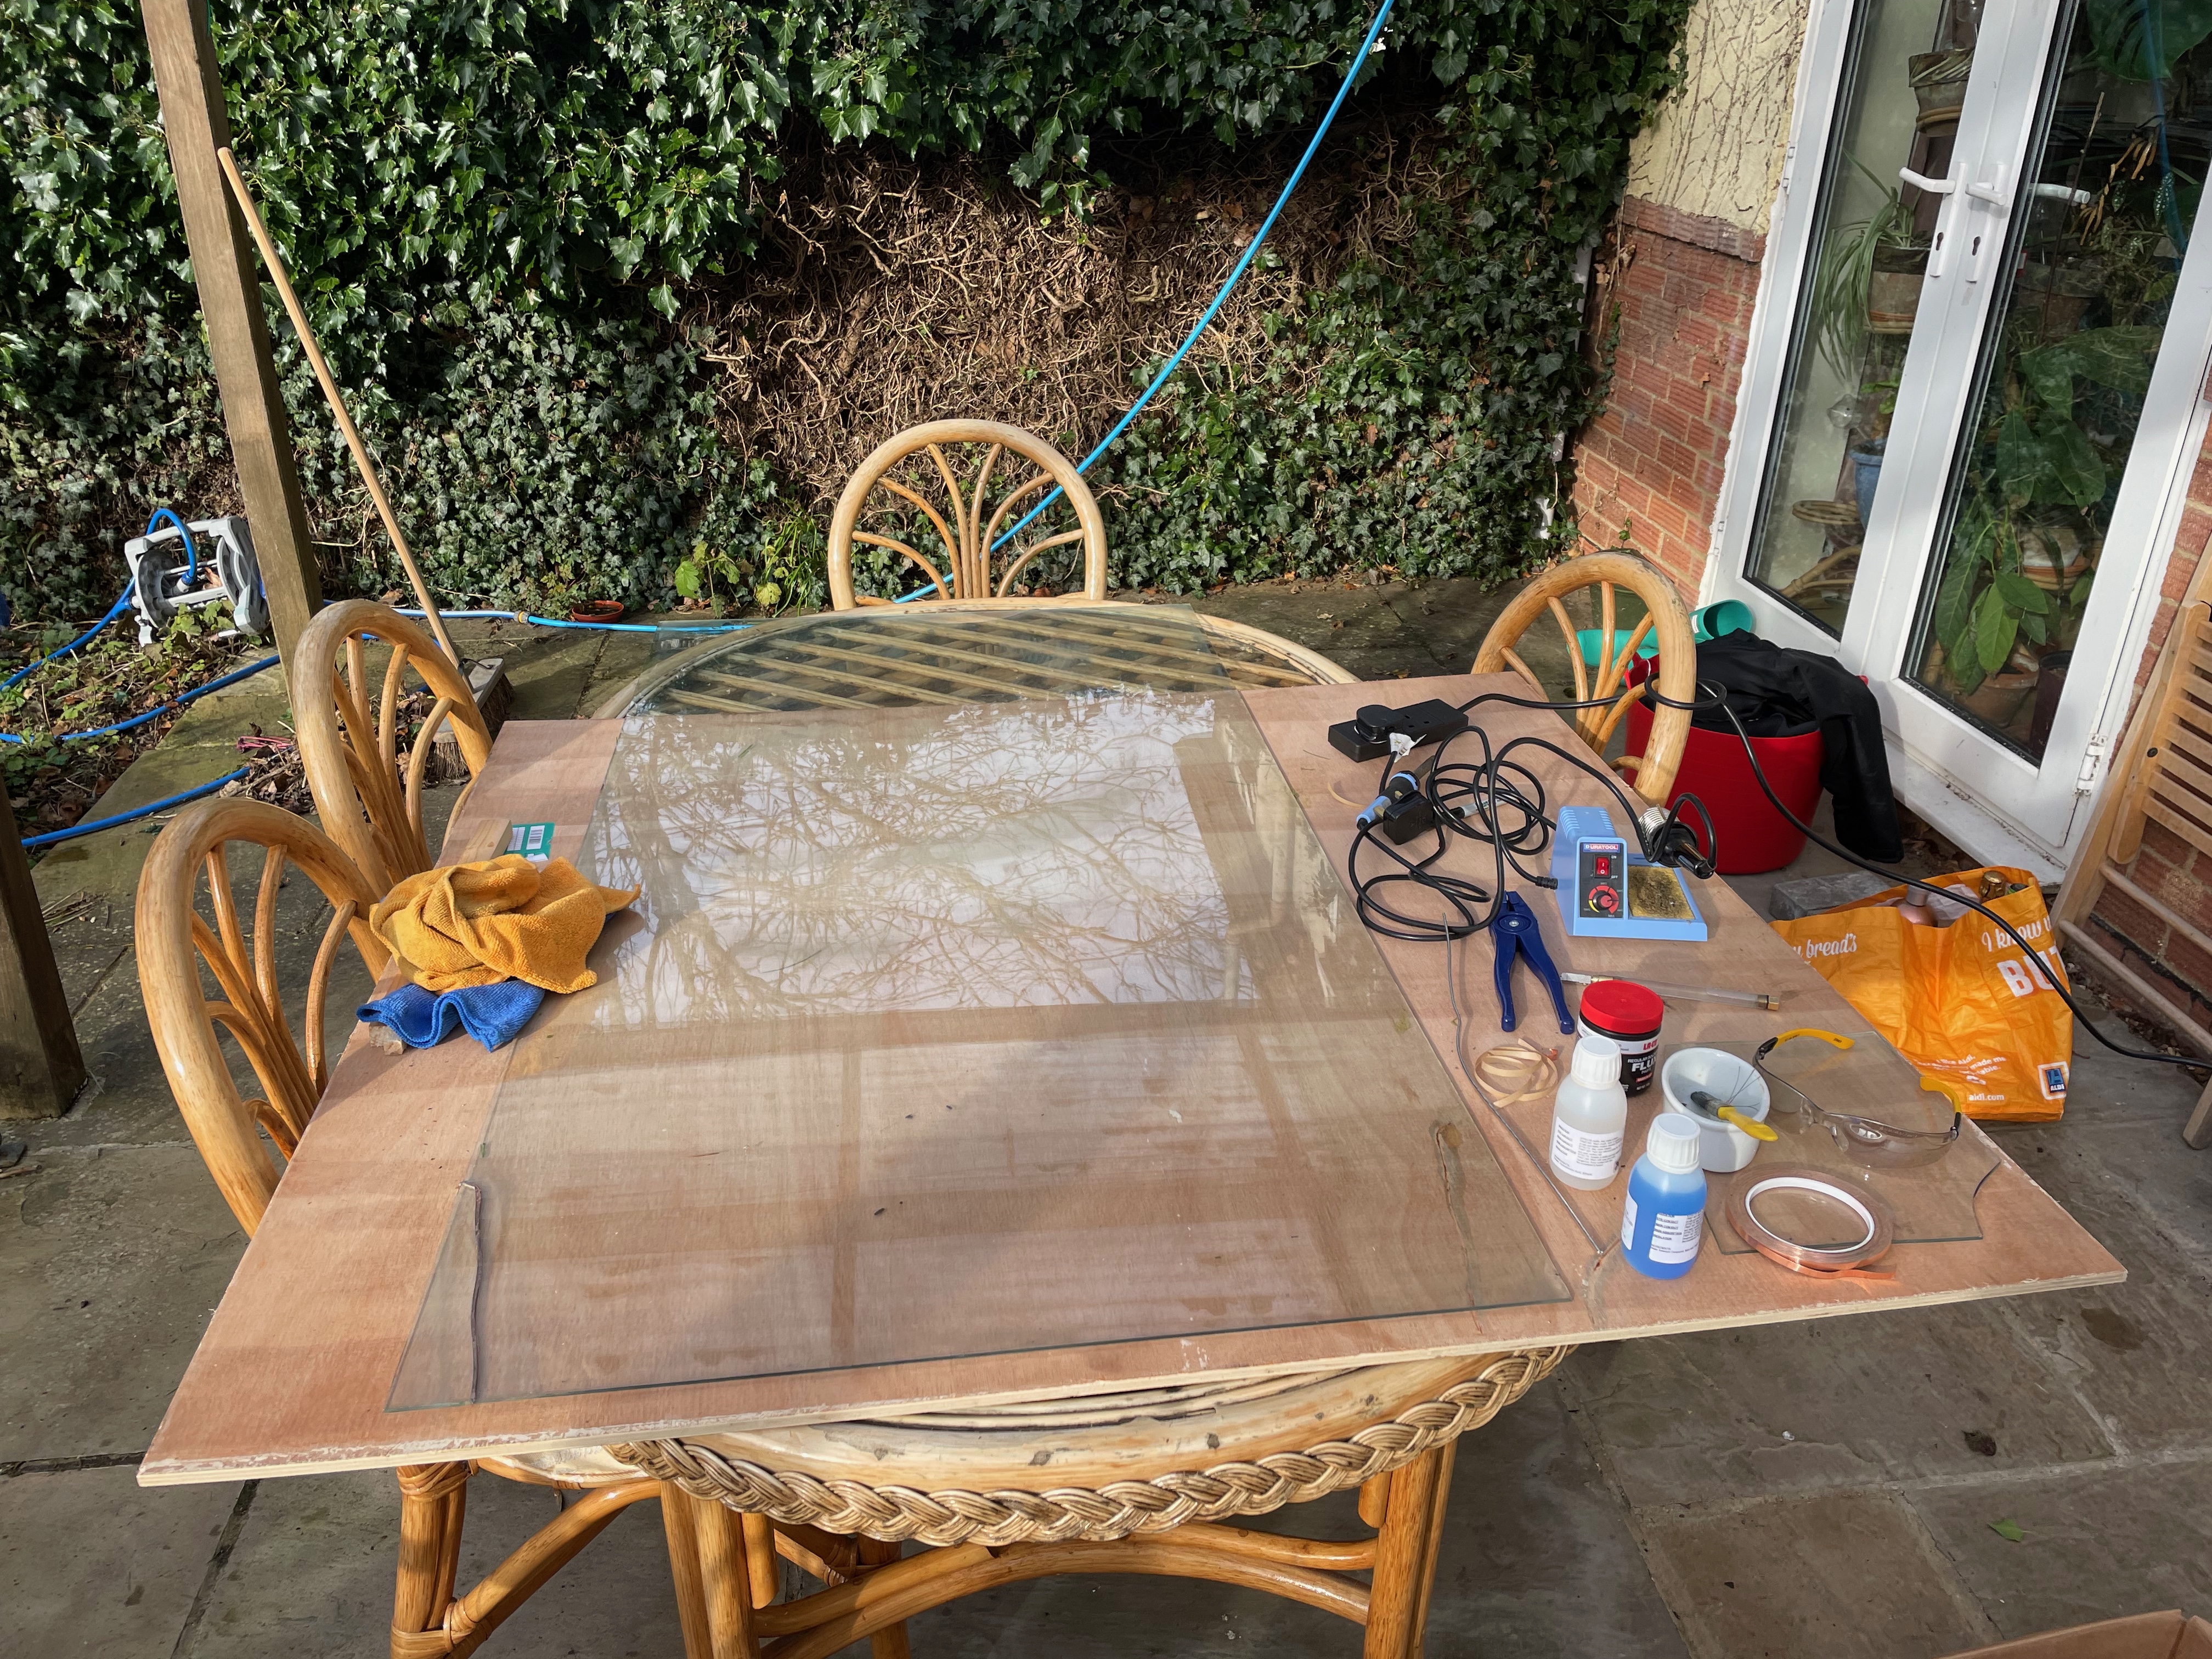
The Workstation
A particularily nice solder bead if I don’t say so myself.
The Custom Frames
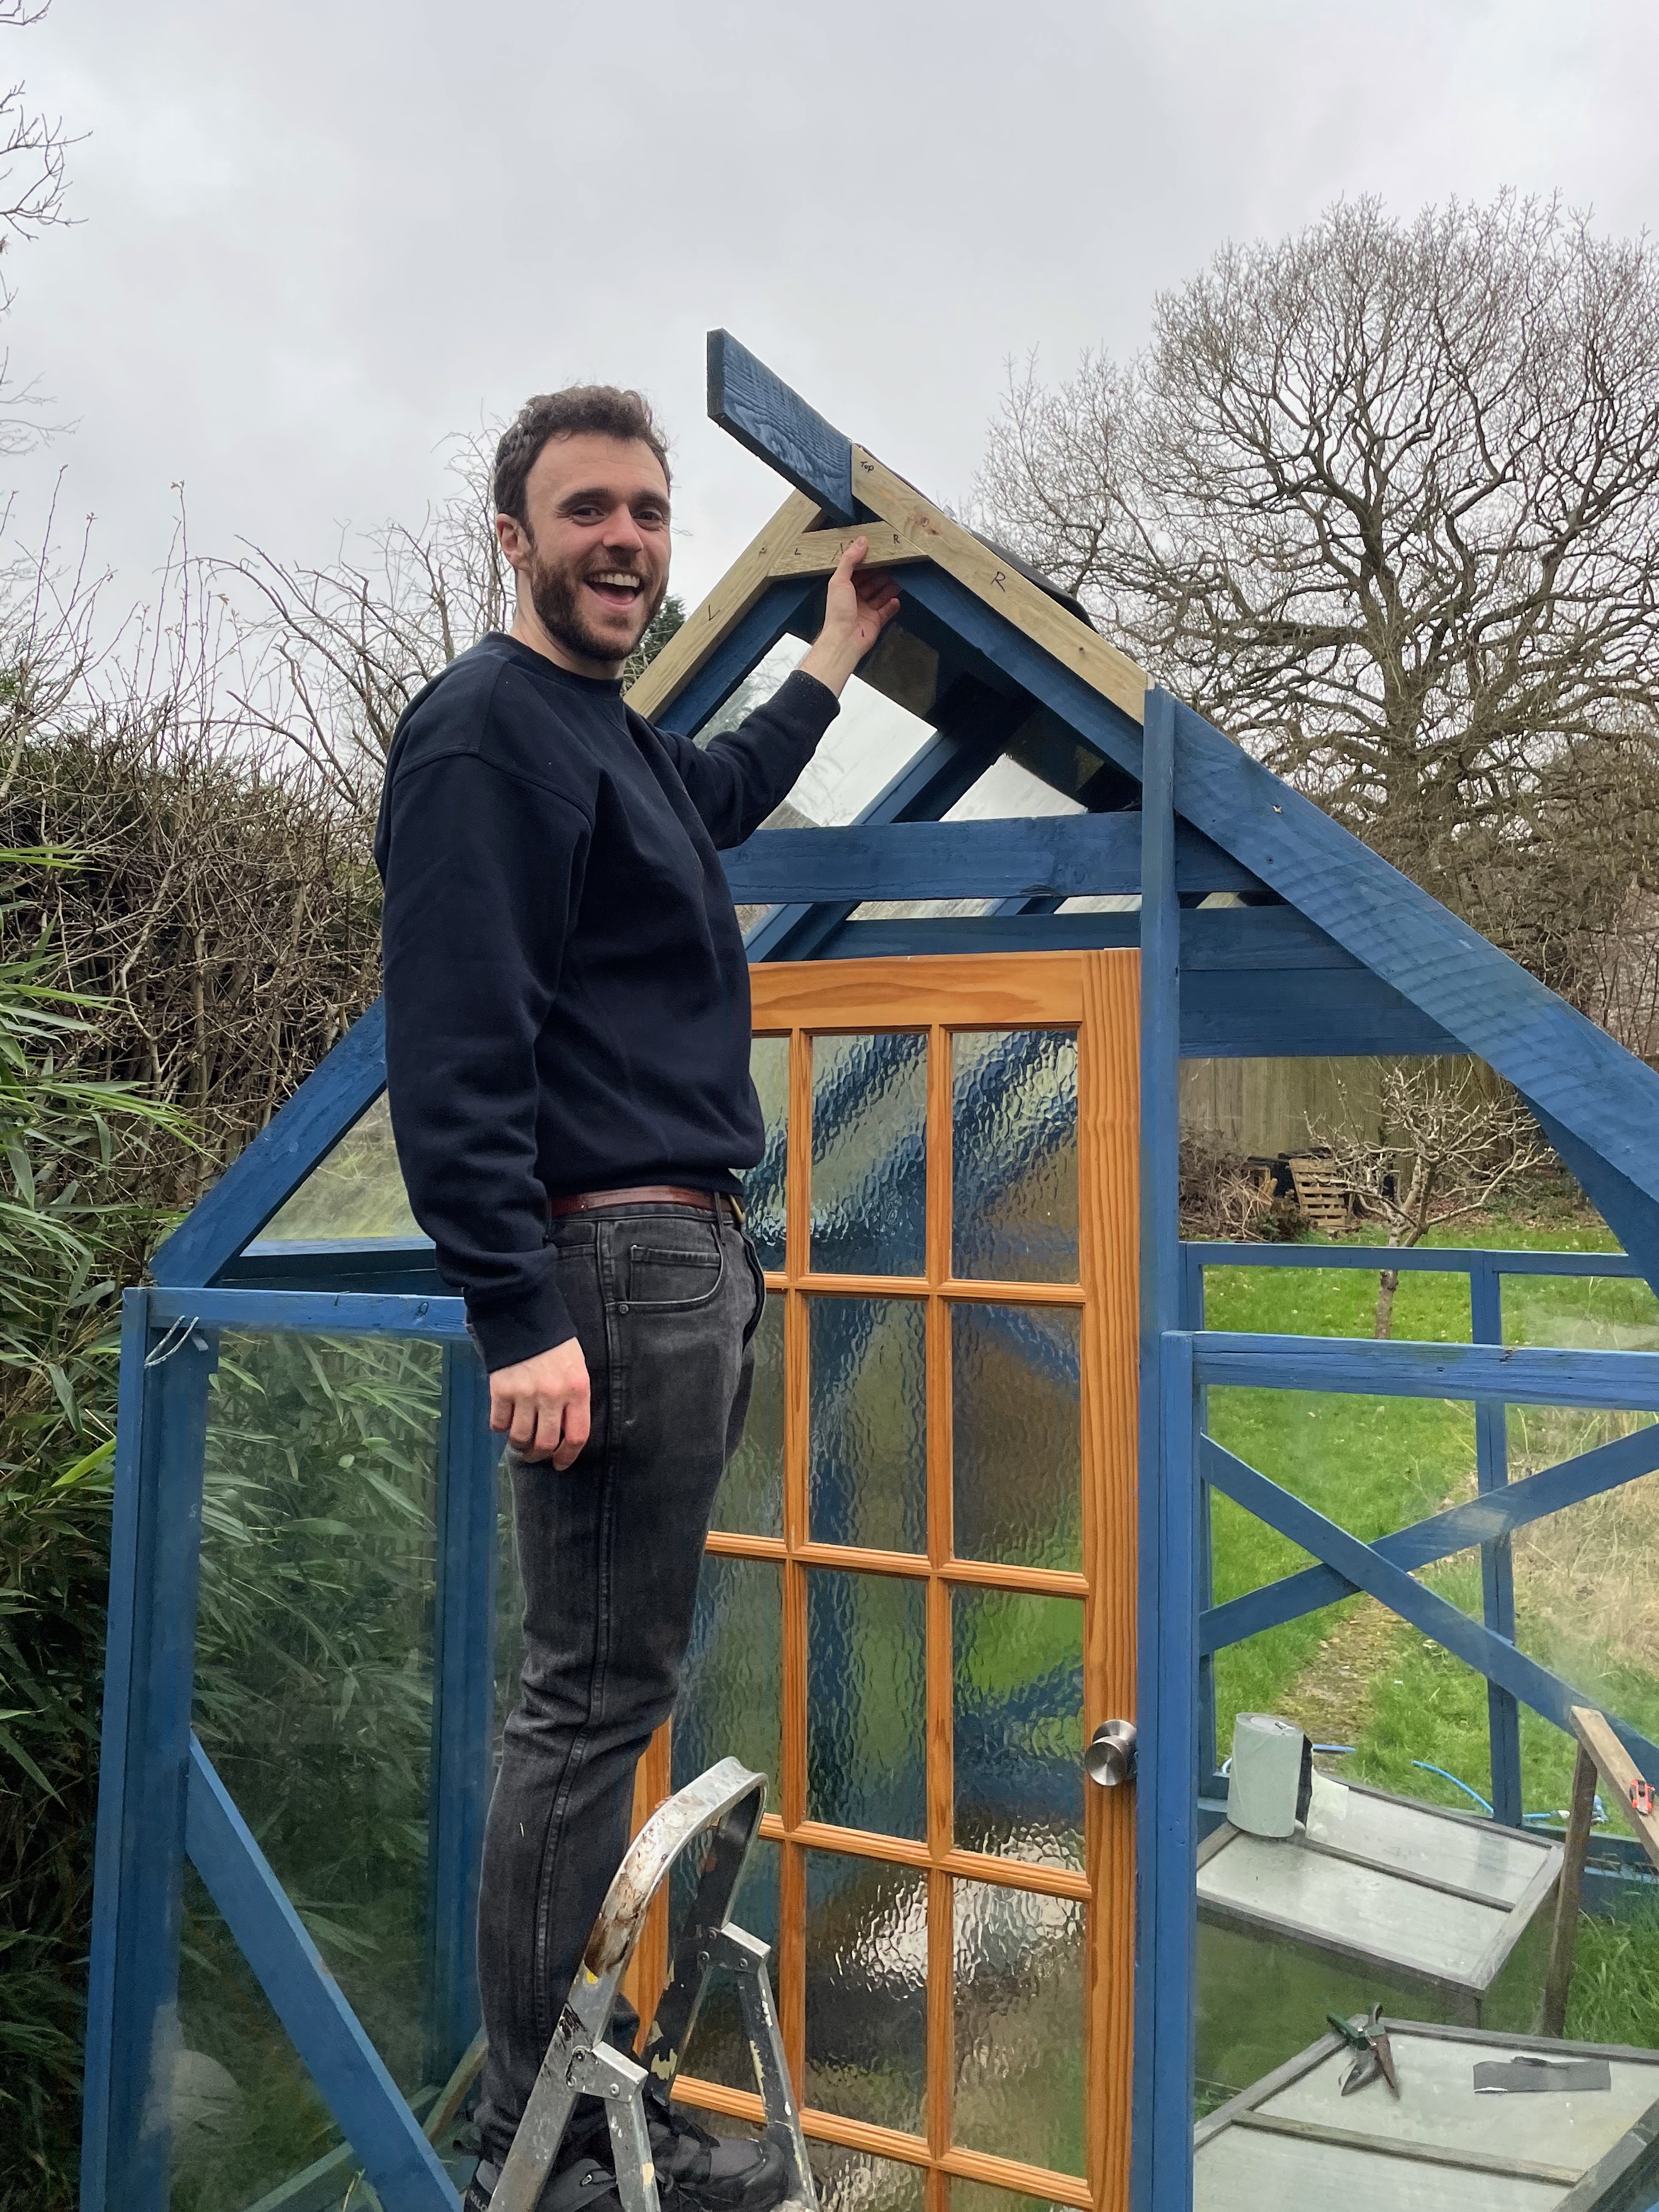
The Bluehouse needed a couple of custom frames made for the front and back triangular sections. The original idea was to make these out of lat and then route out the groove for the glass. This seemed like a good idea at the time and Jamie thought so too. Jamie cut the wood for the three front frames and then had to go back to London which left me to do the routing. I seem to have accidentally bought into the Dremel life and purchased a routing bit for it, however, It didn’t take me long before deciding to rebuild the frames using the leftover frames from the glass repair operation. Sorry Jamie. I did keep the central frame above the door though.
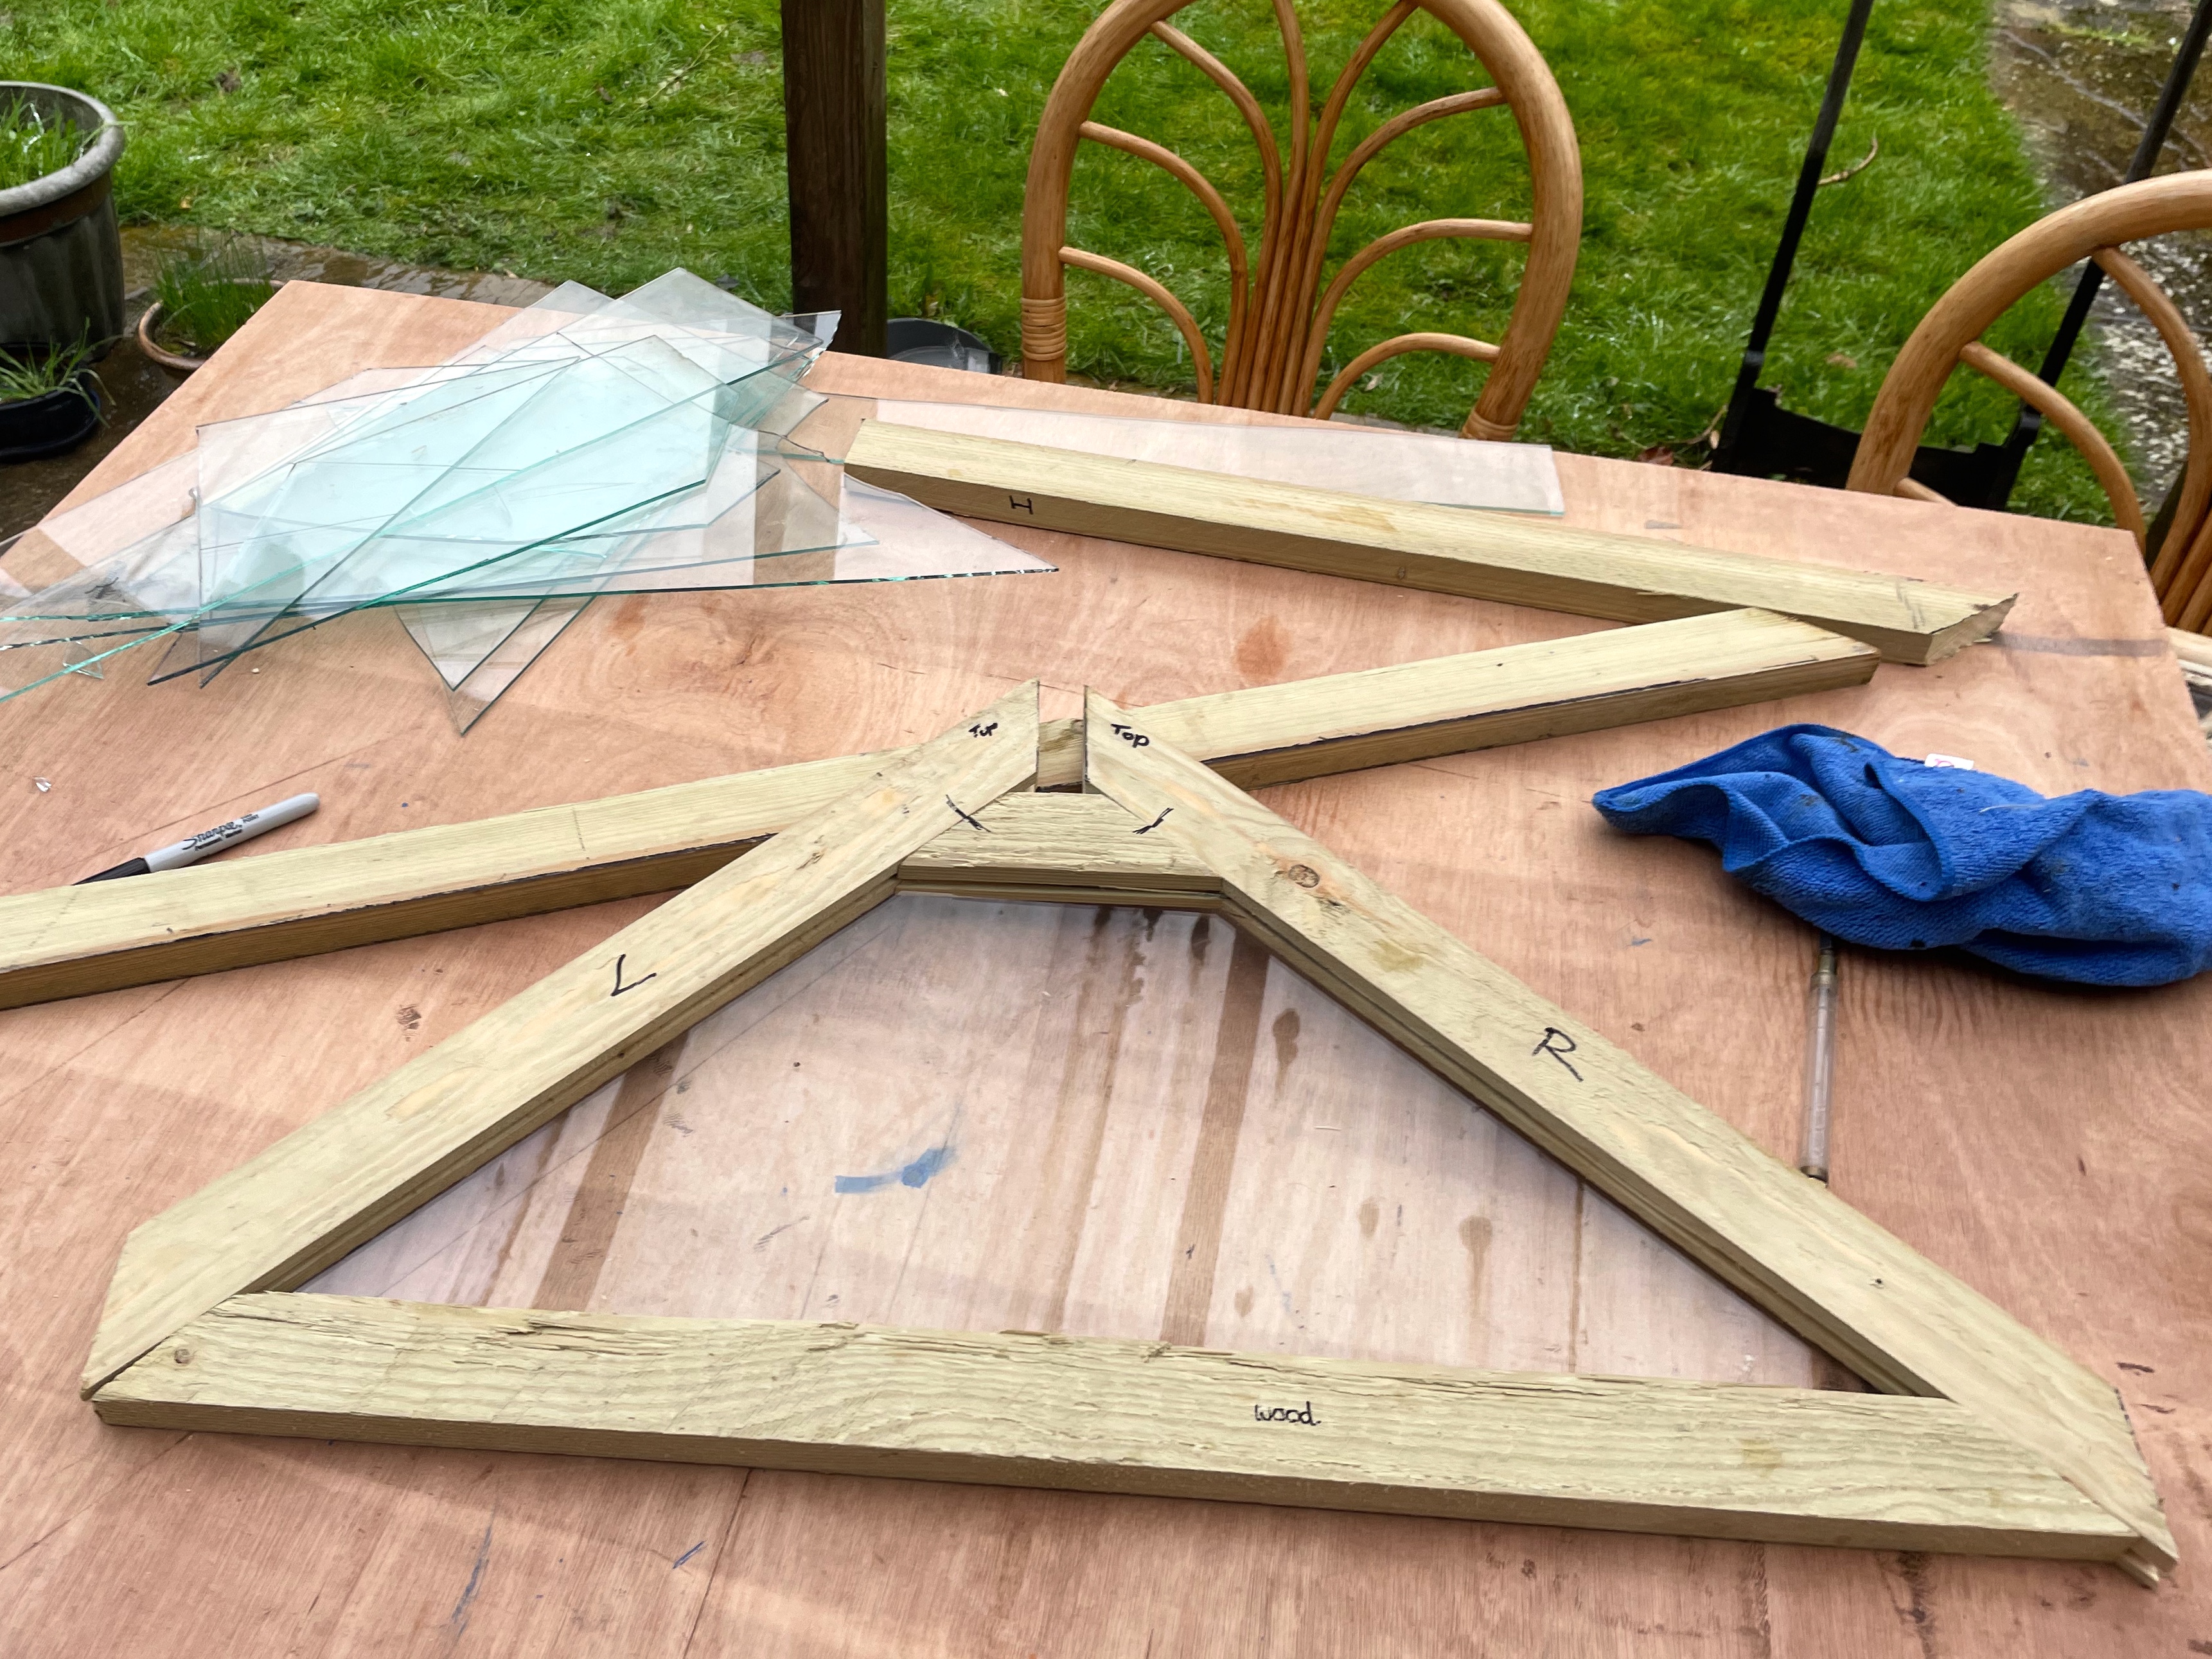
Here you can see how many attempts it took me to cut the glass for this frame. It required three cuts and on the first two or three attempts it cracked in completely the wrong direction on the last cut.
The Roof
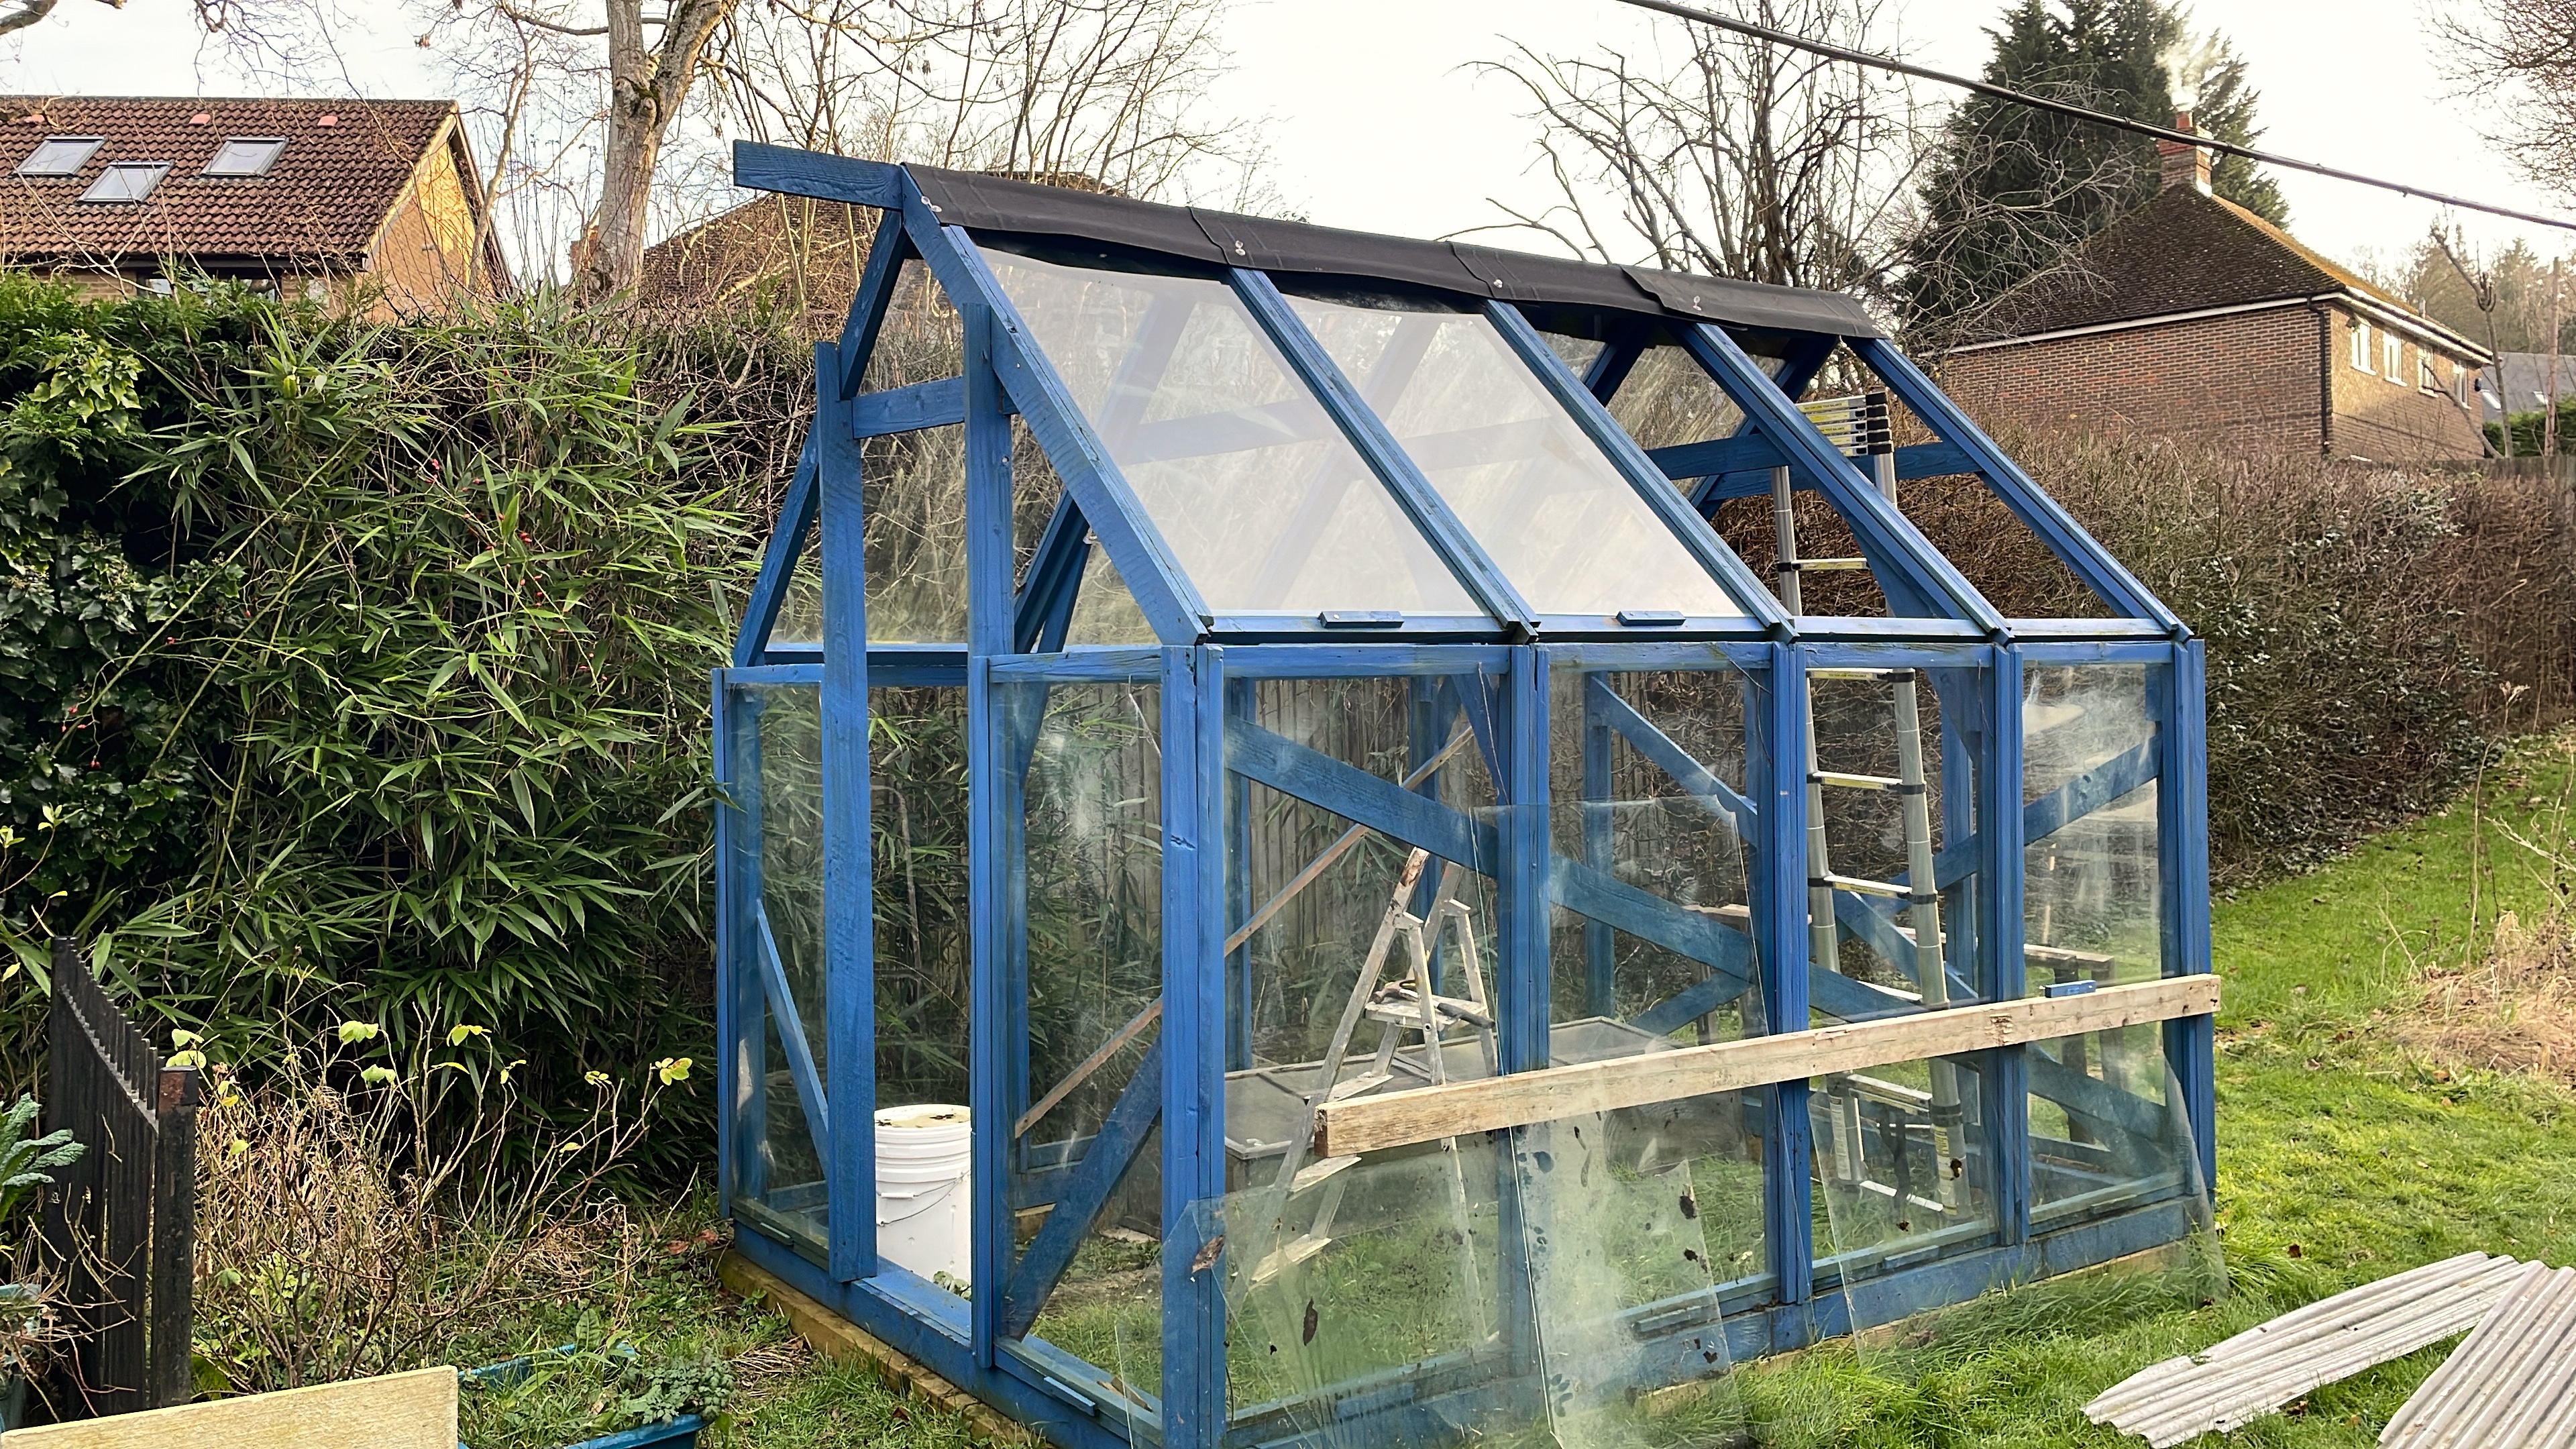
The majority of the glass was in at this point but I needed a roof. What I really wanted was some cut corrugated tin but I wasn’t able to find any and I must have called every roofing company in Oxfordshire… In the end, I settled for a bitumen-based product from Wickes. It’s not great and has these tongue and groove locks for placement. These only work if they align with the area you want to affix to. For me, it did not, which is why the last one looks rubbish. After a month or two they did settle in quite nicely.
The Leak
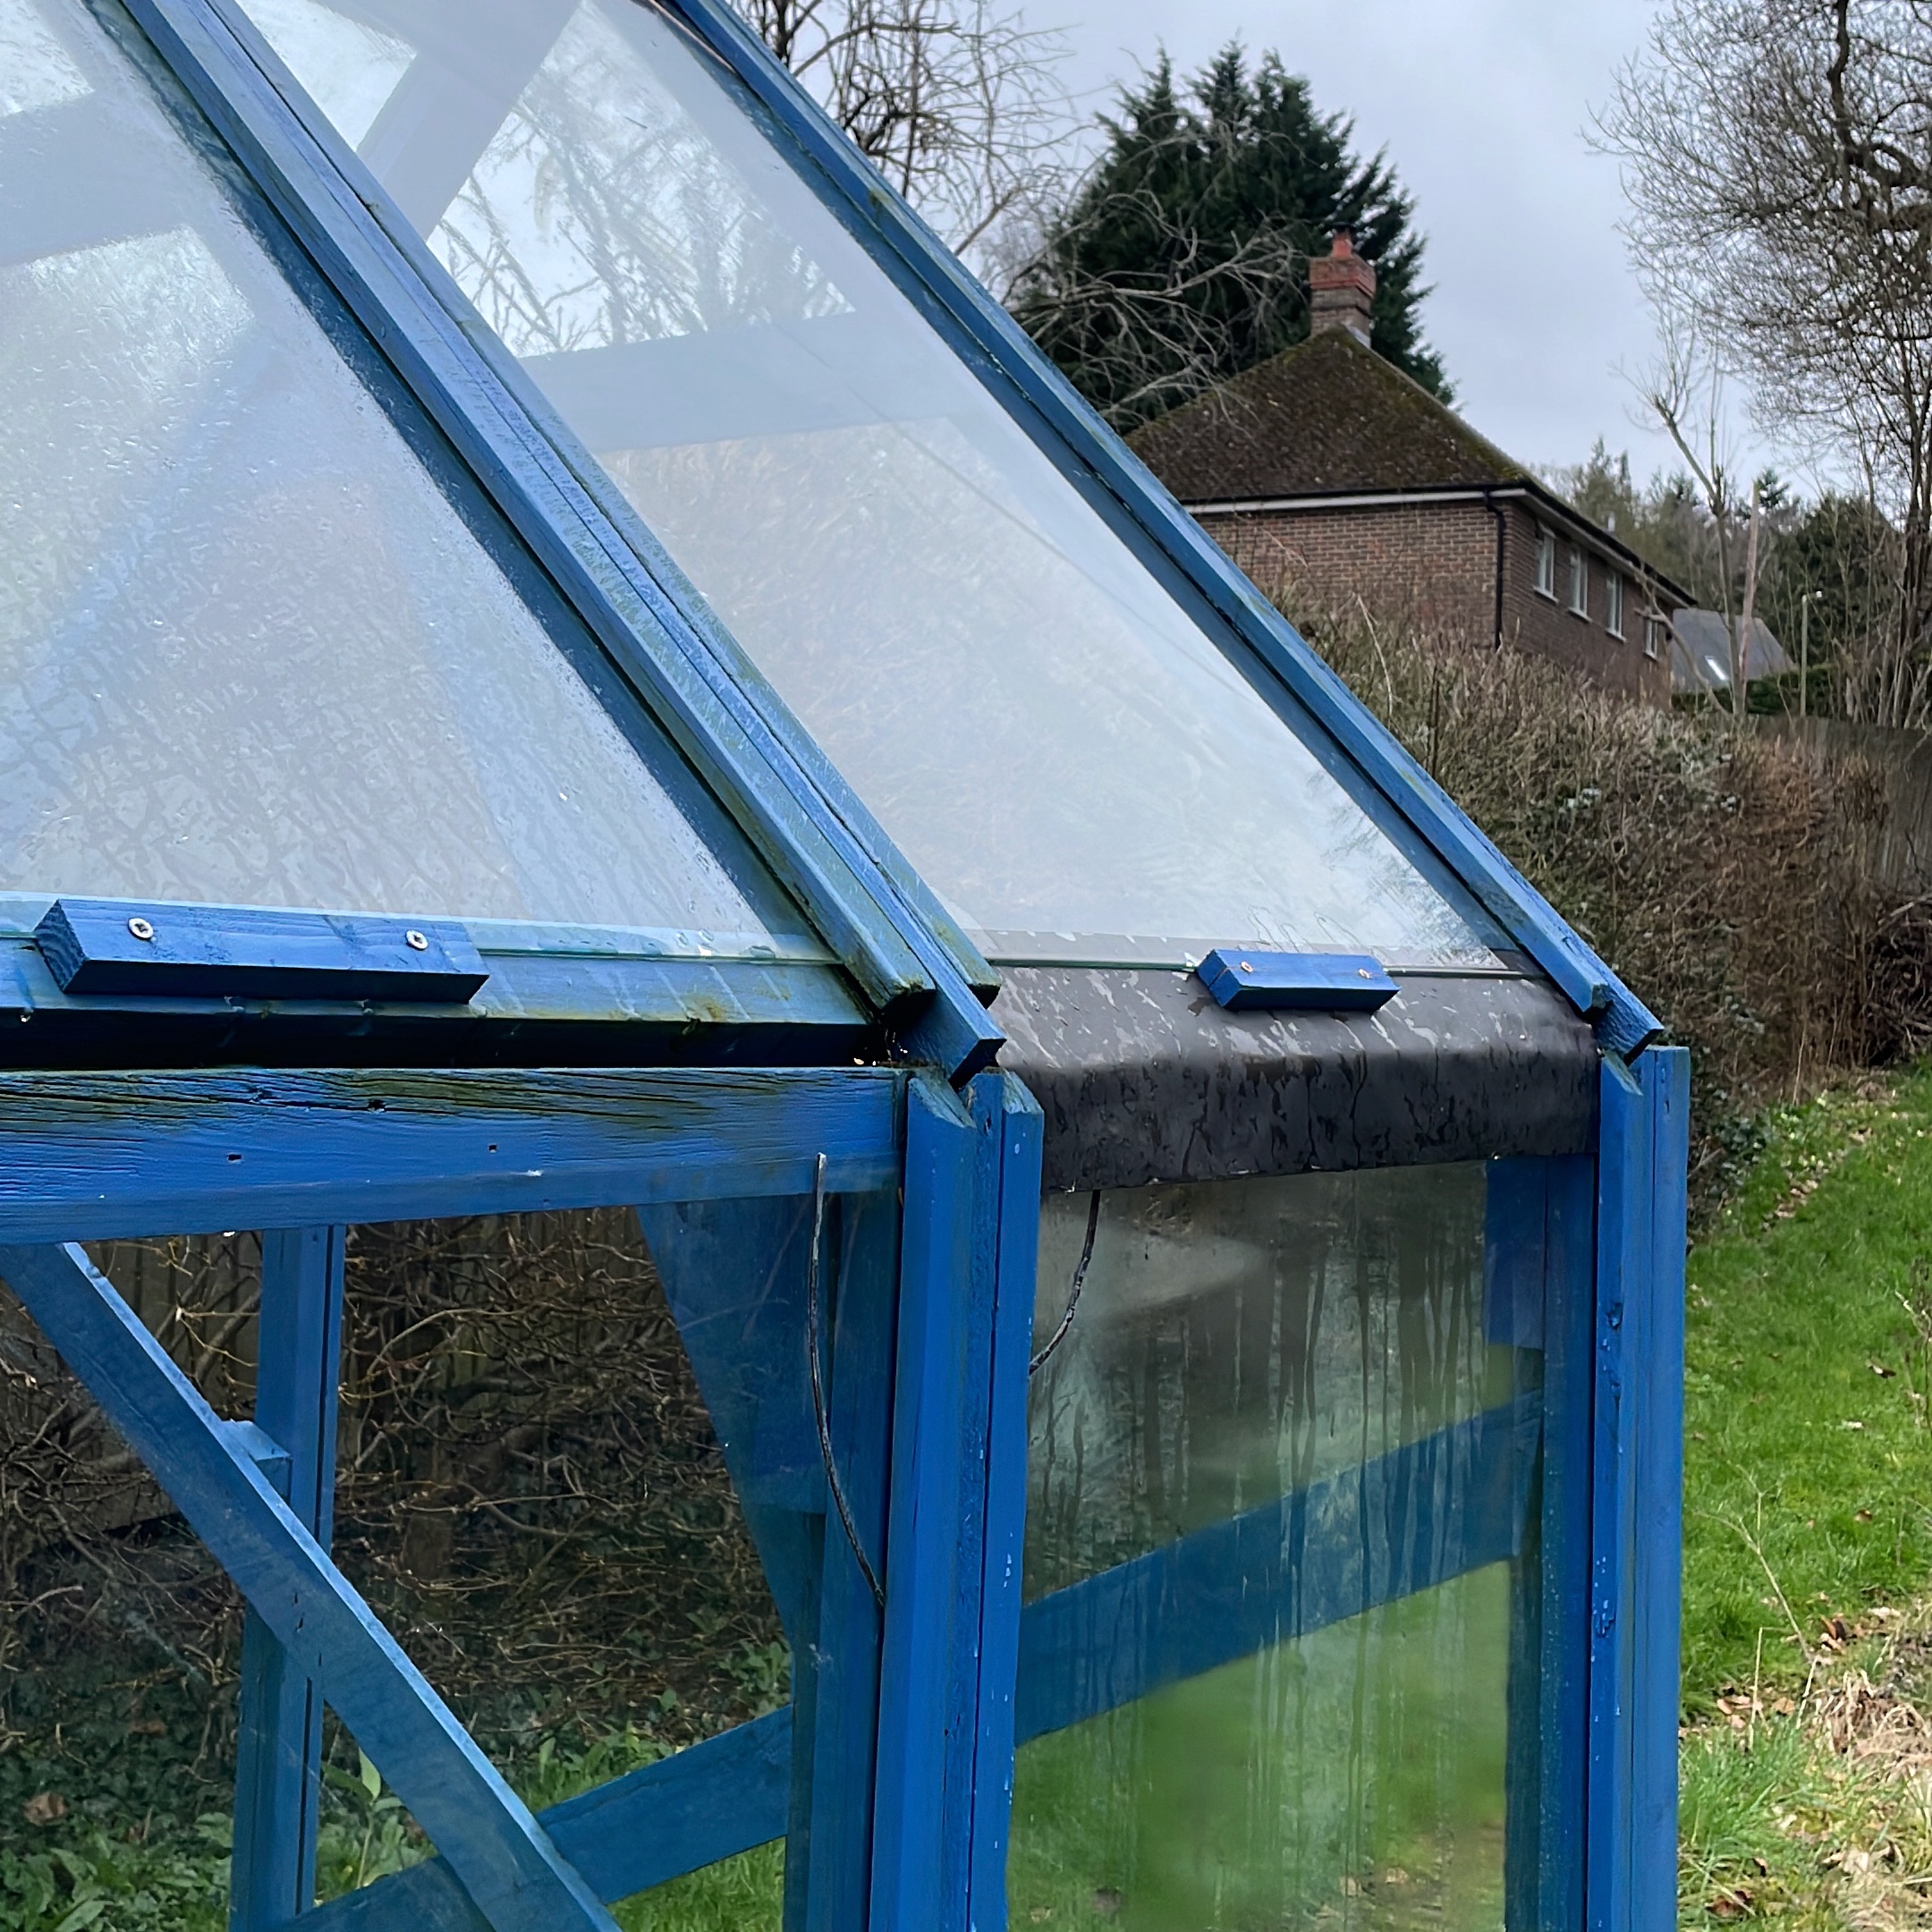
This Bluehouse has been built in such a way that when the water falls off the roof it falls internally into the structure. I bought a roll of fake lead and mostly solved the issue. Very little water now leaks internally, however, now the water pools at the base and eventually seeps in. This is not good news for the wood. In the future, I will need to add a skirt to the walled frames for the water to run off into the grass. I also can’t use gutters on this design which is a great shame. If I were to ever build another Bluehouse I would have an overhanging roof. We all make mistakes.
The Bluehouse Familiers
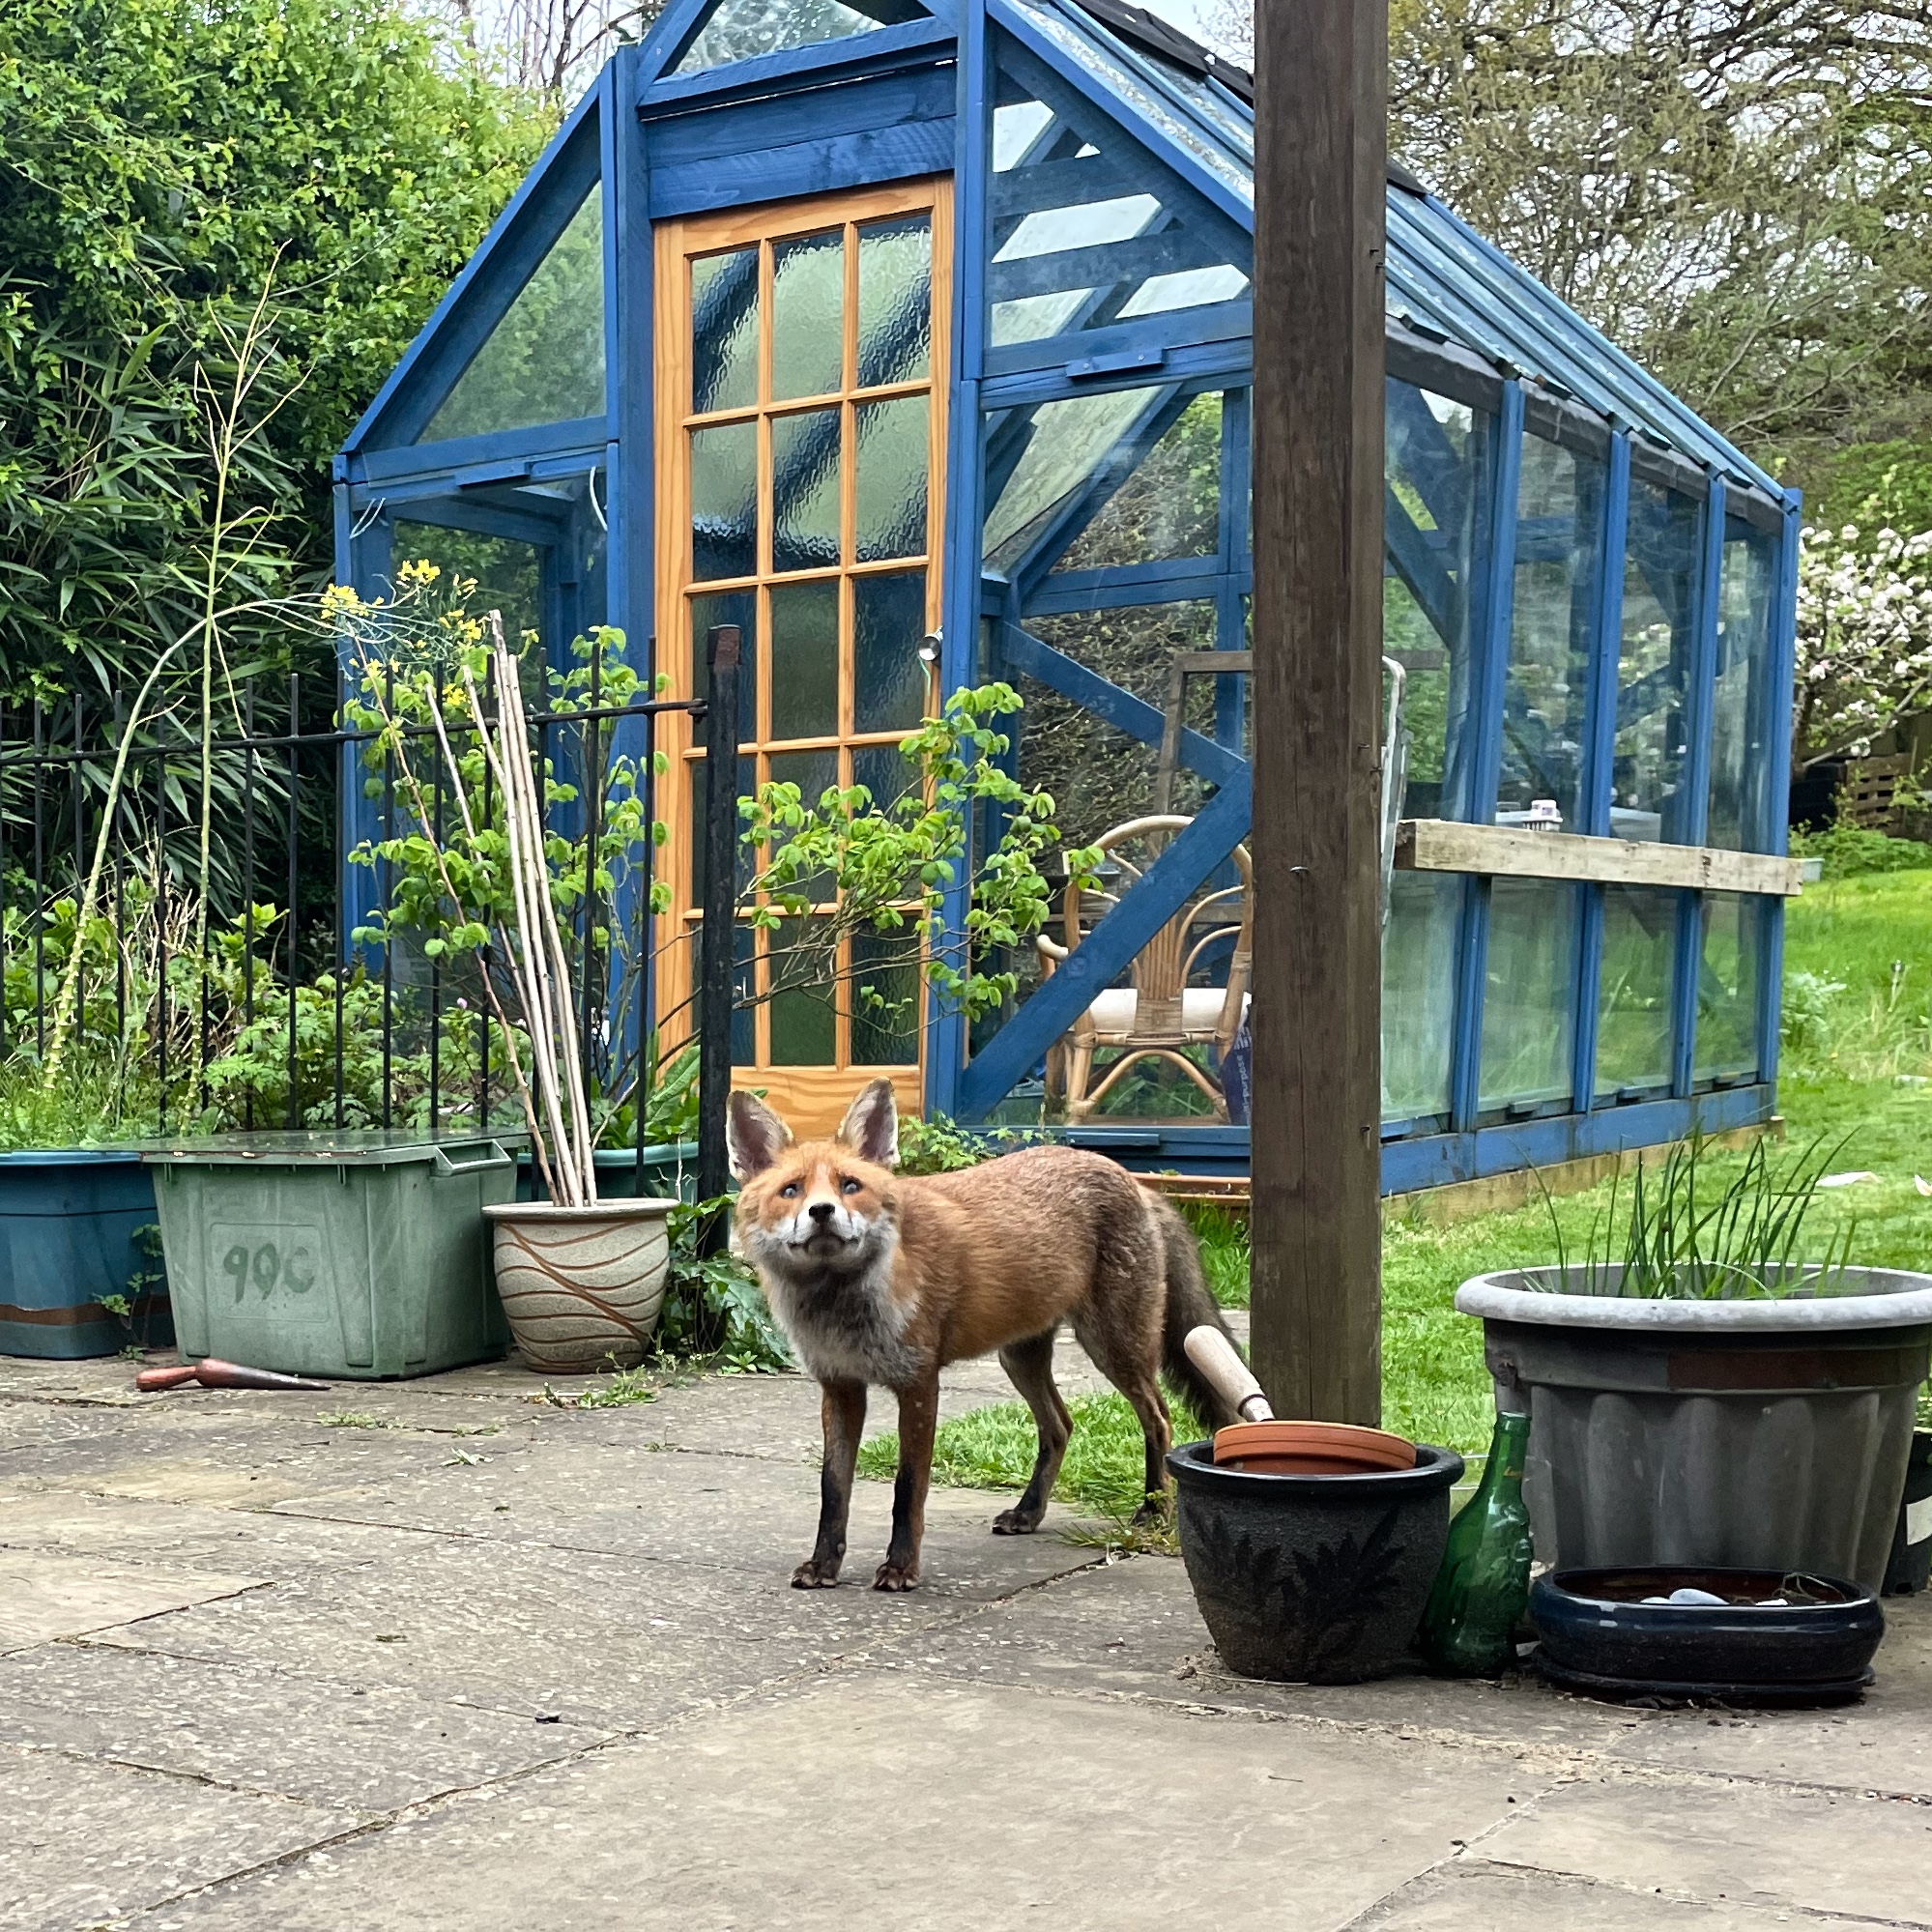
The Bluehouse in it’s short lifetime has featured many new friends. Here are a few.
Rex the Fox

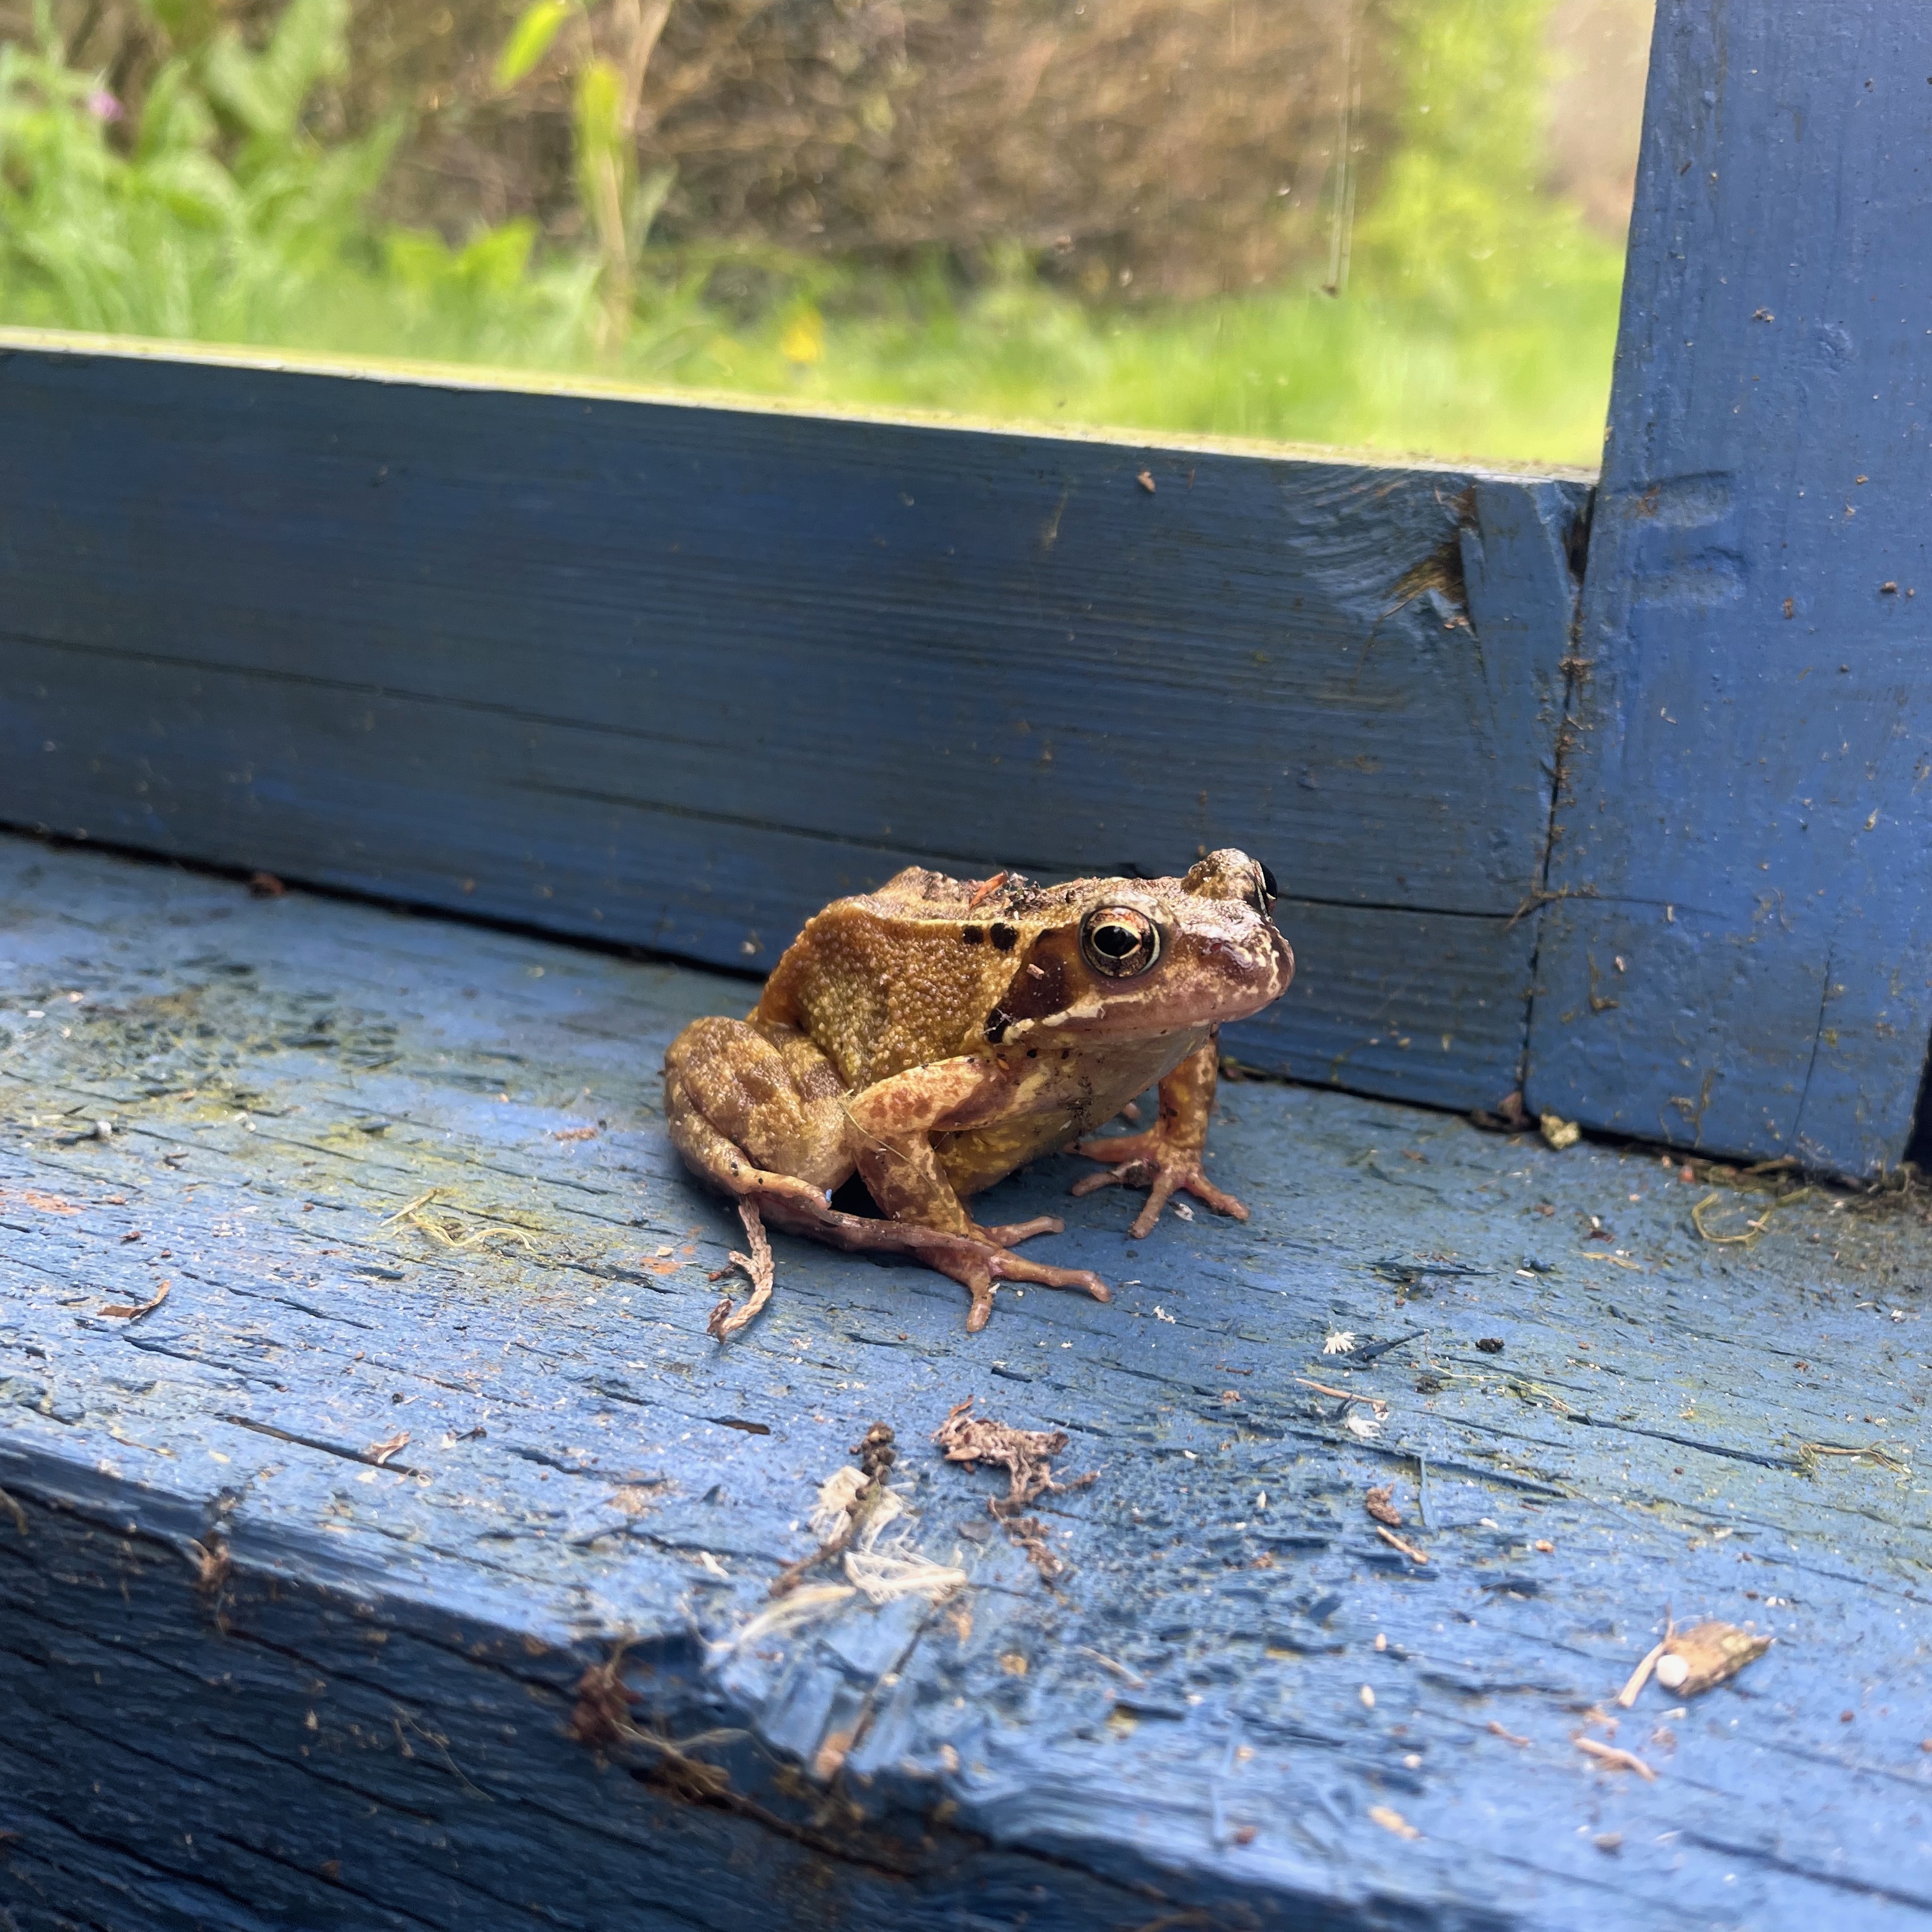
Freg the Frog
Luna the Lion
